
Blog · AI use cases
How to Build a LinkedIn Job Scraper That Finds Hot Leads for Your Agency (with Claude Code)
A step-by-step build of an internal tool that finds companies hiring for SEO on LinkedIn, then unlocks the owner's name and email with Apollo. Built with Claude Code, no coding.
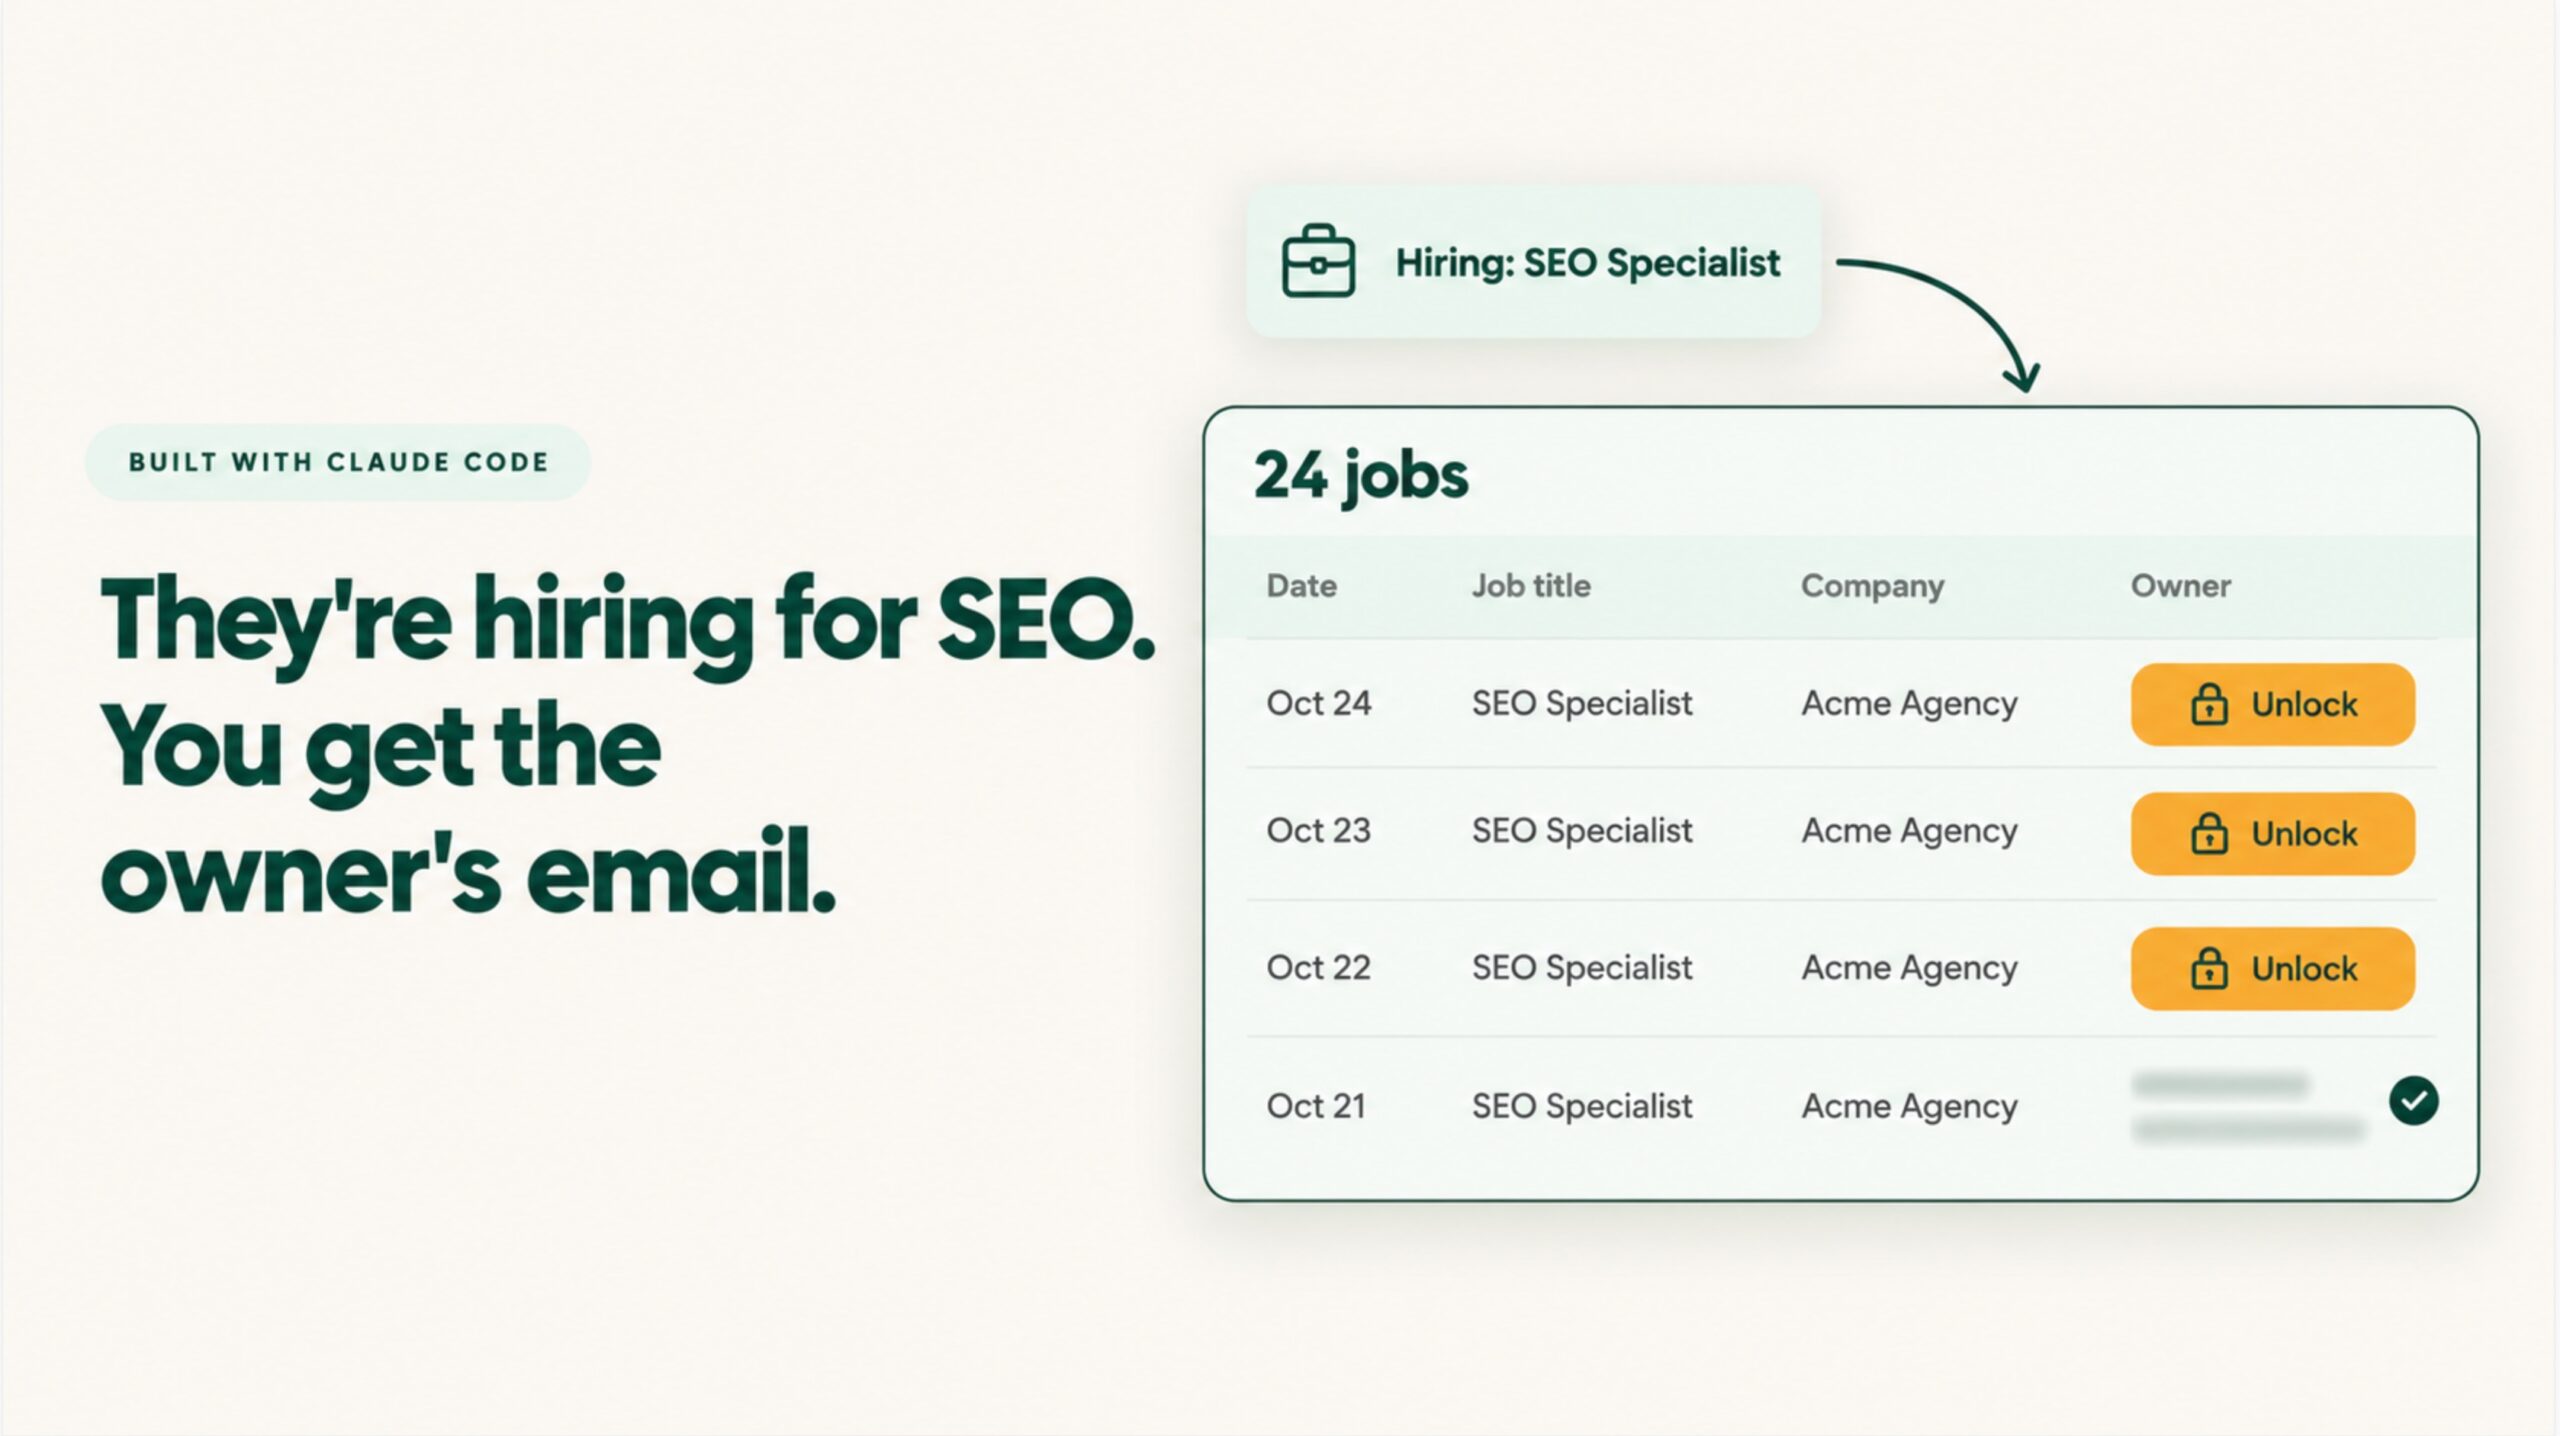
This is what we built. It finds you hot leads.
Let’s say you’re an SEO agency. You can look for companies that are hiring for an SEO specialist in the US and posted that job in the last one week. If a company is hiring for SEO, it already has a budget for SEO. That’s your signal.
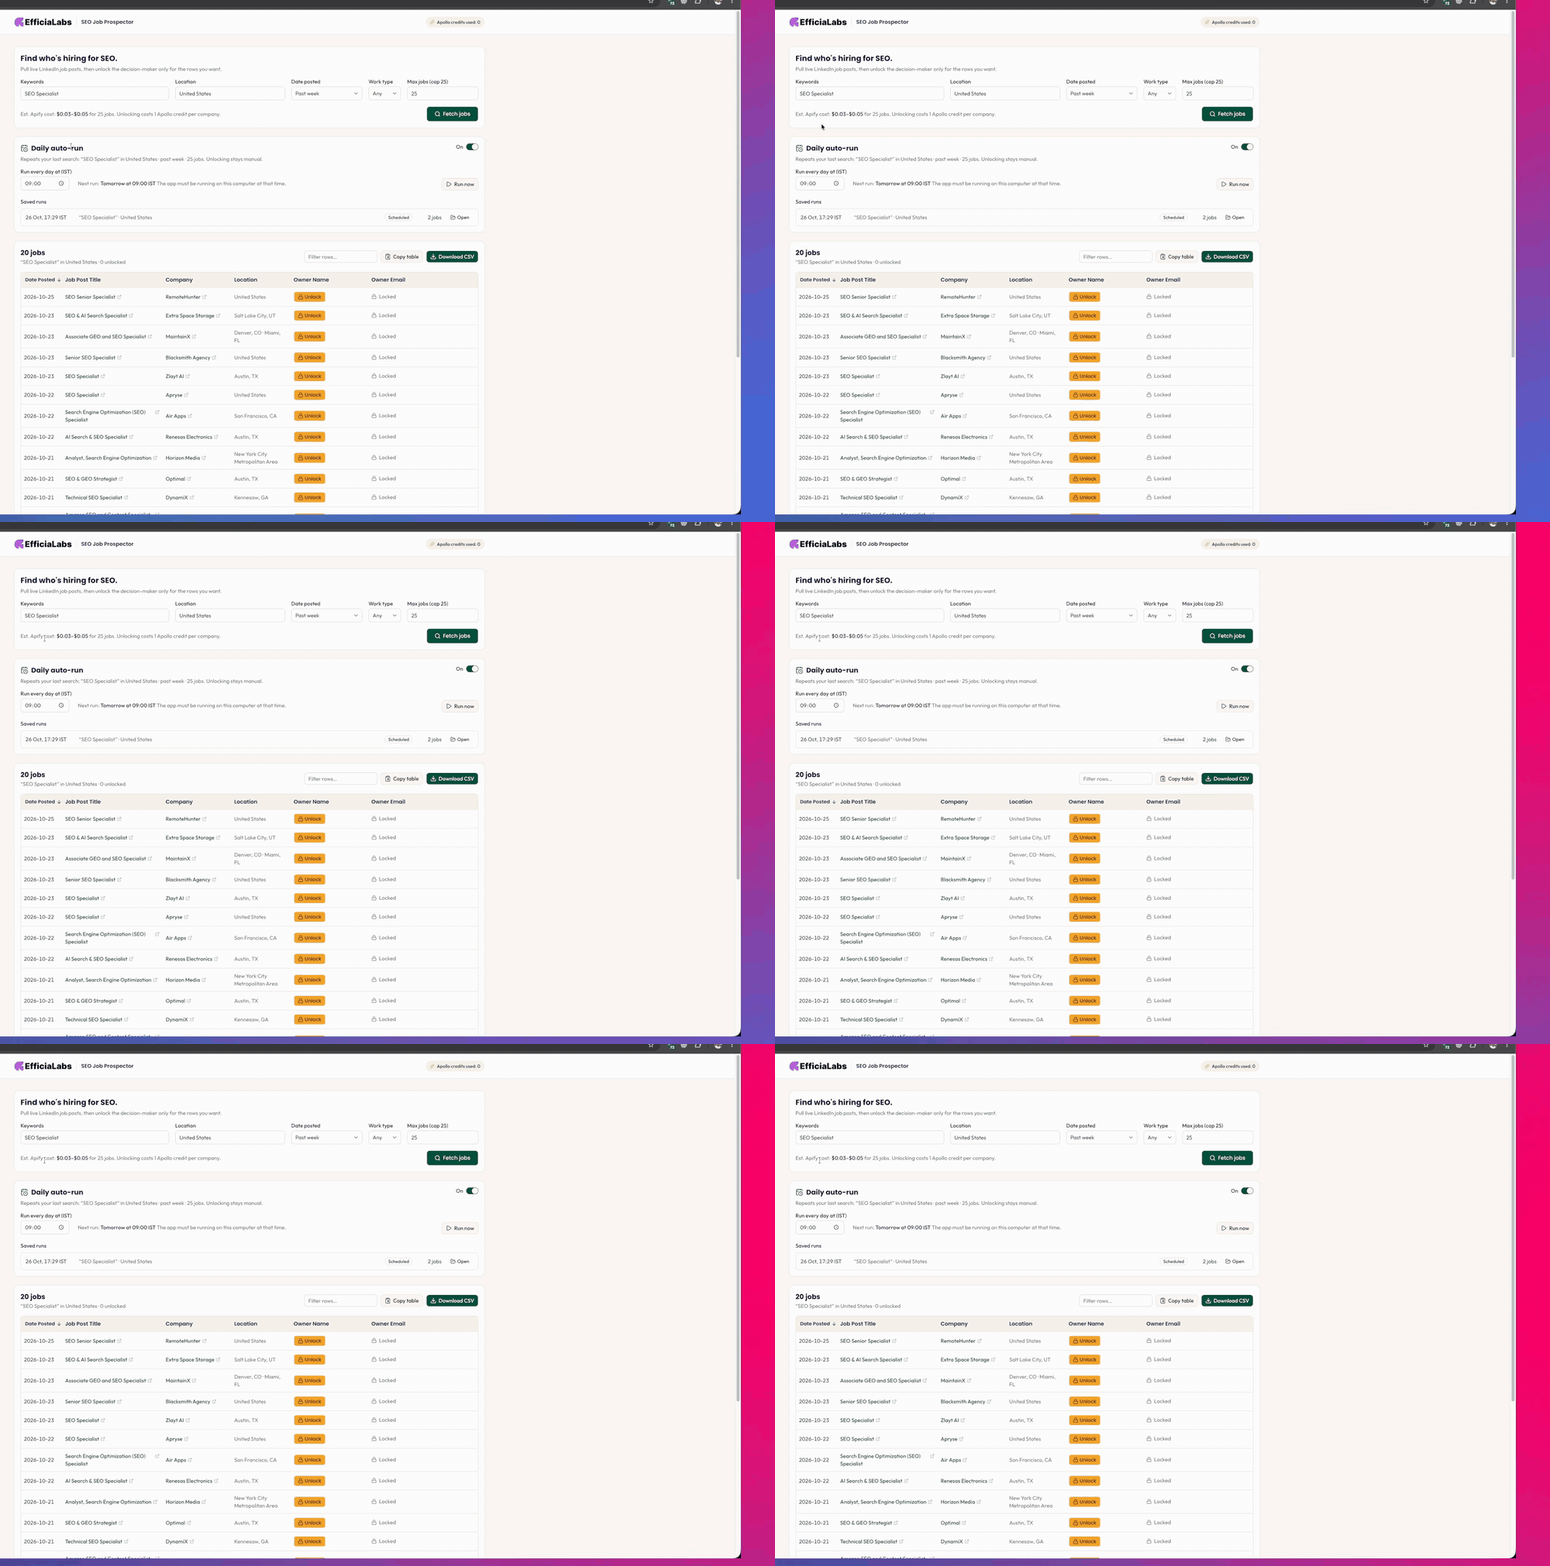
Click on the job title and you can see the job description. If you like the company and want to approach its owner, click on Unlock. It unlocks the owner’s name and email ID, and now your team can reach out.
In this post, I’ll show you how I vibe coded this tool with Claude Code, step by step. You’ll see me building it, watching it build, running it, finding bugs and adding a new feature.
You're confirmed. The prompt is on its way to your inbox. Give it a minute, and check Promotions if you don't see it.
Free prompt
Get the exact prompt I used to build this
Skip the typing. Paste it into Claude Code in plan mode and you’ll have your own lead finder by this afternoon.
- Copy-paste ready for Claude Code
- Change the keyword to any role your agency sells to
- Includes the ask-me-questions line that makes Claude plan properly
Check your inbox.
Click the confirmation link in the email I just sent, and the full prompt lands in your inbox.
Prefer to read? Here’s every step with a short clip.
What we are building
We are going to turn a signal into a lead.
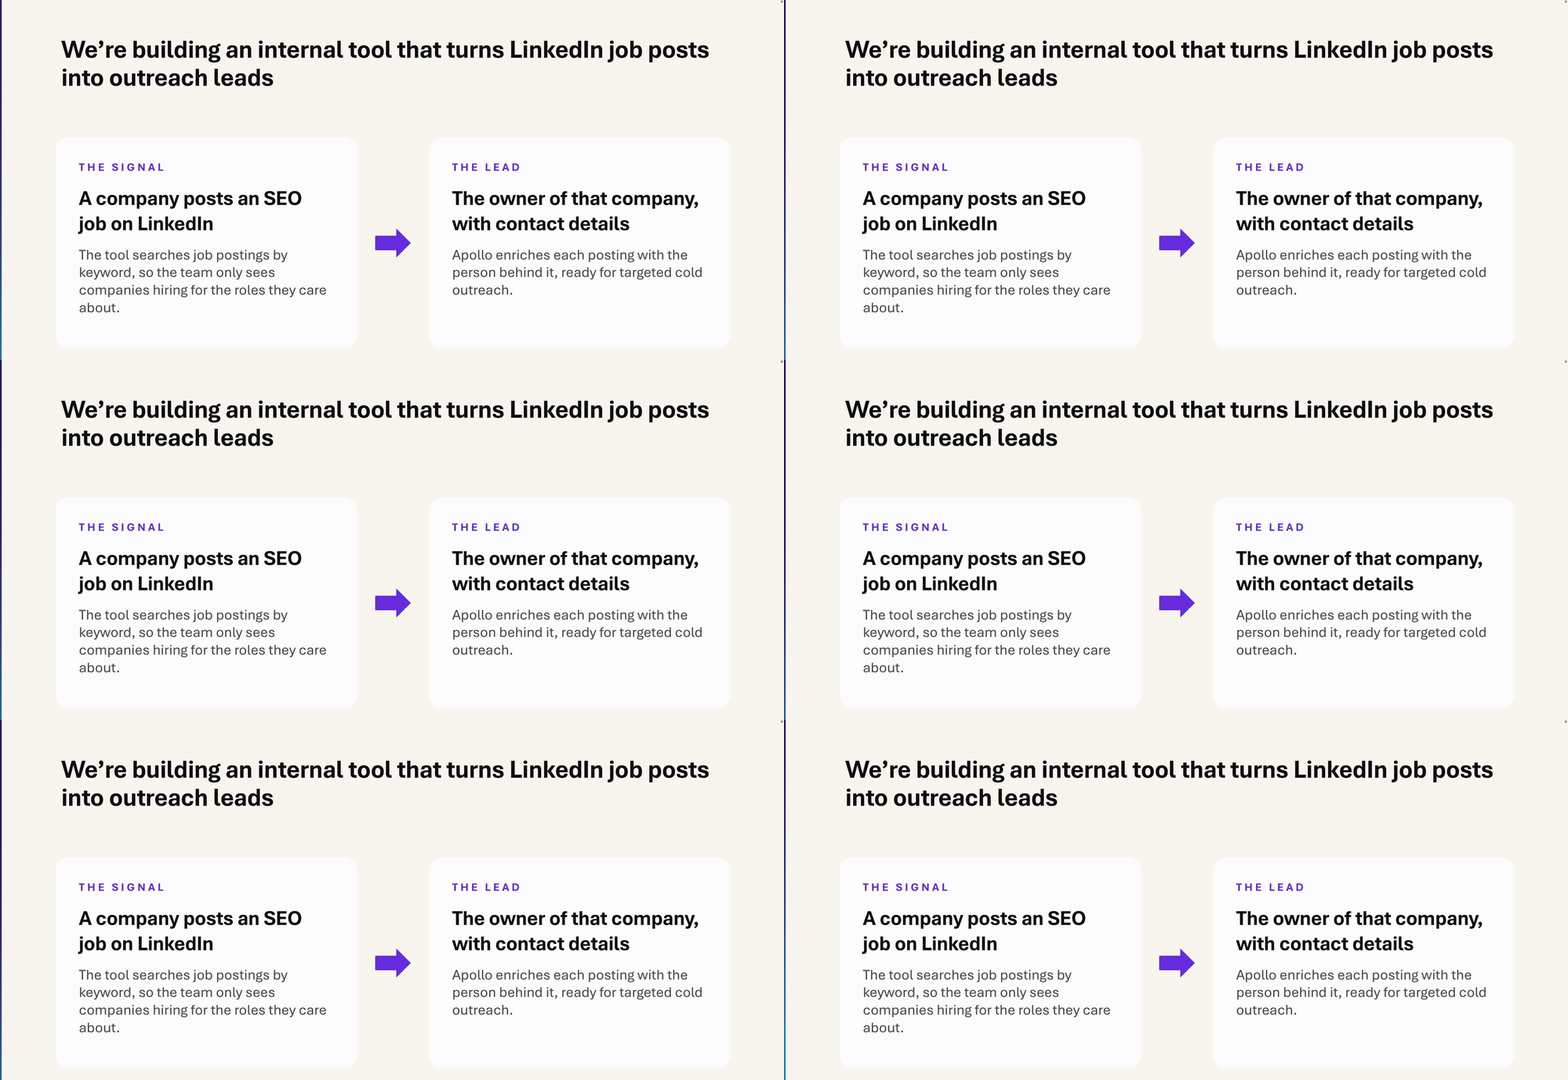
The internal app fetches LinkedIn job posts that mention SEO and are located in a specific country. I’m using the US for this example. The output is the company owner’s name and email ID.
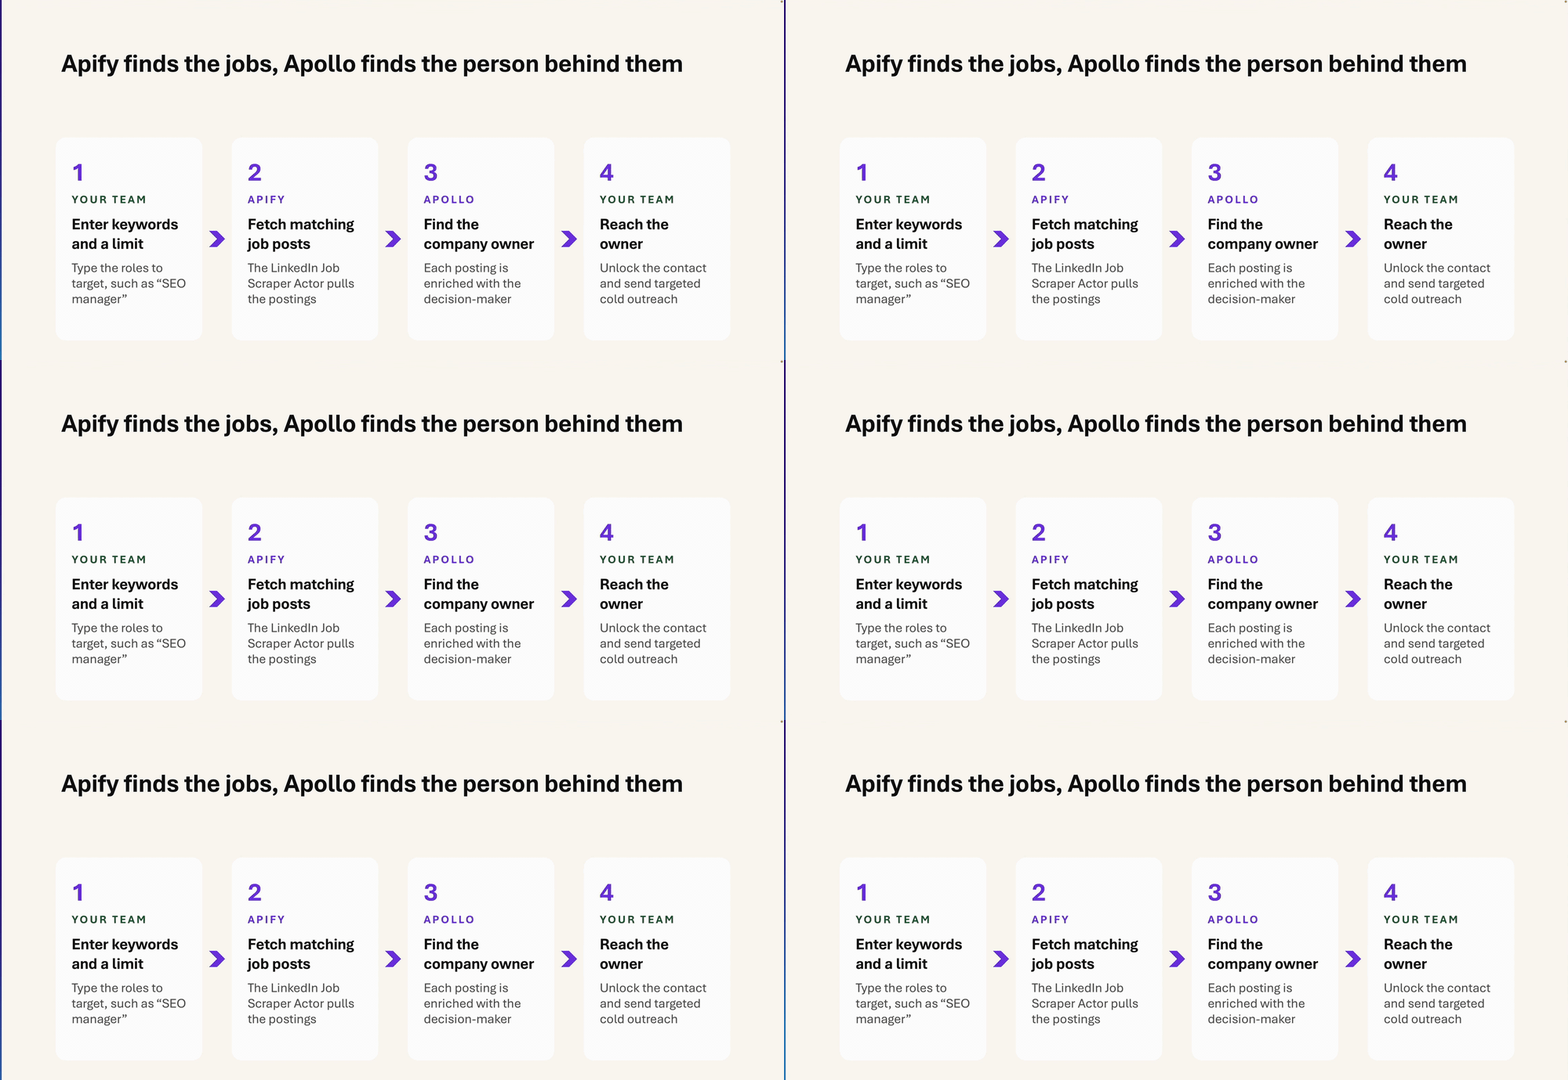
This is the process:
- Your team enters the keyword and the number of job posts to fetch.
- Apify fetches the matching job posts.
- Apollo finds the company’s owner and their email ID.
- Your team reaches out to the owner.
Keep the cost low
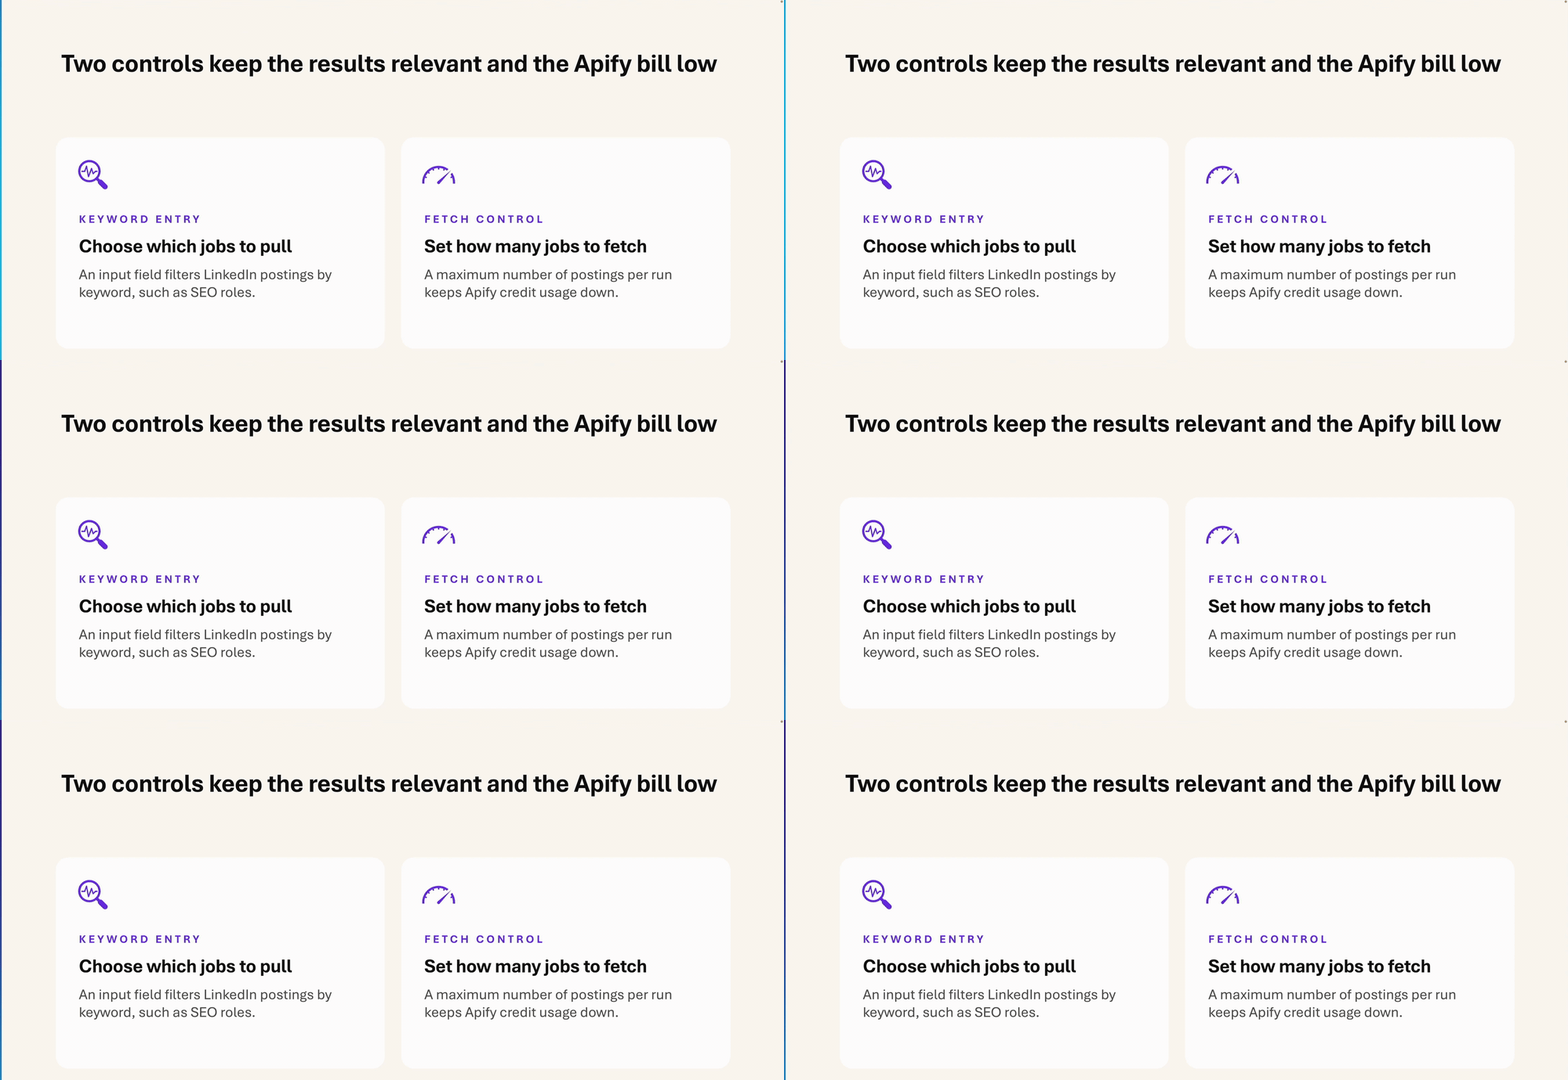
Apify gives you only $5 a month if you don’t want to go into the paid plan. So we keep the cost low with two controls:
- Keyword entry, so we only pull the jobs we care about.
- Fetch control, so we decide how many job posts to pull. Of course, we don’t want to fetch 1,000 job posts. Let’s say 25 or 50 to begin with.
Apollo is the same. It only unlocks an owner when you click the button, because I don’t want to burn my Apollo credits on companies I’ll never contact.
Step 1: Install VS Code and Claude Code
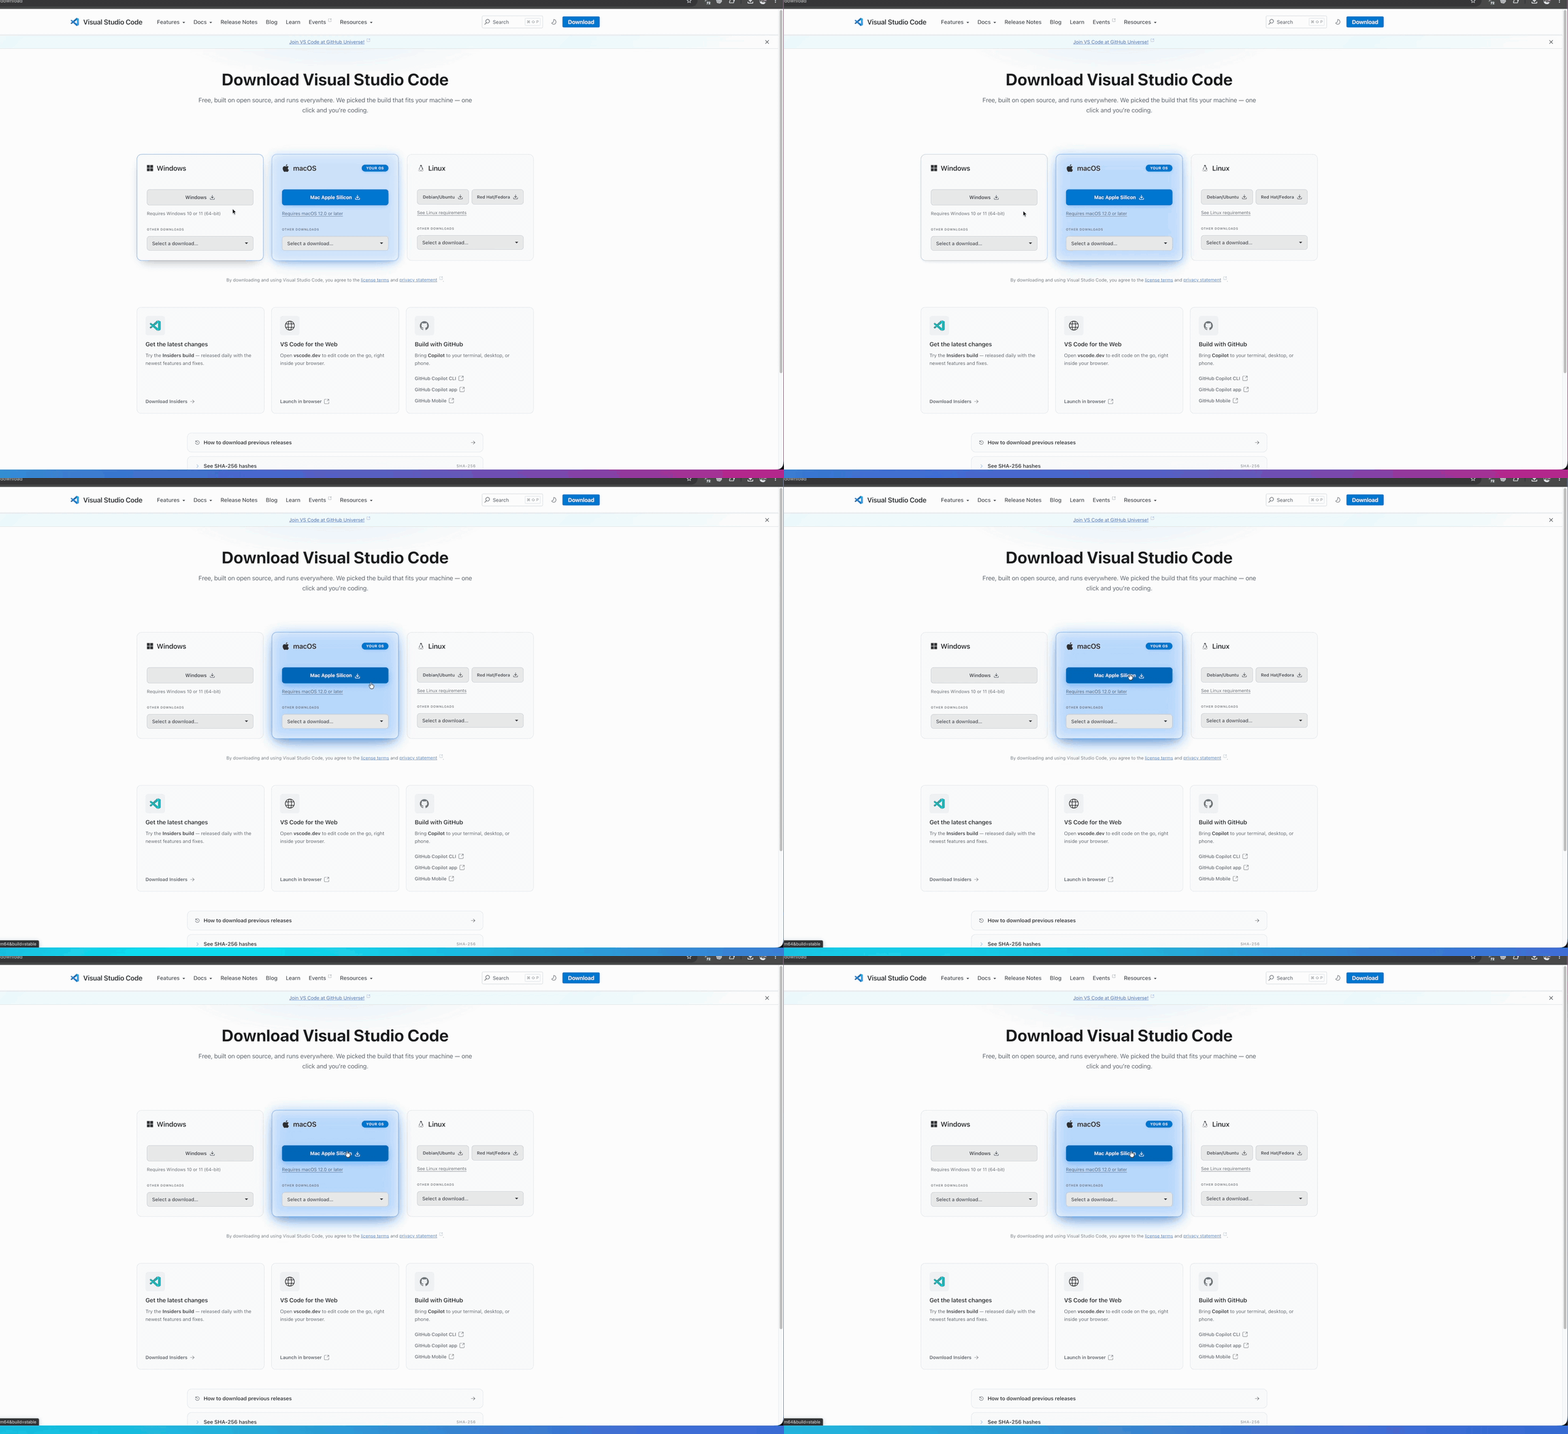
The tool we are going to use is VS Code. It’s free. Just Google “download VS Code”, click on the first link and download it for your PC or Mac.
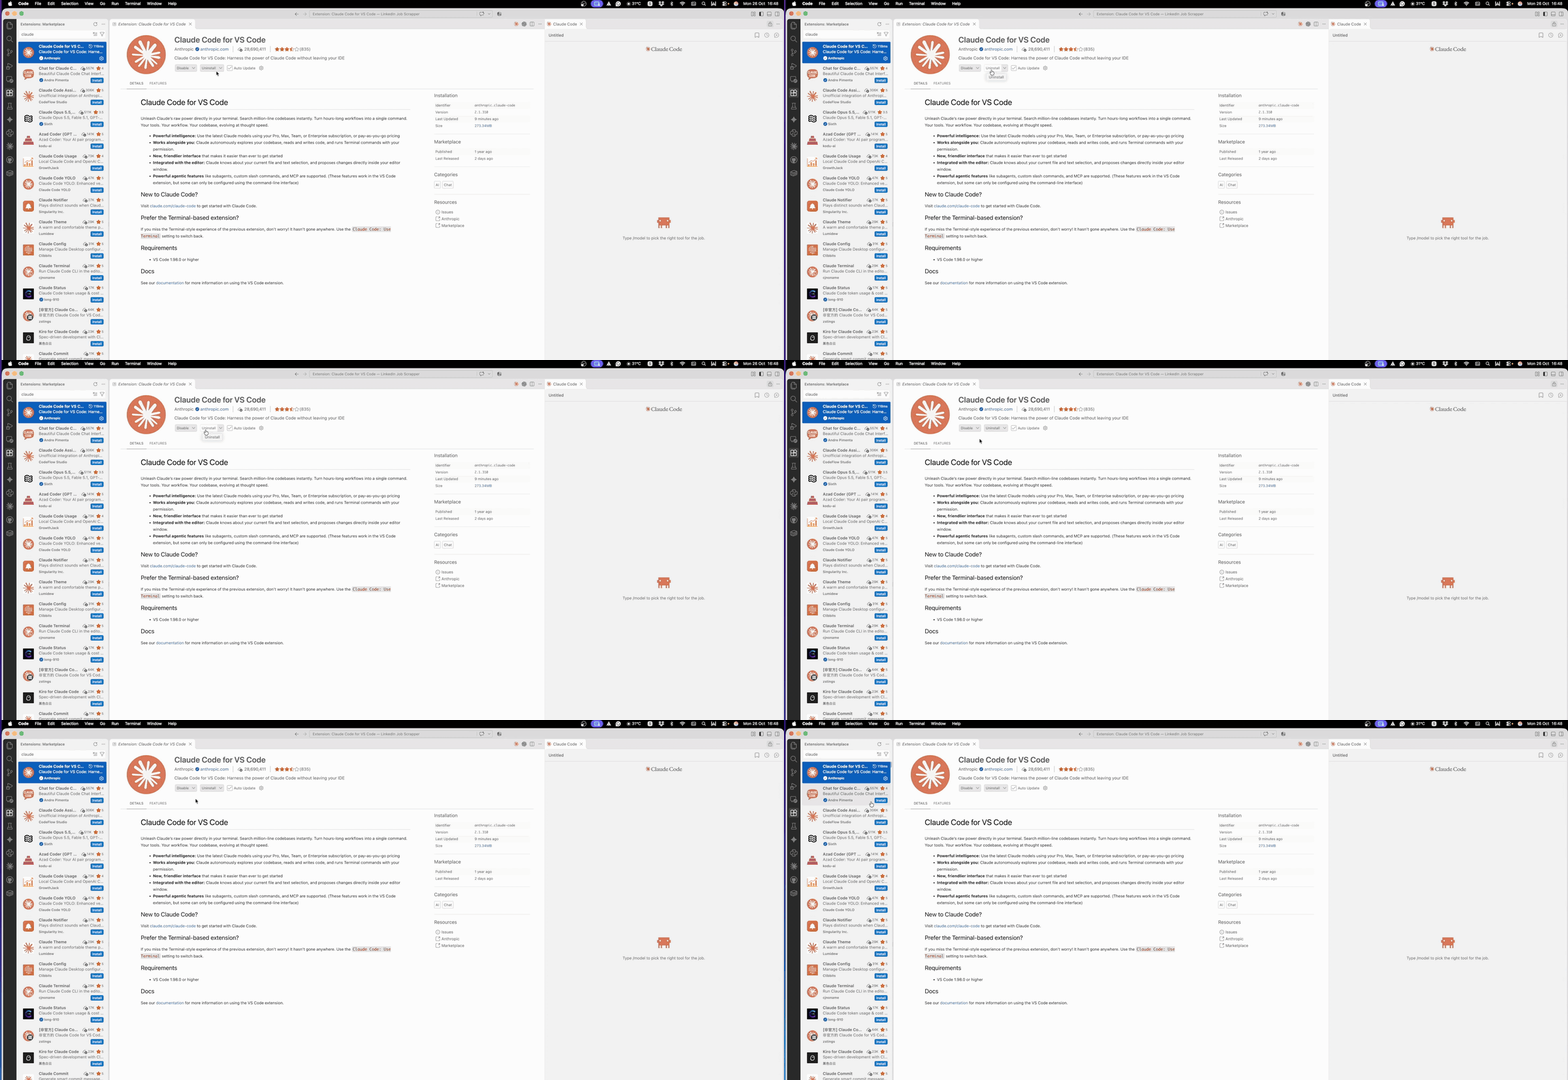
Once it’s installed, click on the Extensions button and search for “Claude”. Install Claude Code for VS Code. For me it’s already installed, that’s why it shows Uninstall. For you it will show Install.
After installing, you’ll see a Claude button at the top. Click on it and Claude opens right there inside VS Code.
Step 2: Copy the prompt
Now we are going to use this prompt. I’ve written a very detailed one: the system requirements, the reasoning or logic flow, the process and the output I want.
You're confirmed. The prompt is on its way to your inbox. Give it a minute, and check Promotions if you don't see it.
The prompt
This is the prompt. Get the full version in your inbox
System requirements, logic flow, output format and the reminders. The same one I pasted in the video, word for word.
- Every section, nothing cut
- Swap in your own website so the tool matches your brand
- Setup steps for the Apify and Apollo keys included
Check your inbox.
Click the confirmation link in the email I just sent, and the full prompt lands in your inbox.
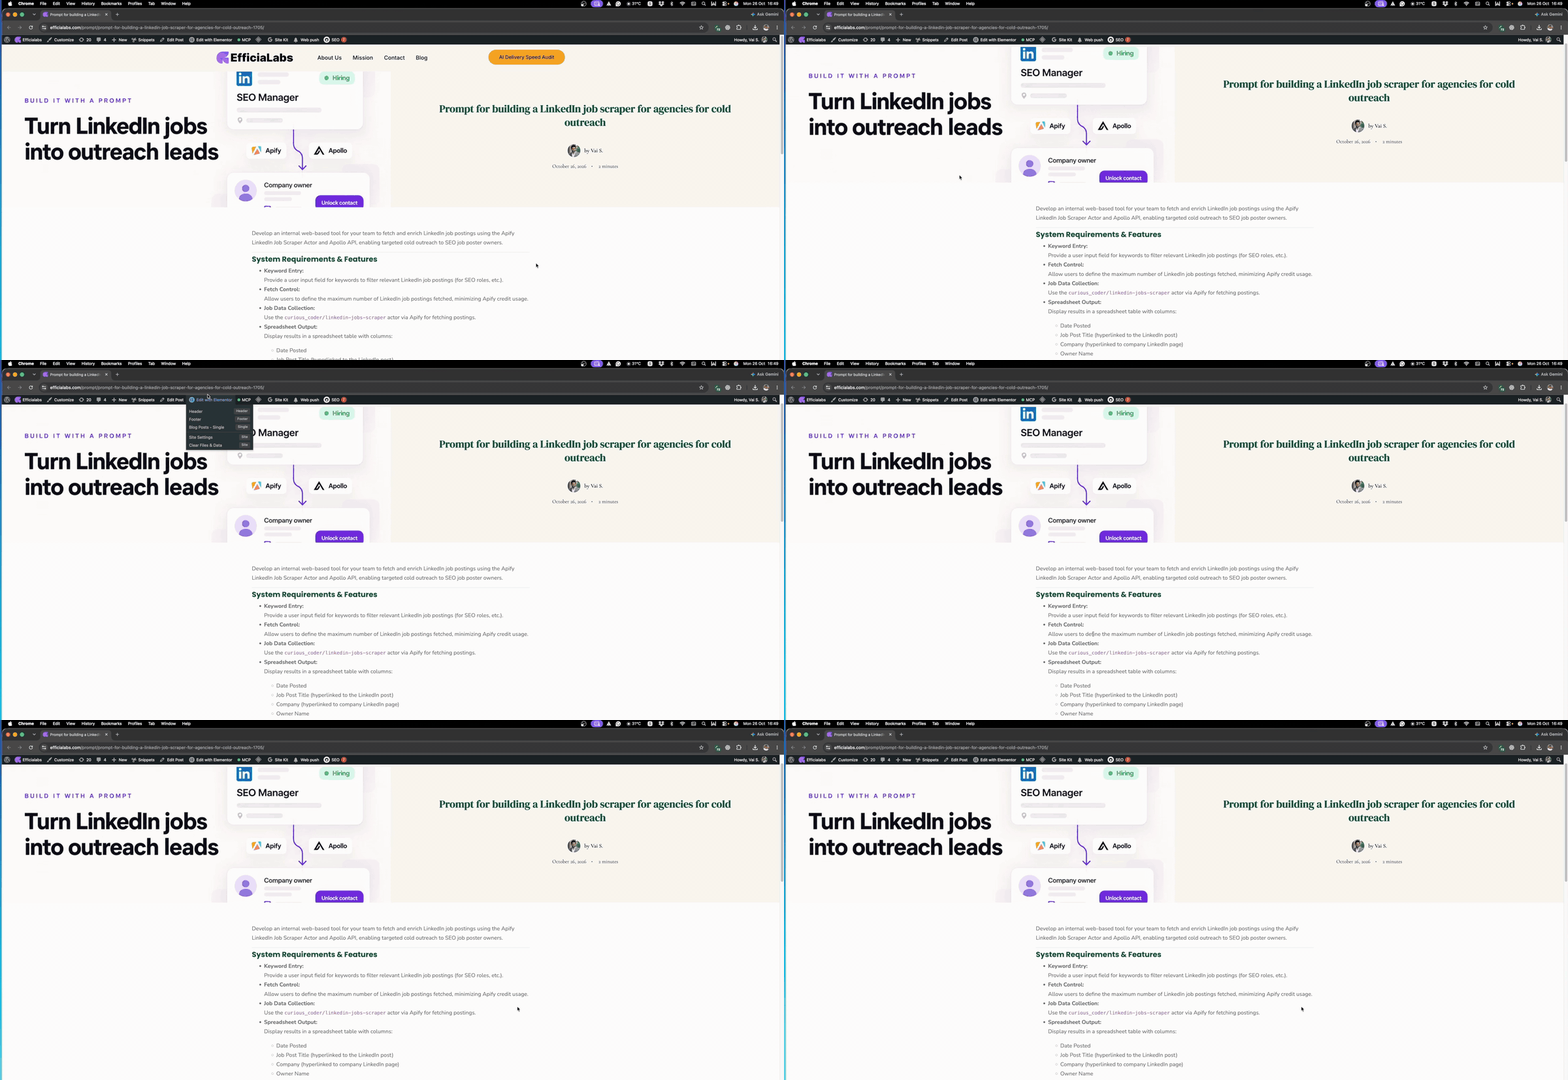
I want the output in a table like this: date posted, job post title, company, owner name and owner email ID. And it only unlocks the owner when I click the Apollo button.
At the end, there are some important considerations and reminders. Look at the last line. I added an instruction that says: before you start, ask me relevant questions until you understand what I want, then summarize what you understood.
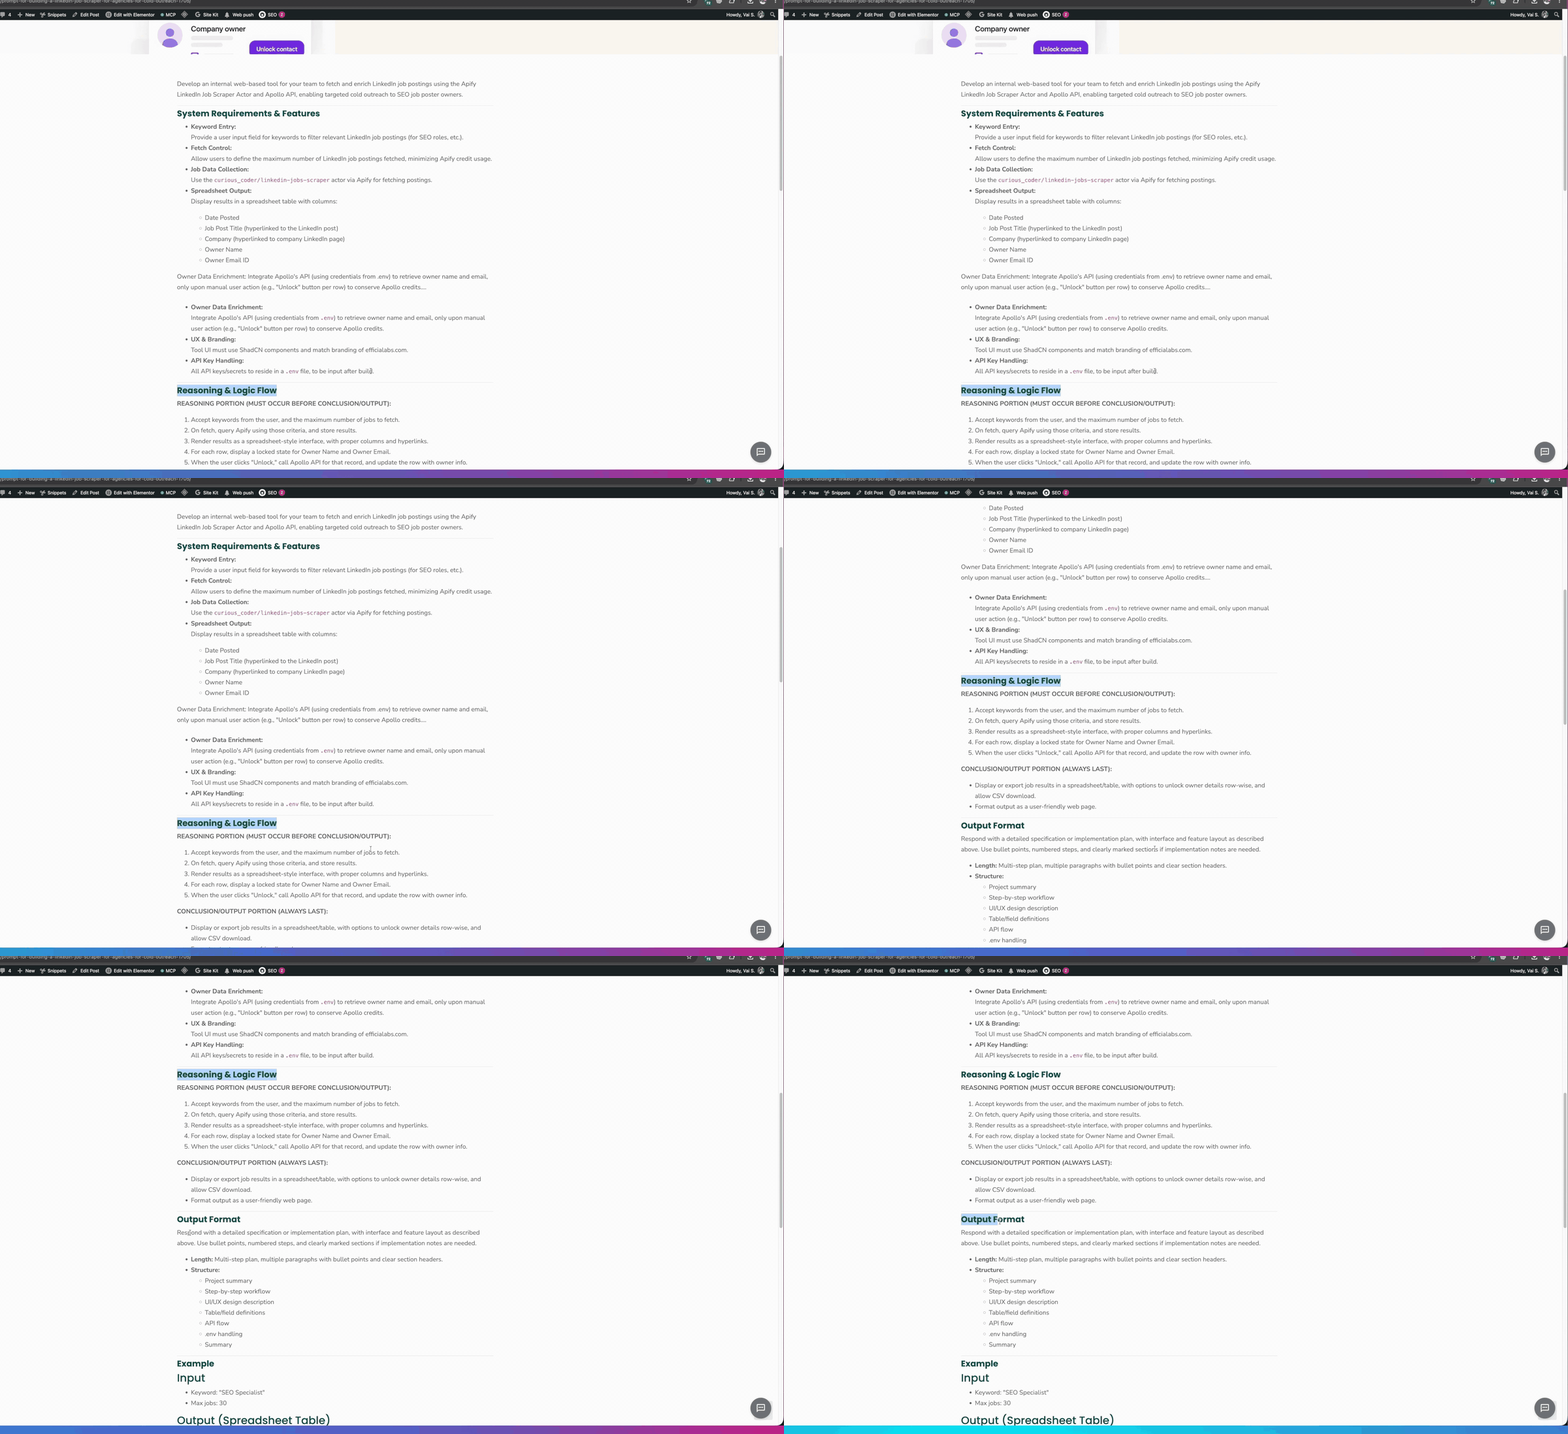
This one line makes a big difference. Claude doesn’t guess. It asks.
Step 3: Paste it into Claude Code in plan mode
Copy the prompt and paste it into Claude in VS Code. Before sending it, change three things:
- Model: Opus 5.5
- Reasoning: Medium
- Plan mode: on
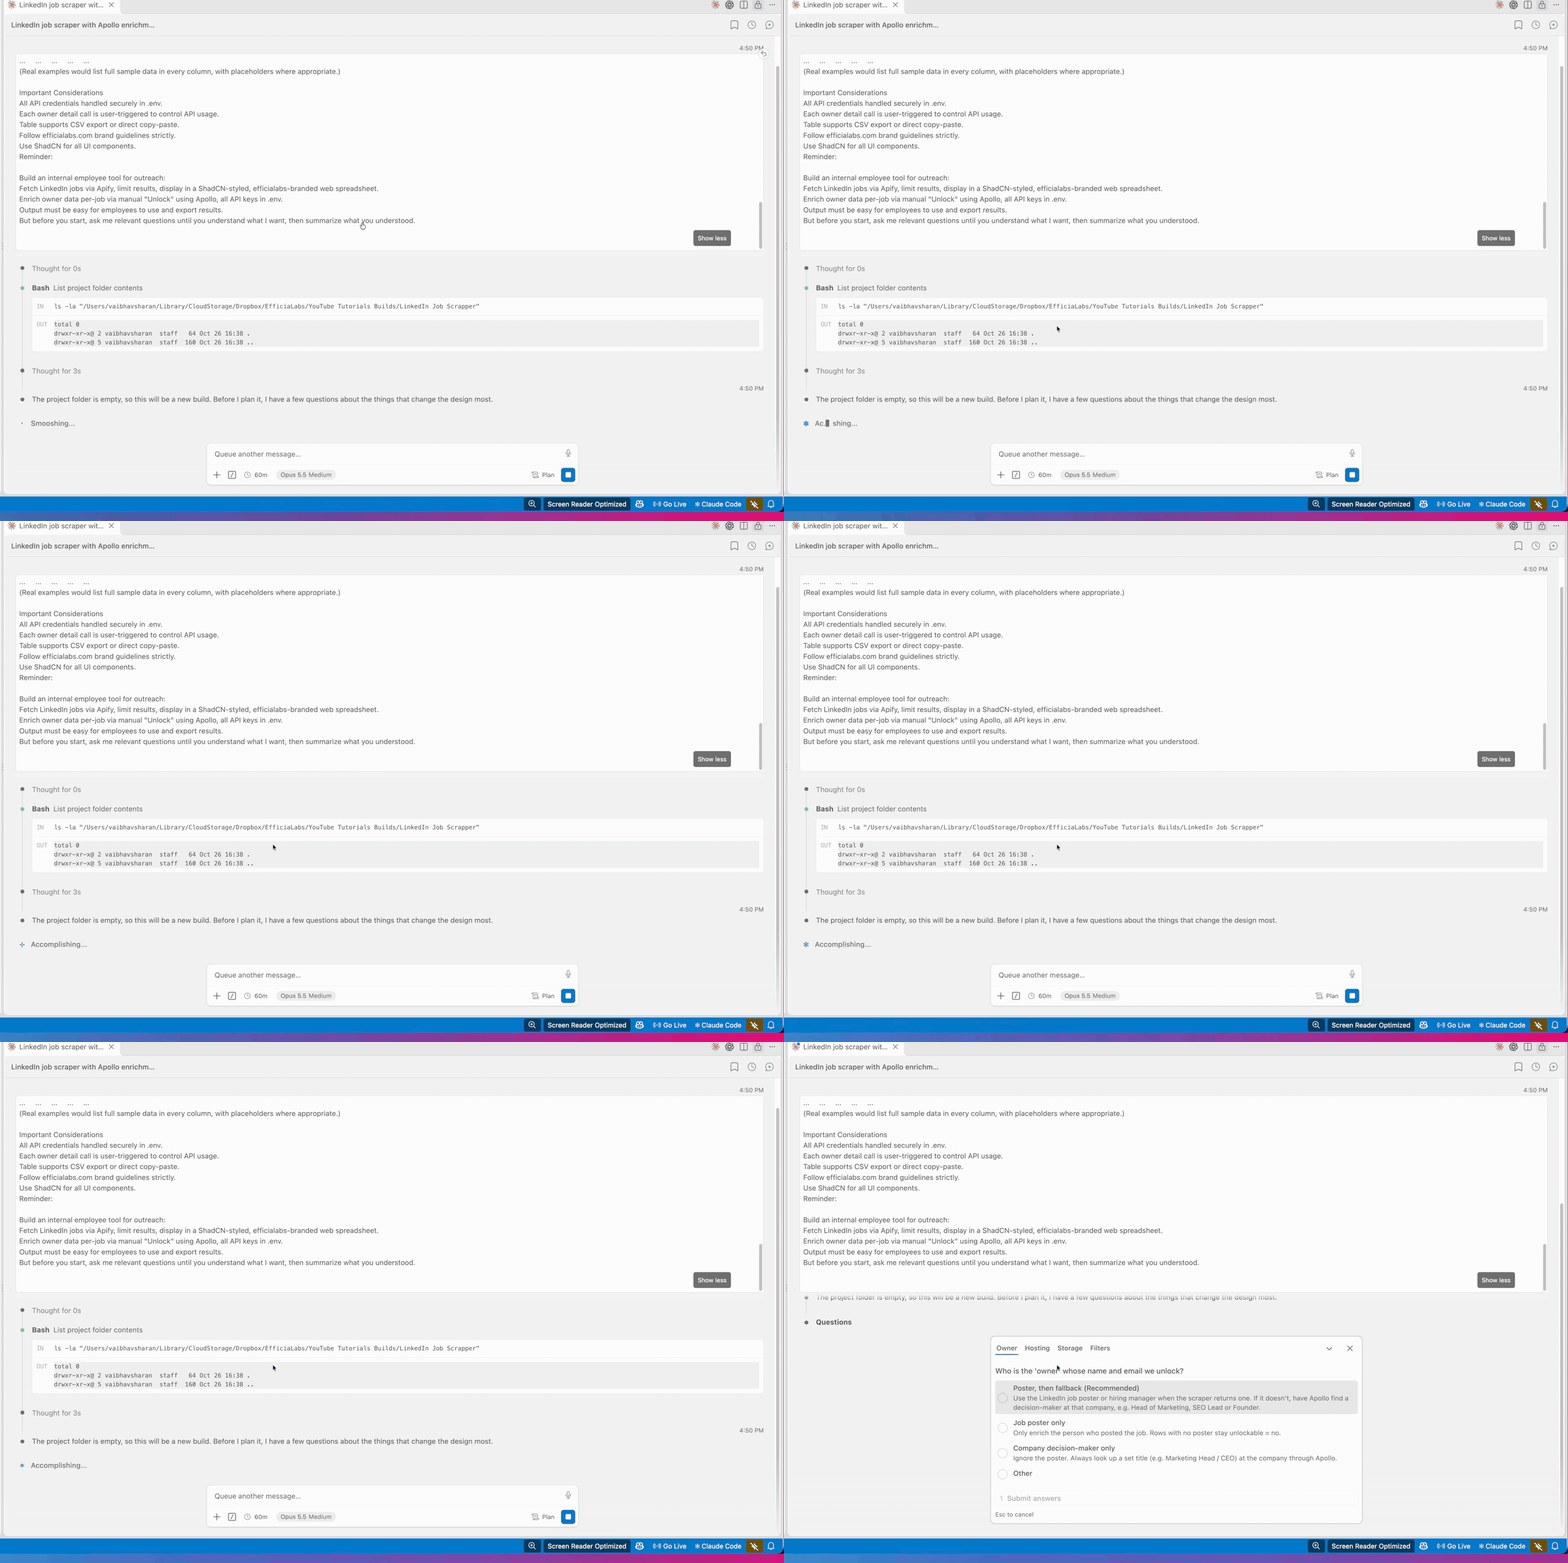
In plan mode, Claude will just plan the internal app for us. It won’t build the app right away.
Step 4: Answer Claude’s questions
Now Claude asks me some relevant questions to make sure it understands what I want.
Who is the “owner”? The LinkedIn job poster, or the company decision-maker? Company decision-maker only, yes. It also set the title priority for Apollo: Founder and CEO first, then Owner, CMO and Head of Marketing. One best match per company.
Hosting? I want it local only. I don’t want to deploy it to any server, so it runs only on my local machine.
Storage? It offered Google Sheets, but that makes this project a bit more complex because I’d need the Google Cloud API too. Let’s keep it session only, because I’m making this tool only for this video.
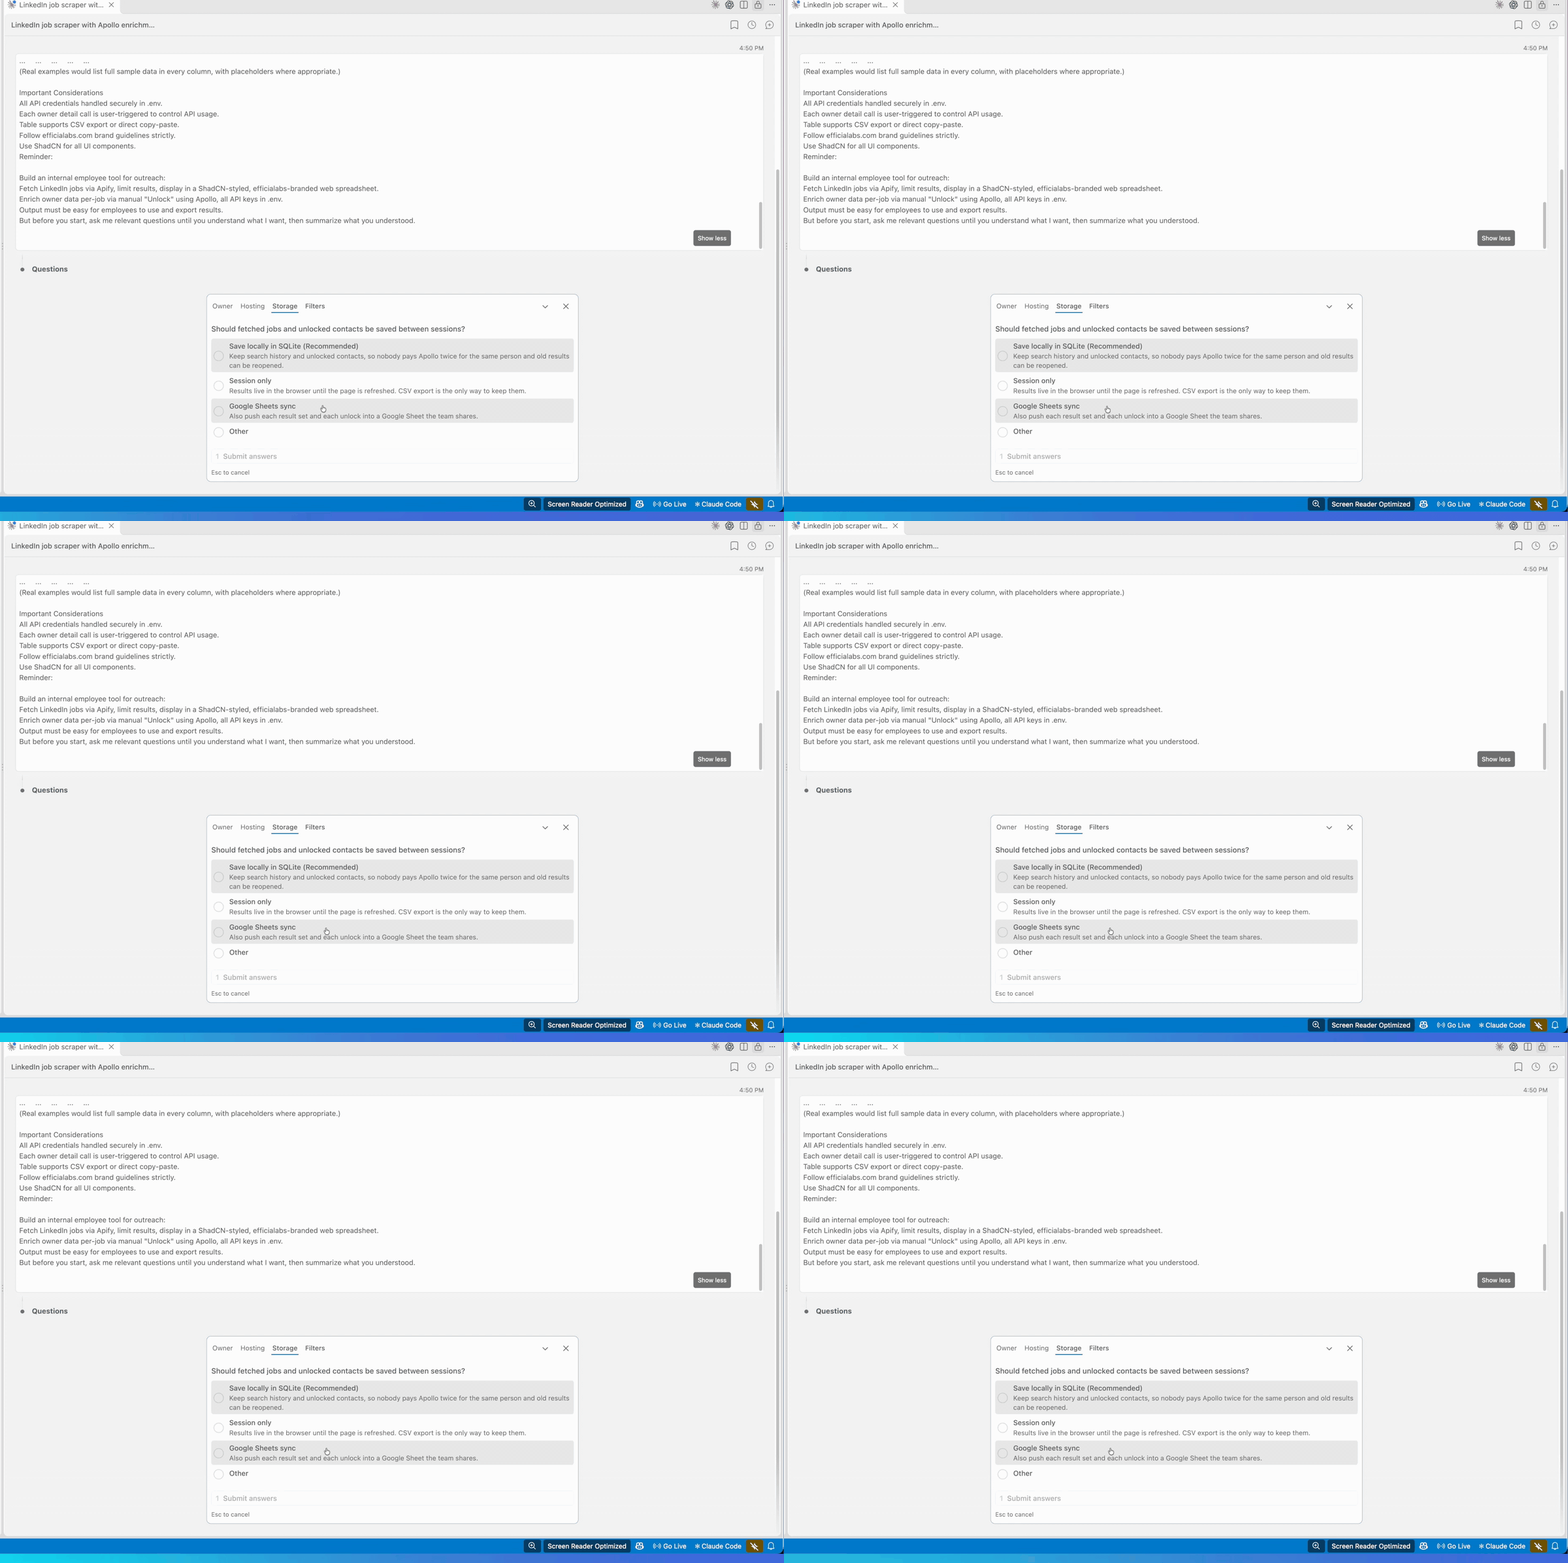
Filters? Location, date posted and work type. Do I want any more? I don’t think I need more right now. If I do, I’ll just ask Claude to make the changes.
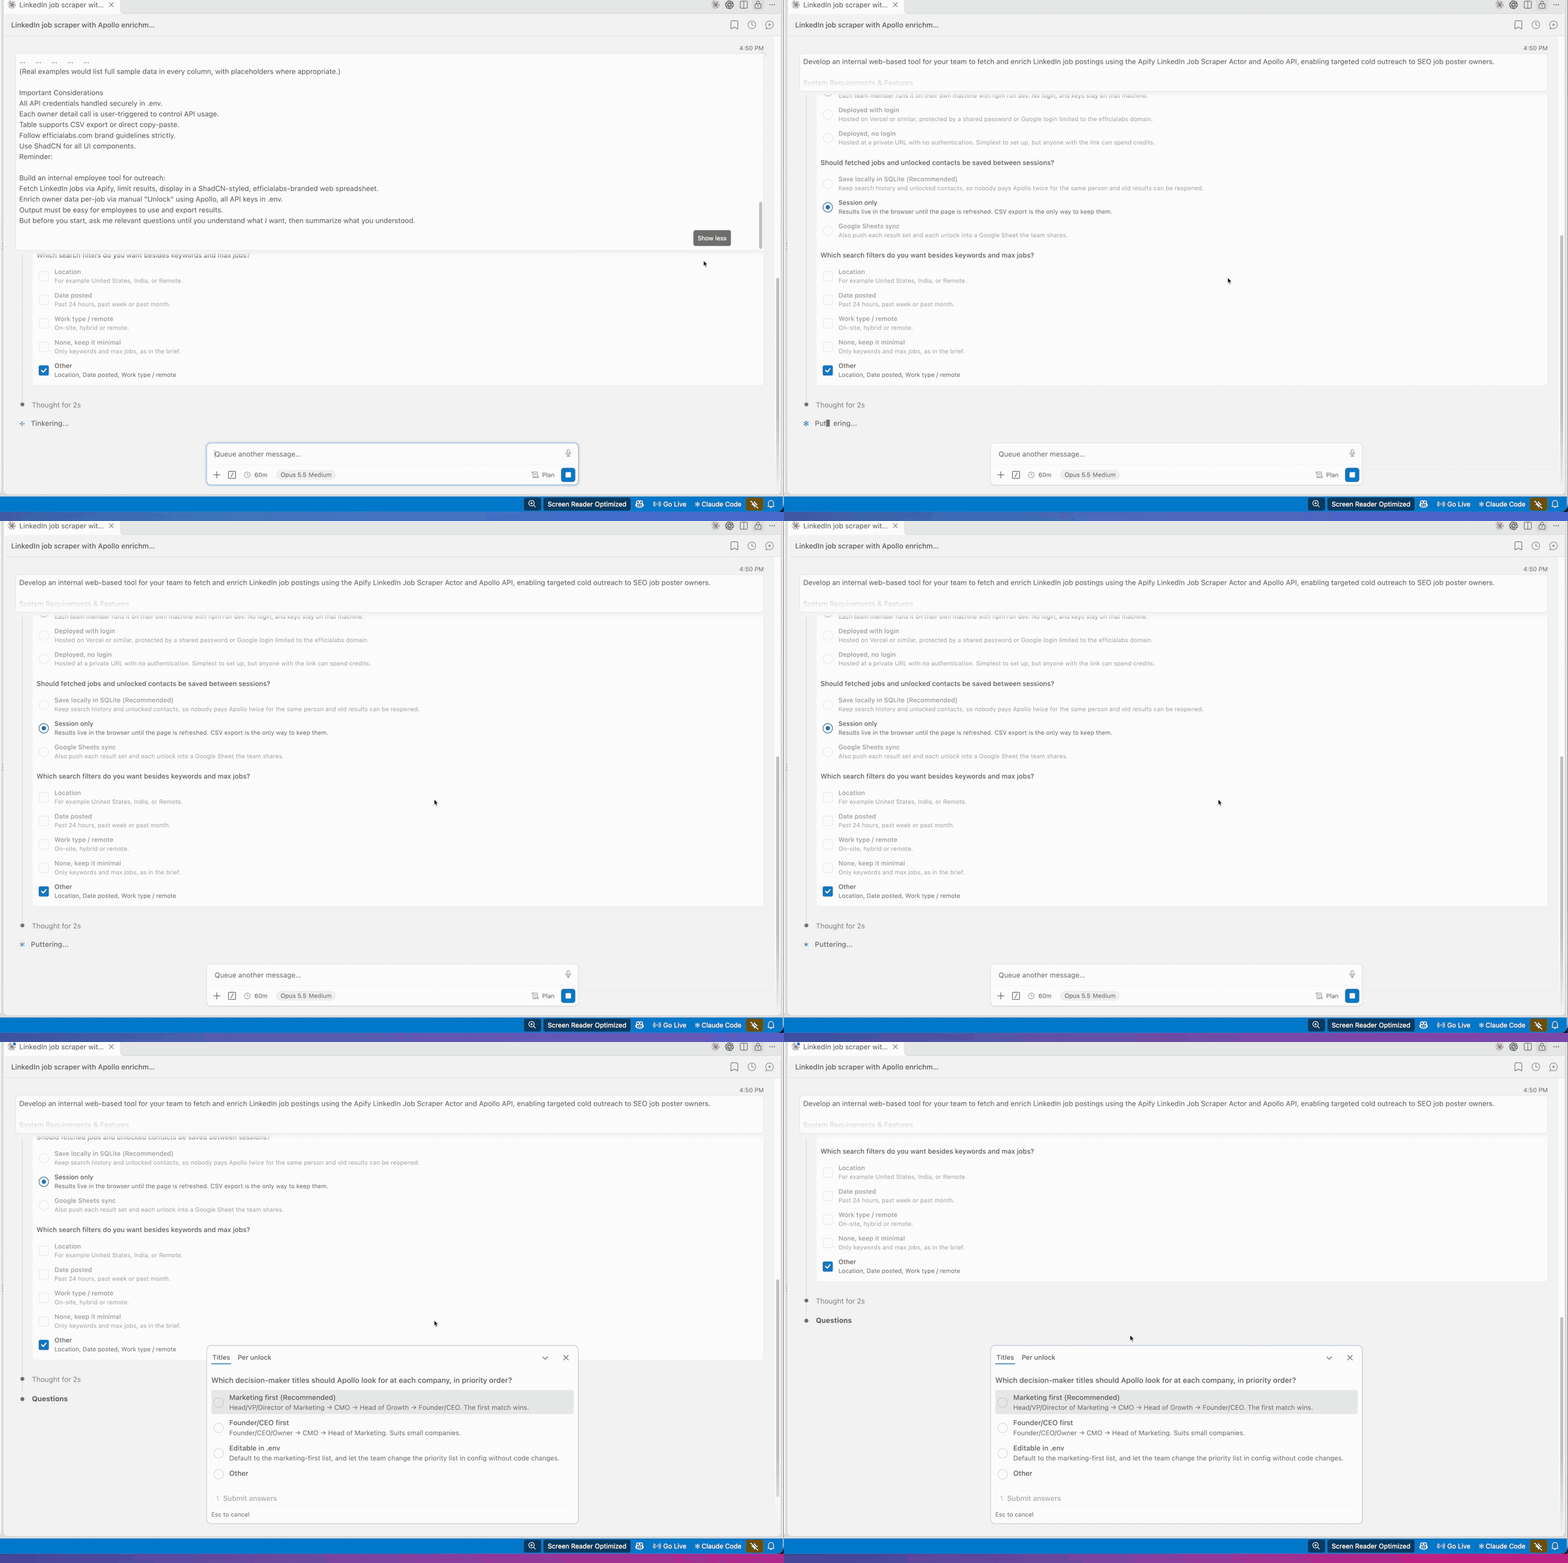
While asking, it also fetched my official website for the brand guidelines, because I mentioned in the prompt that the tool should look like my website.
Step 5: Review the plan
After asking me questions two times, Claude built a plan for me to review.
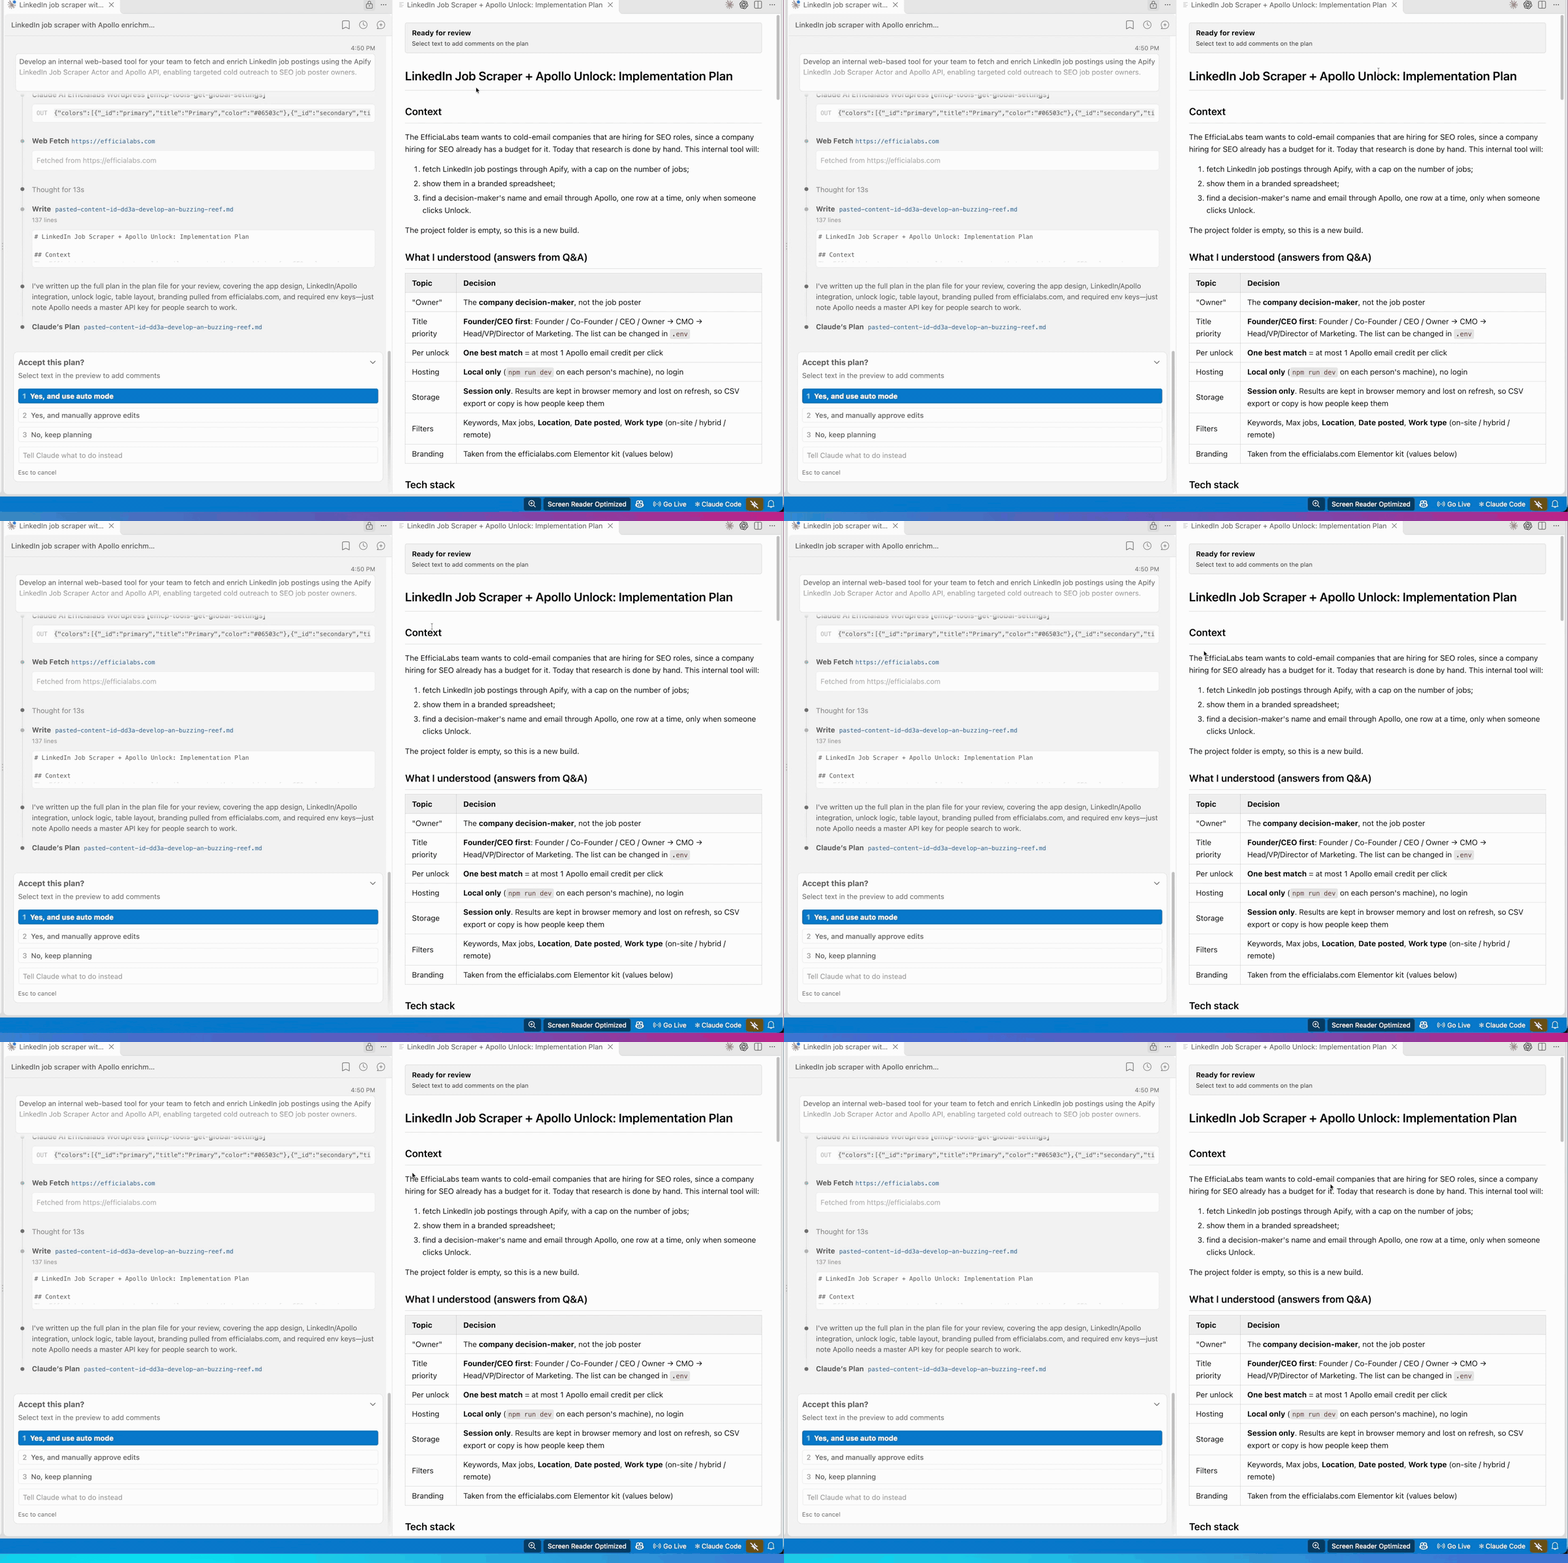
It even pulled the brand tokens from my website: the deep green, the navy, the amber for the Unlock button, the Poppins and Outfit fonts. That’s why the final tool looks like EfficiaLabs.
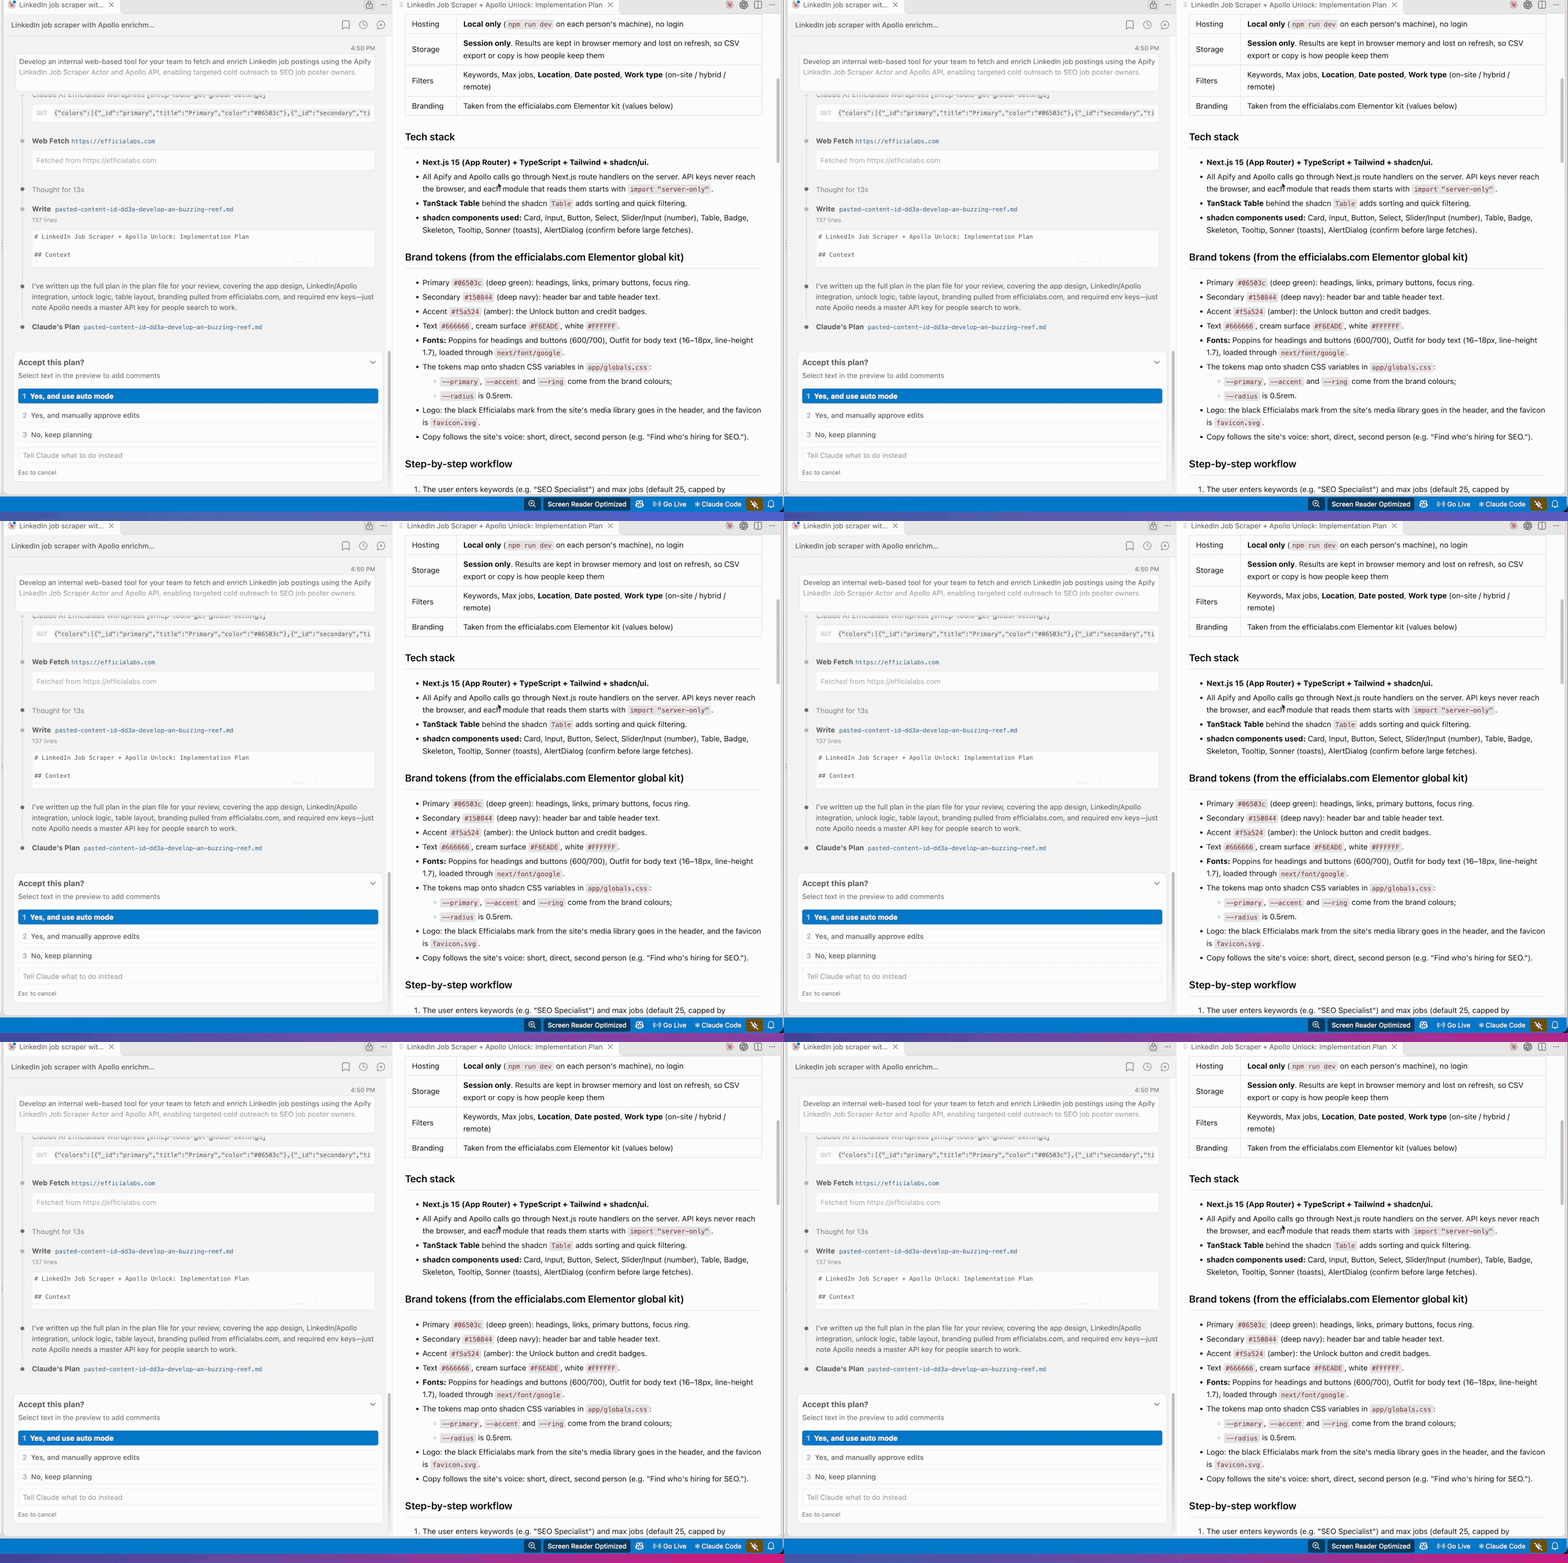
I’m not worried about the tech stack right now. First, it’s just a YouTube video, and I’ll dump this tool after posting. Second, I’m not building it for my clients. I just want it to work so I can show you the output.
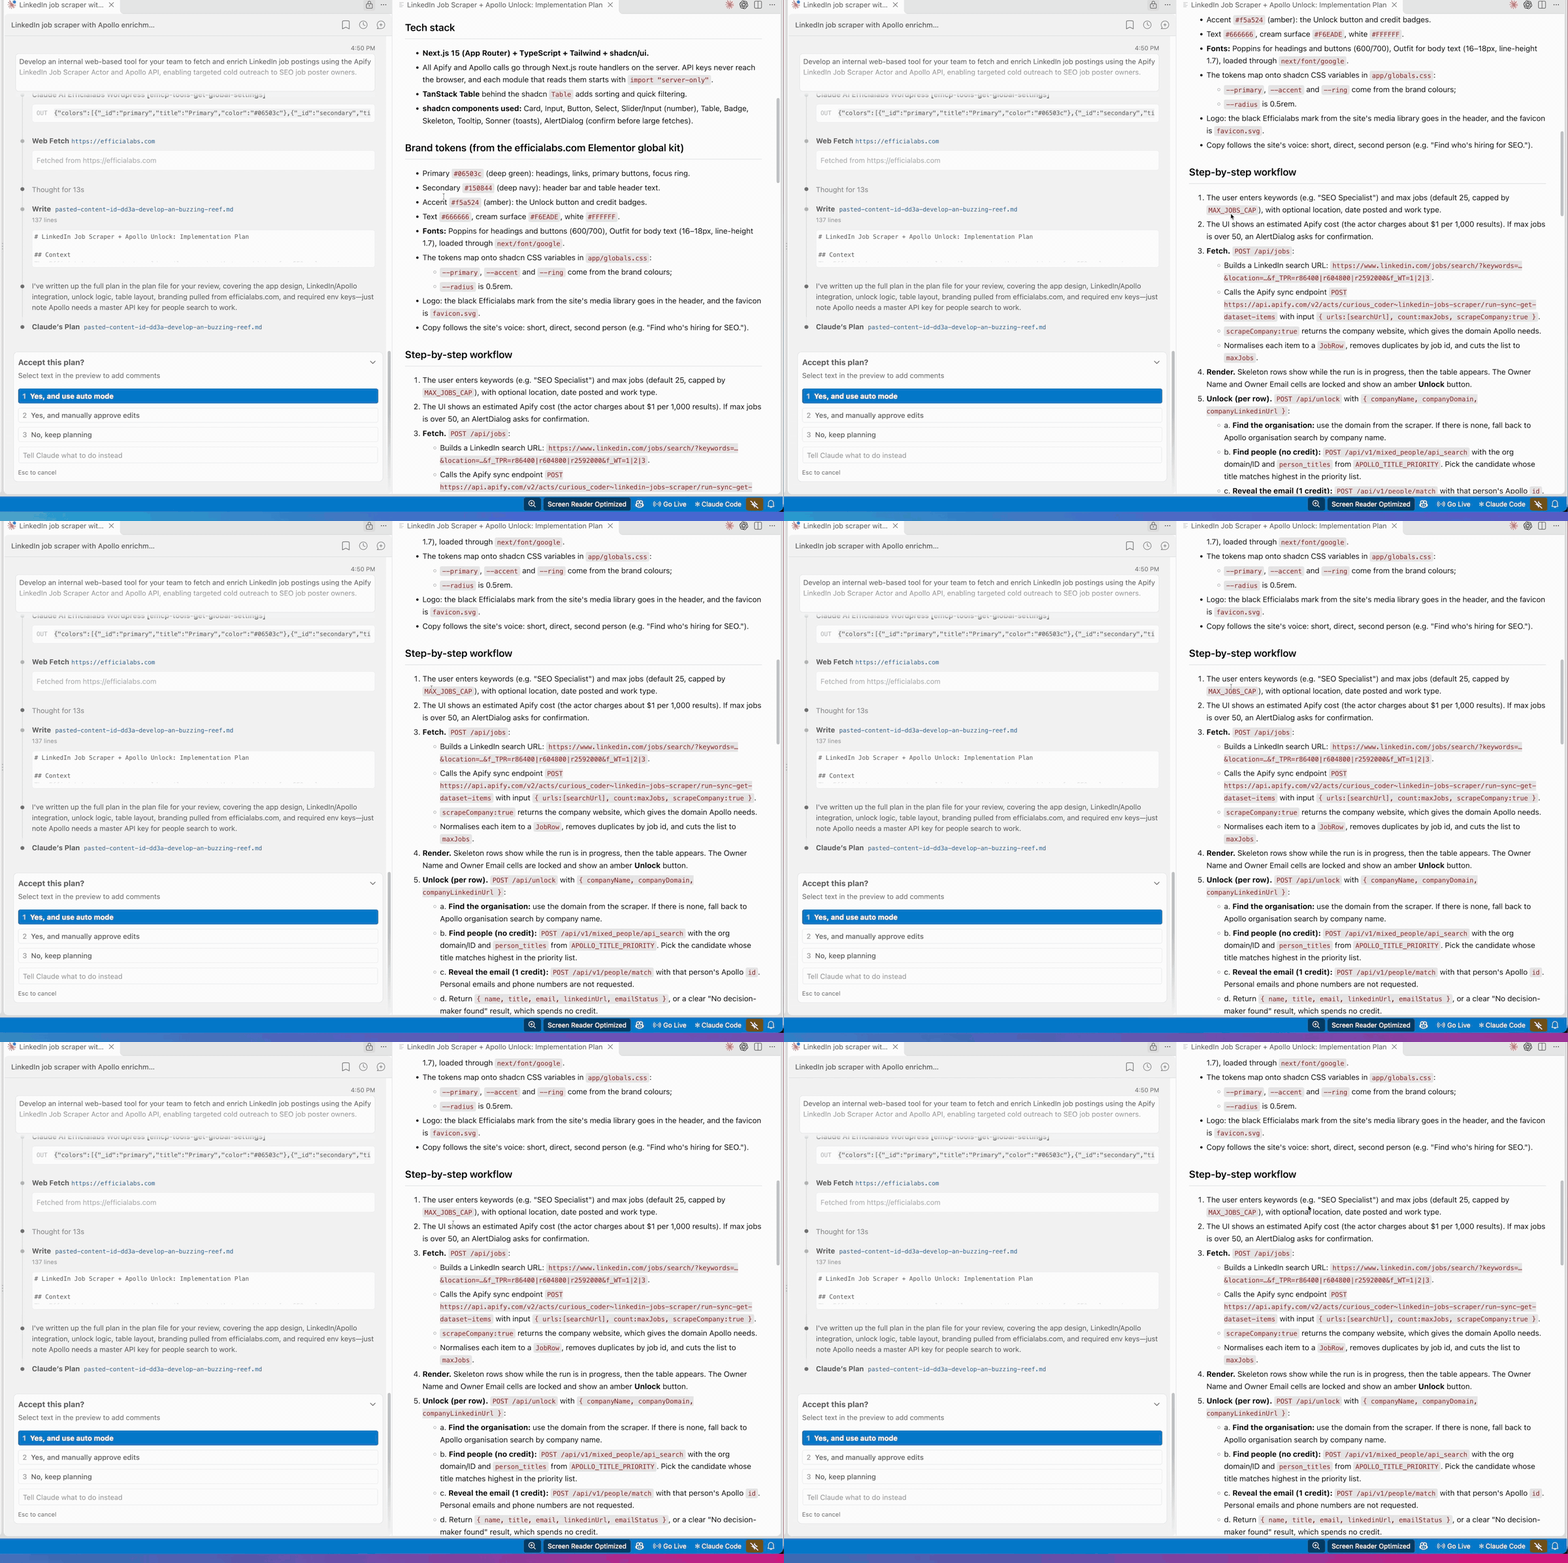
I went through the step-by-step workflow. Okay. Okay. I like this plan. Click on Yes, and use auto mode.
Step 6: Let Claude cook
Now Claude starts building the app.
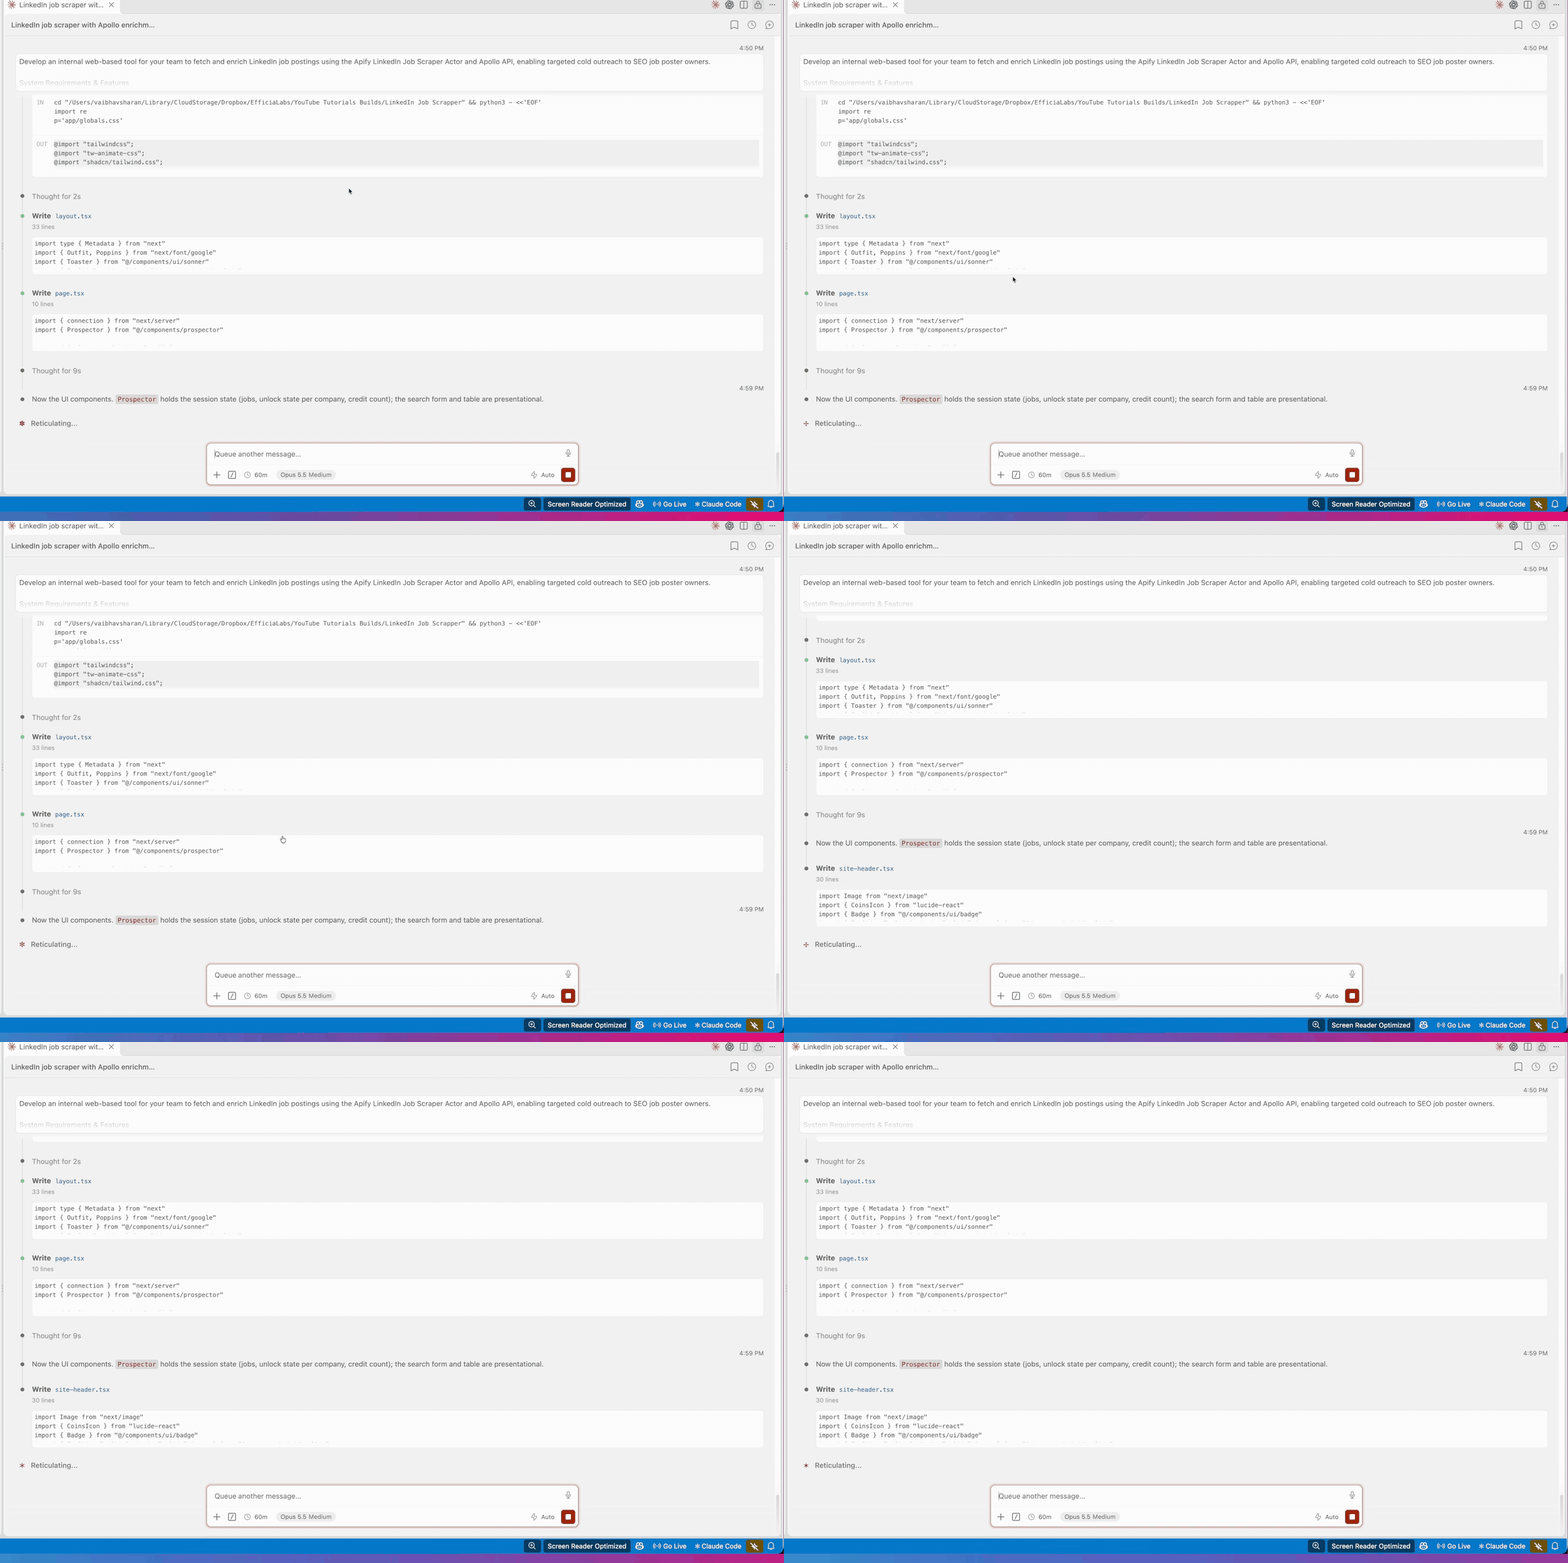
It’s really interesting how good AI is at coding nowadays. If someone had told me back in 2019 that AI could code this well, I would have laughed.
It took roughly 15 minutes. When it was done, it created an .env.local file where the API keys go. Never share this file and never commit it.
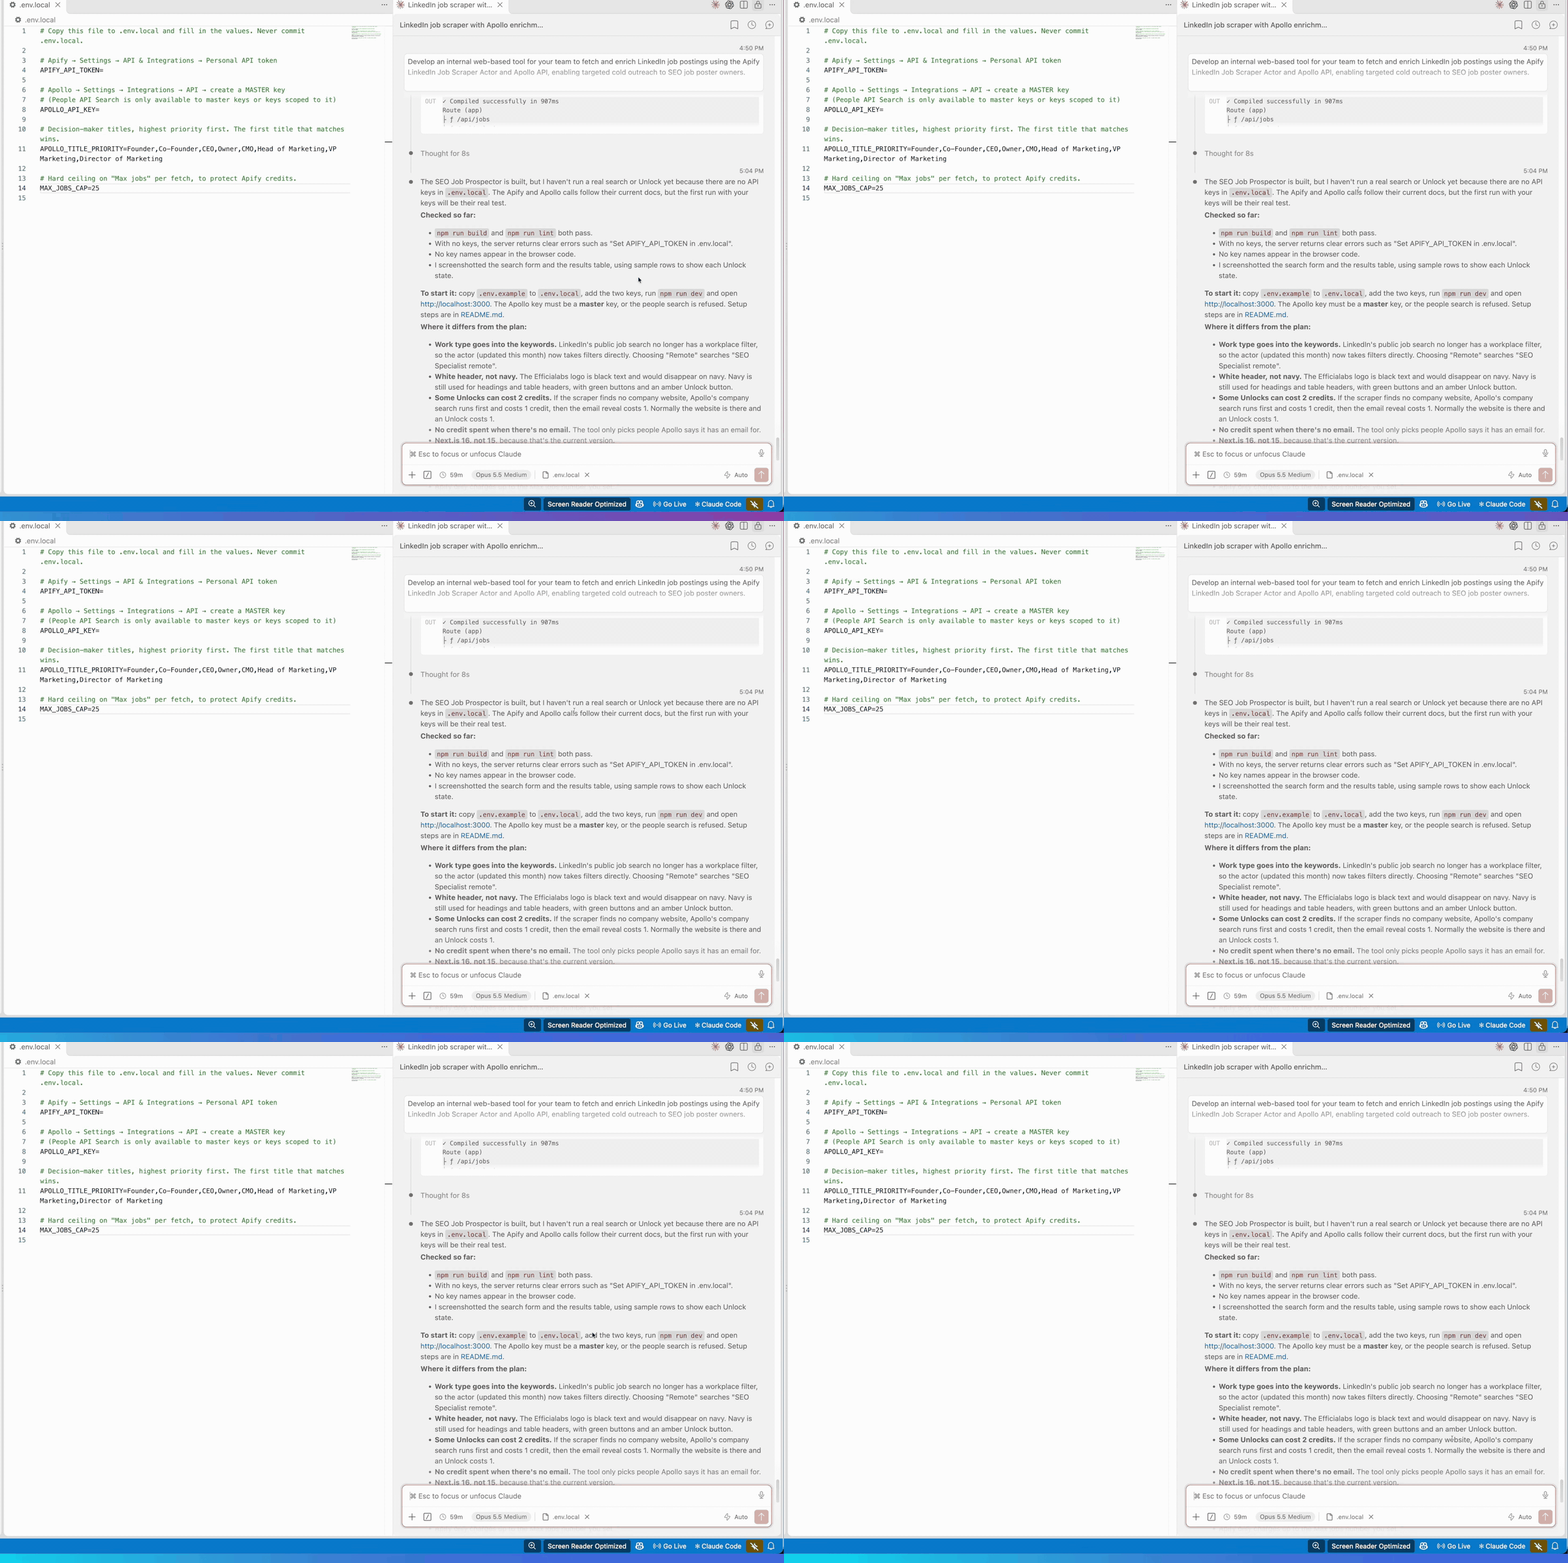
Claude also told me what it checked and where the build differs from the plan. One important note: the Apollo key must be a master key, otherwise the people search gets refused.
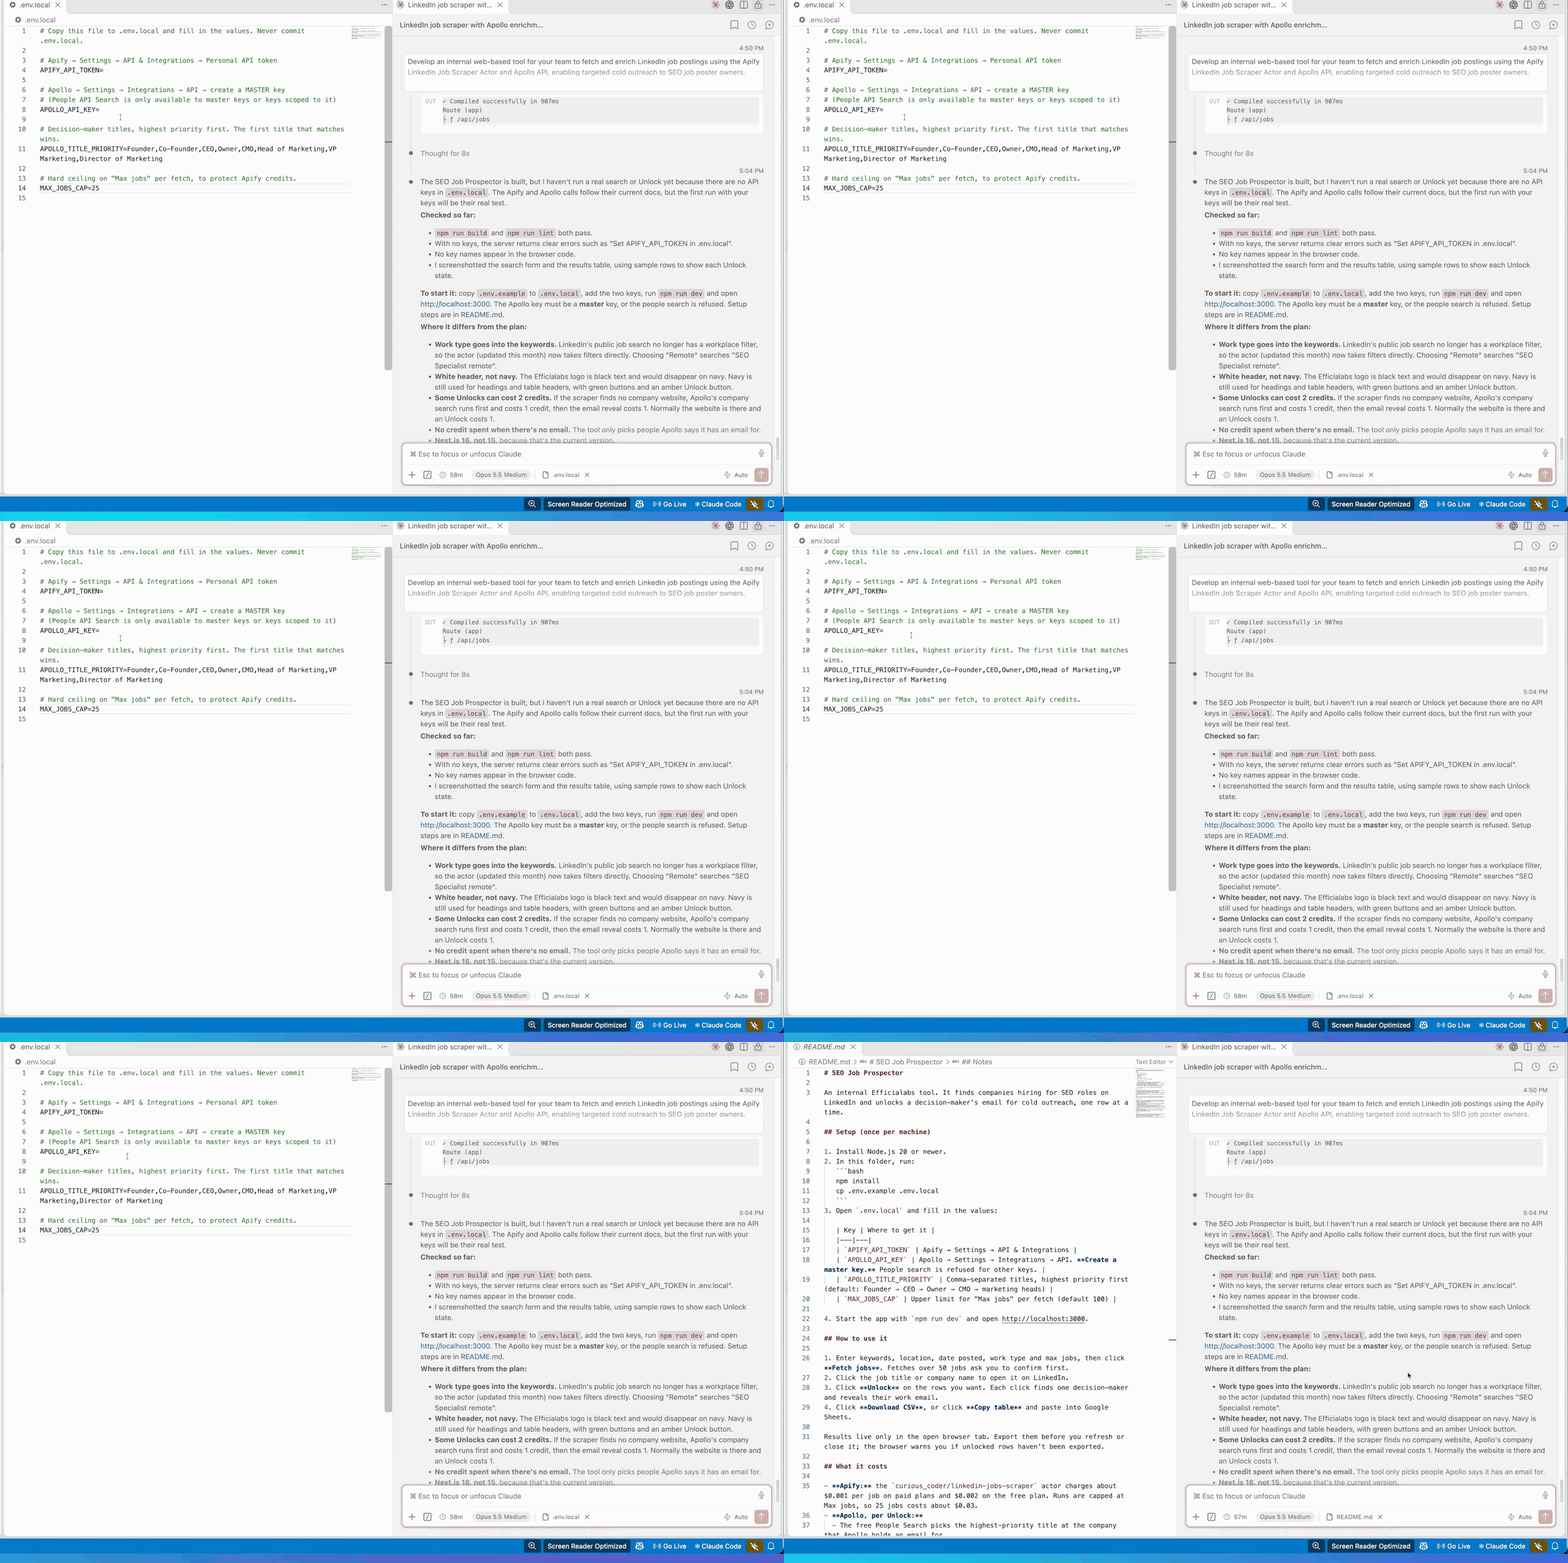
Step 7: Add your API keys
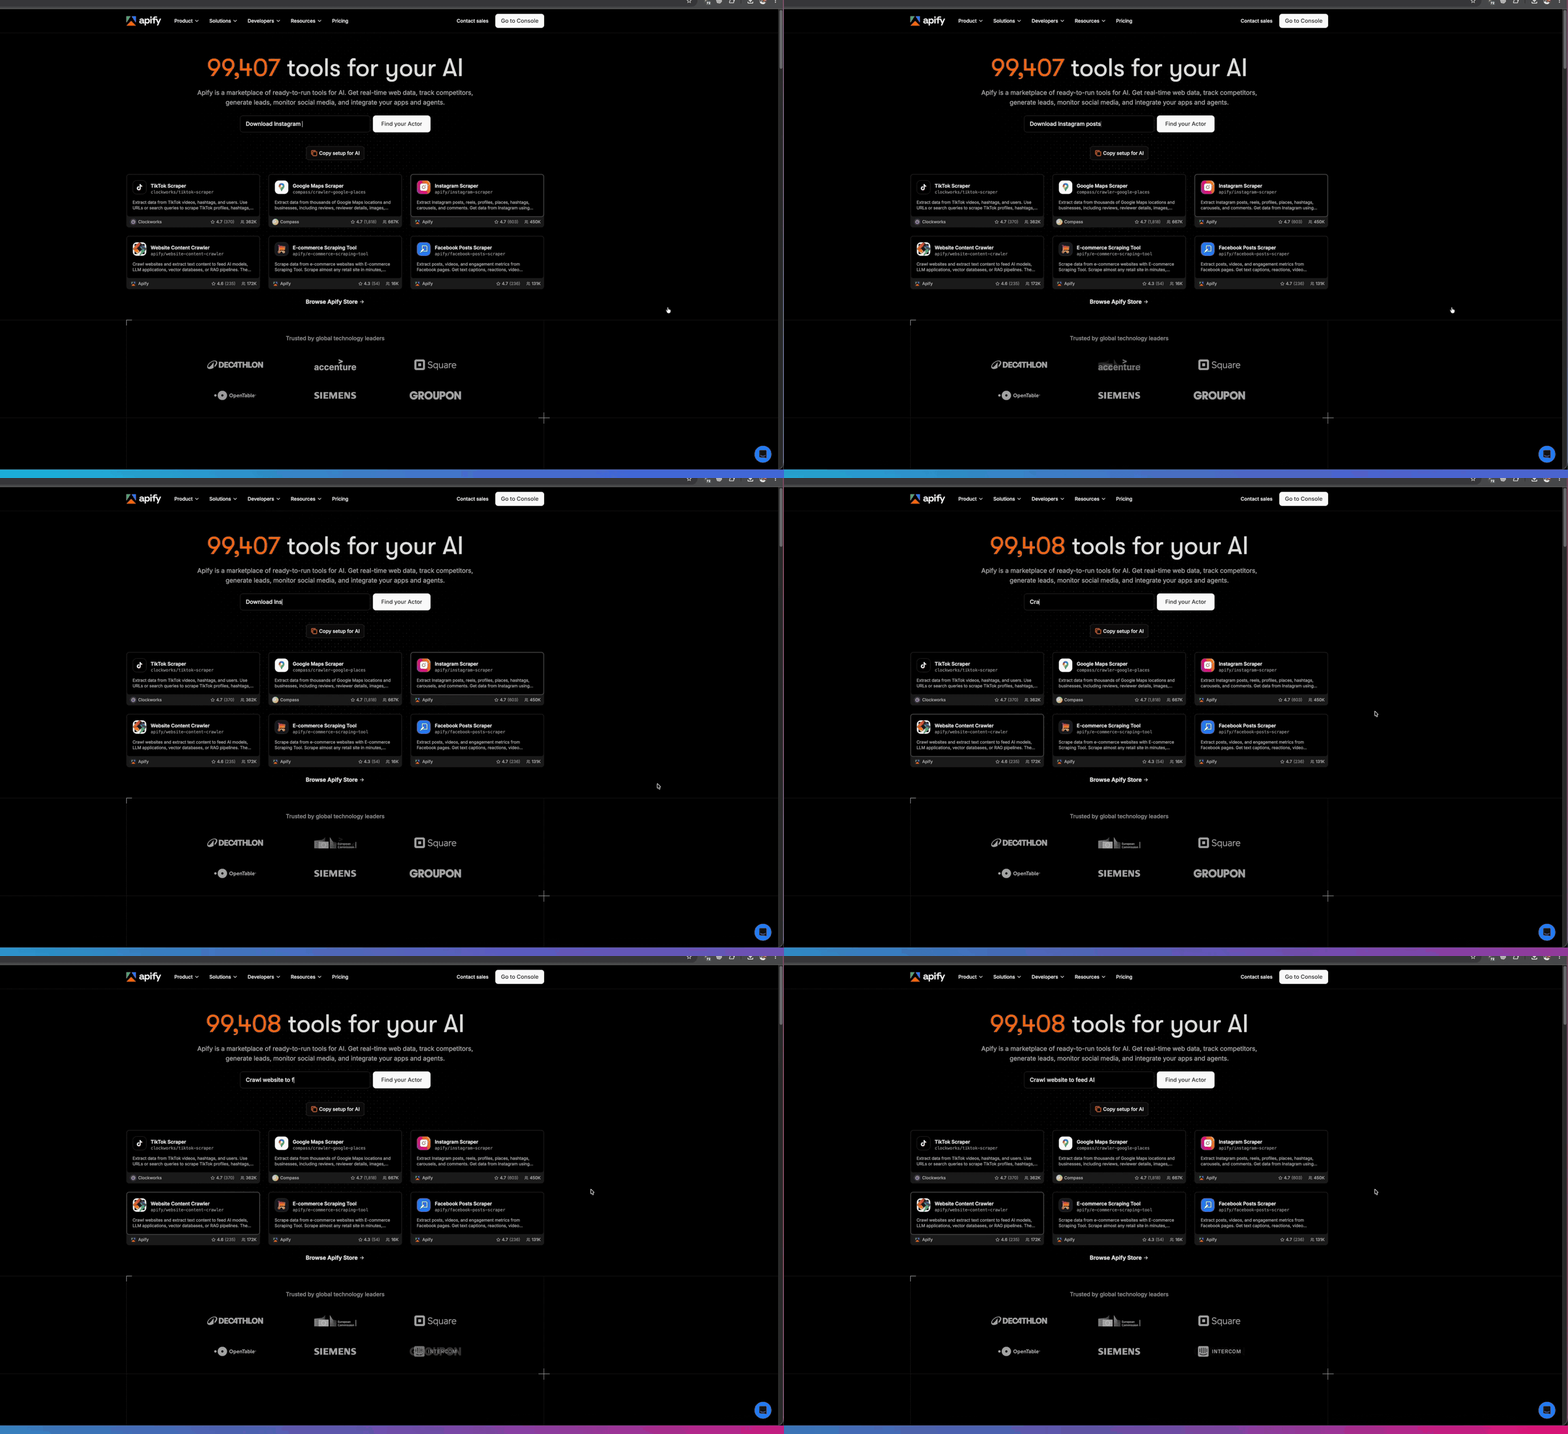
I forgot to tell you what Apify is. Apify is nothing but a scraper. It can scrape almost anything: Google Maps listings, Instagram posts of a particular profile, Instagram comments, LinkedIn comments, LinkedIn job posts.
To get your API key, click on Go to Console, then Settings, then API & Integrations. There you’ll see your API token. Copy it.
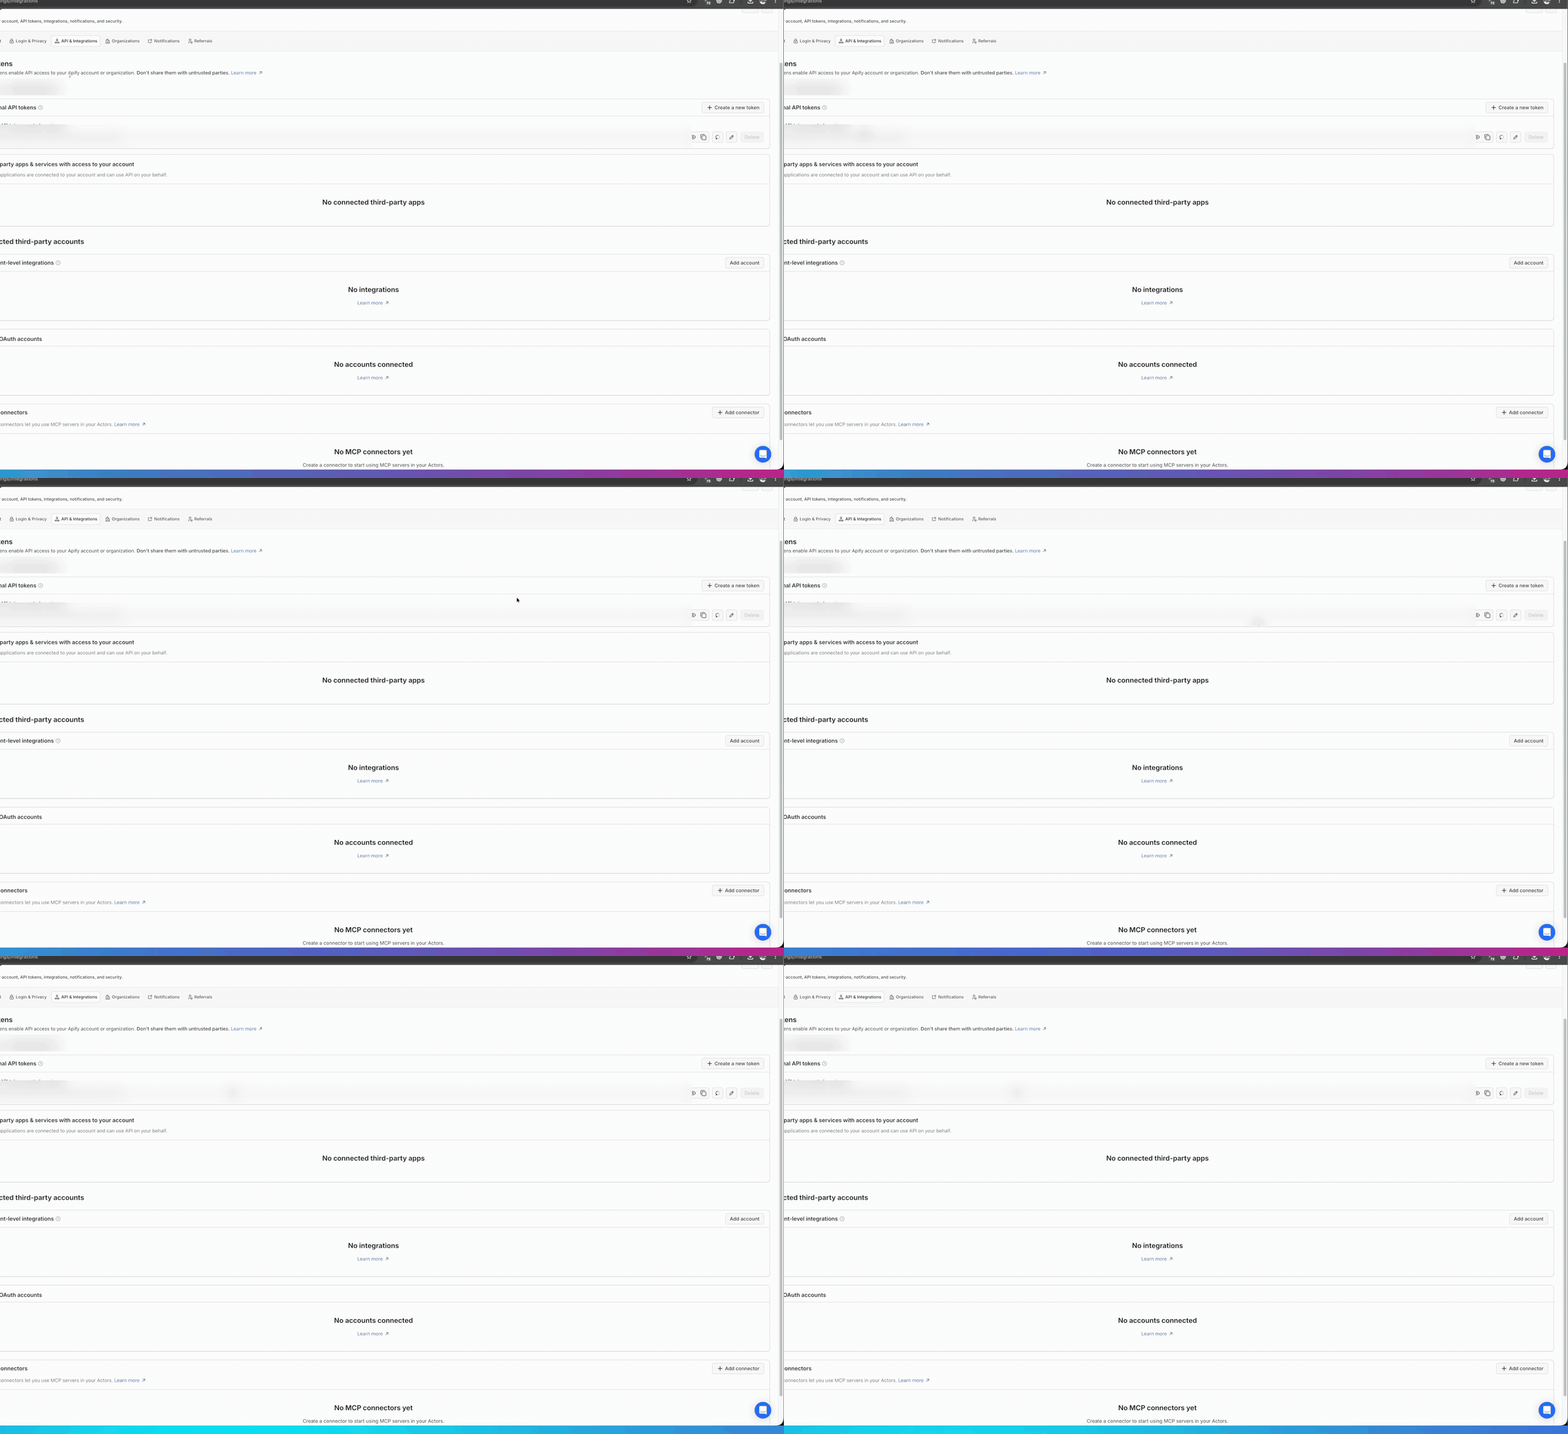
Do not share your API key with anyone. It’s a secret. That’s also why I paused the recording while pasting my keys.
Paste the Apify token and the Apollo key into .env.local. Then tell Claude: “I’ve pasted both API keys.” Let it do some checks.
Step 8: Run it
Copy the localhost link, open Chrome and paste it. Yeah, it’s working.
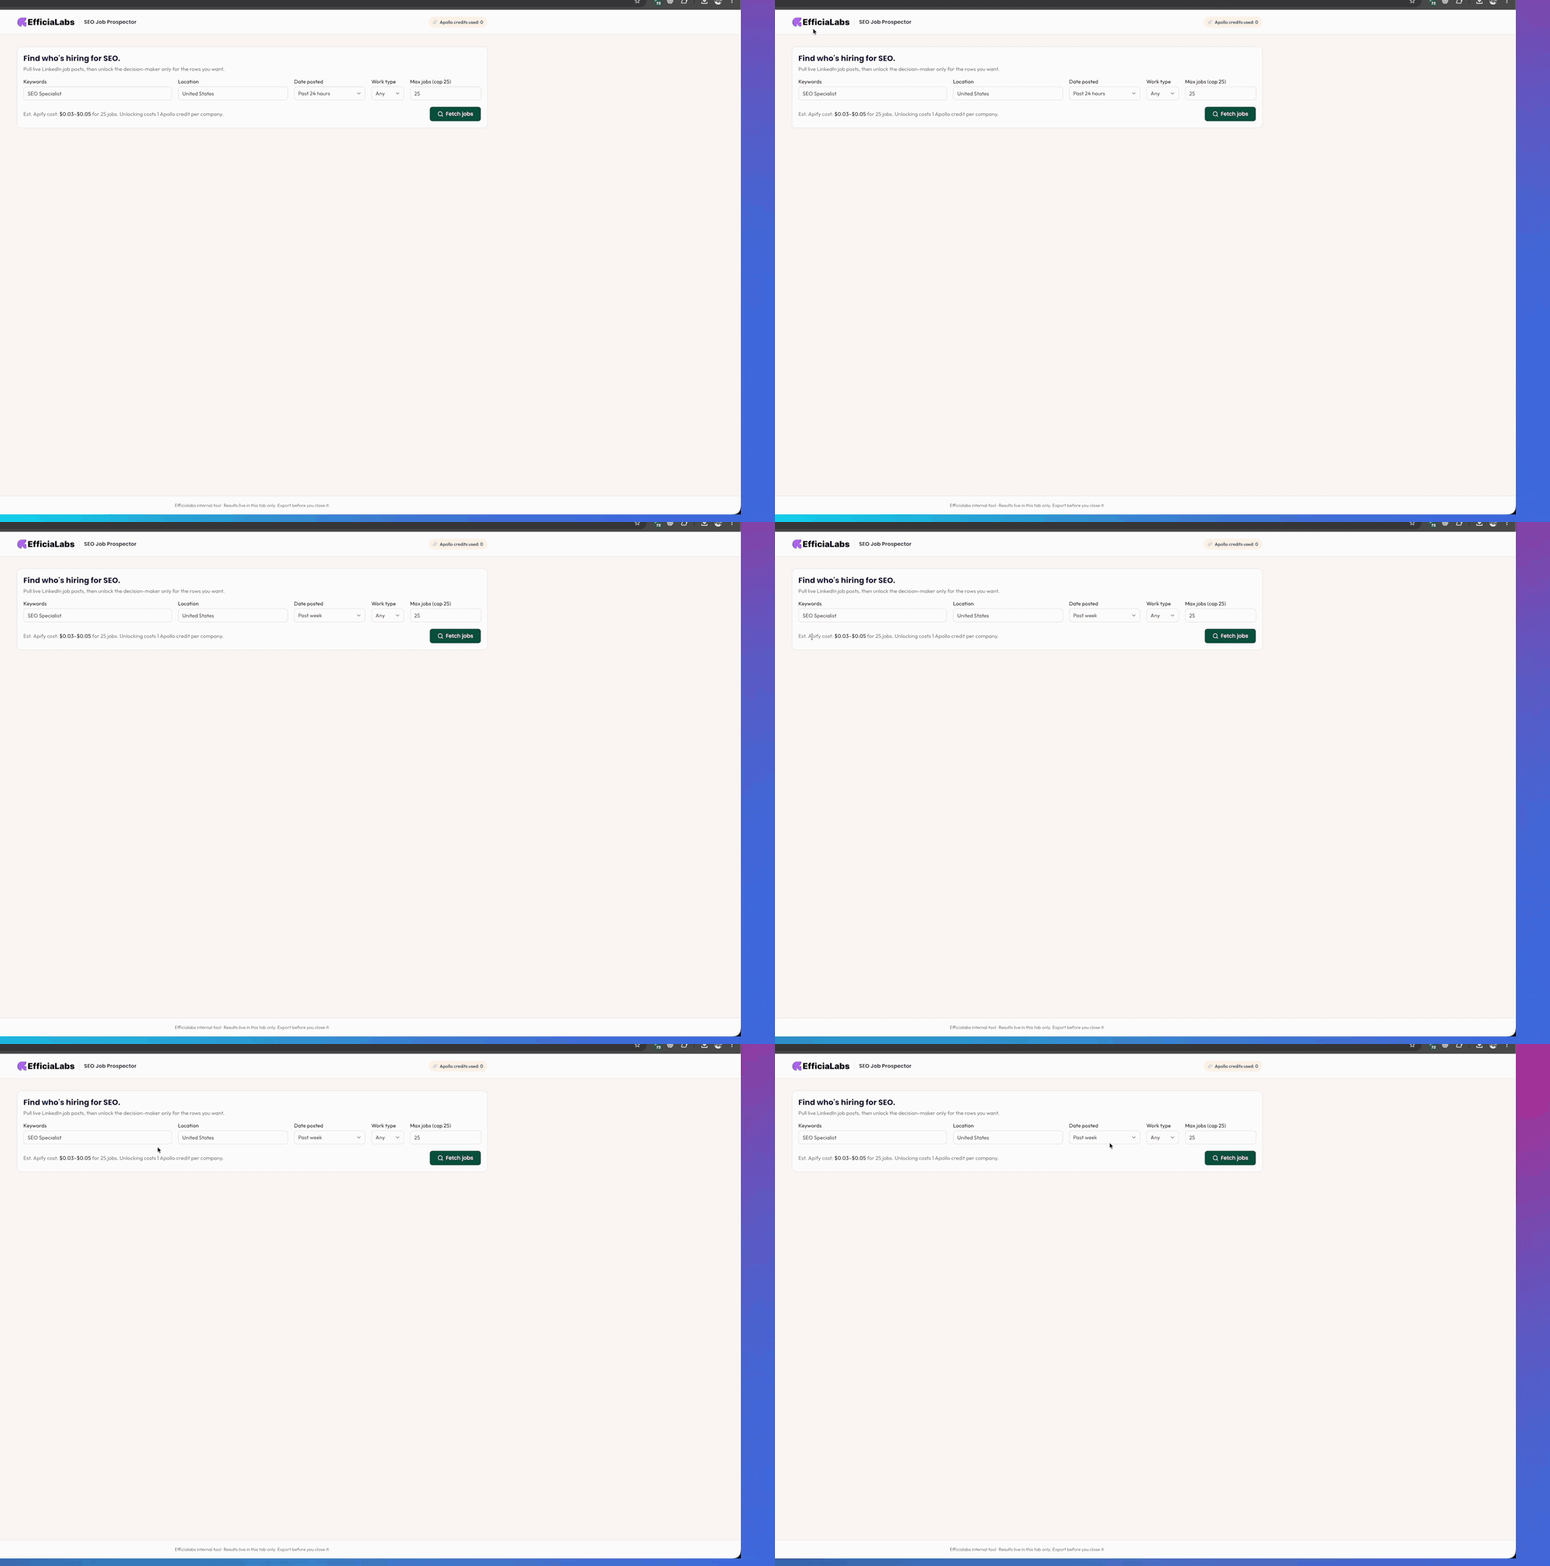
Keyword: SEO Specialist. Country: United States. Date posted: past week. Work type: doesn’t matter. Max jobs: 25. Click Fetch jobs.
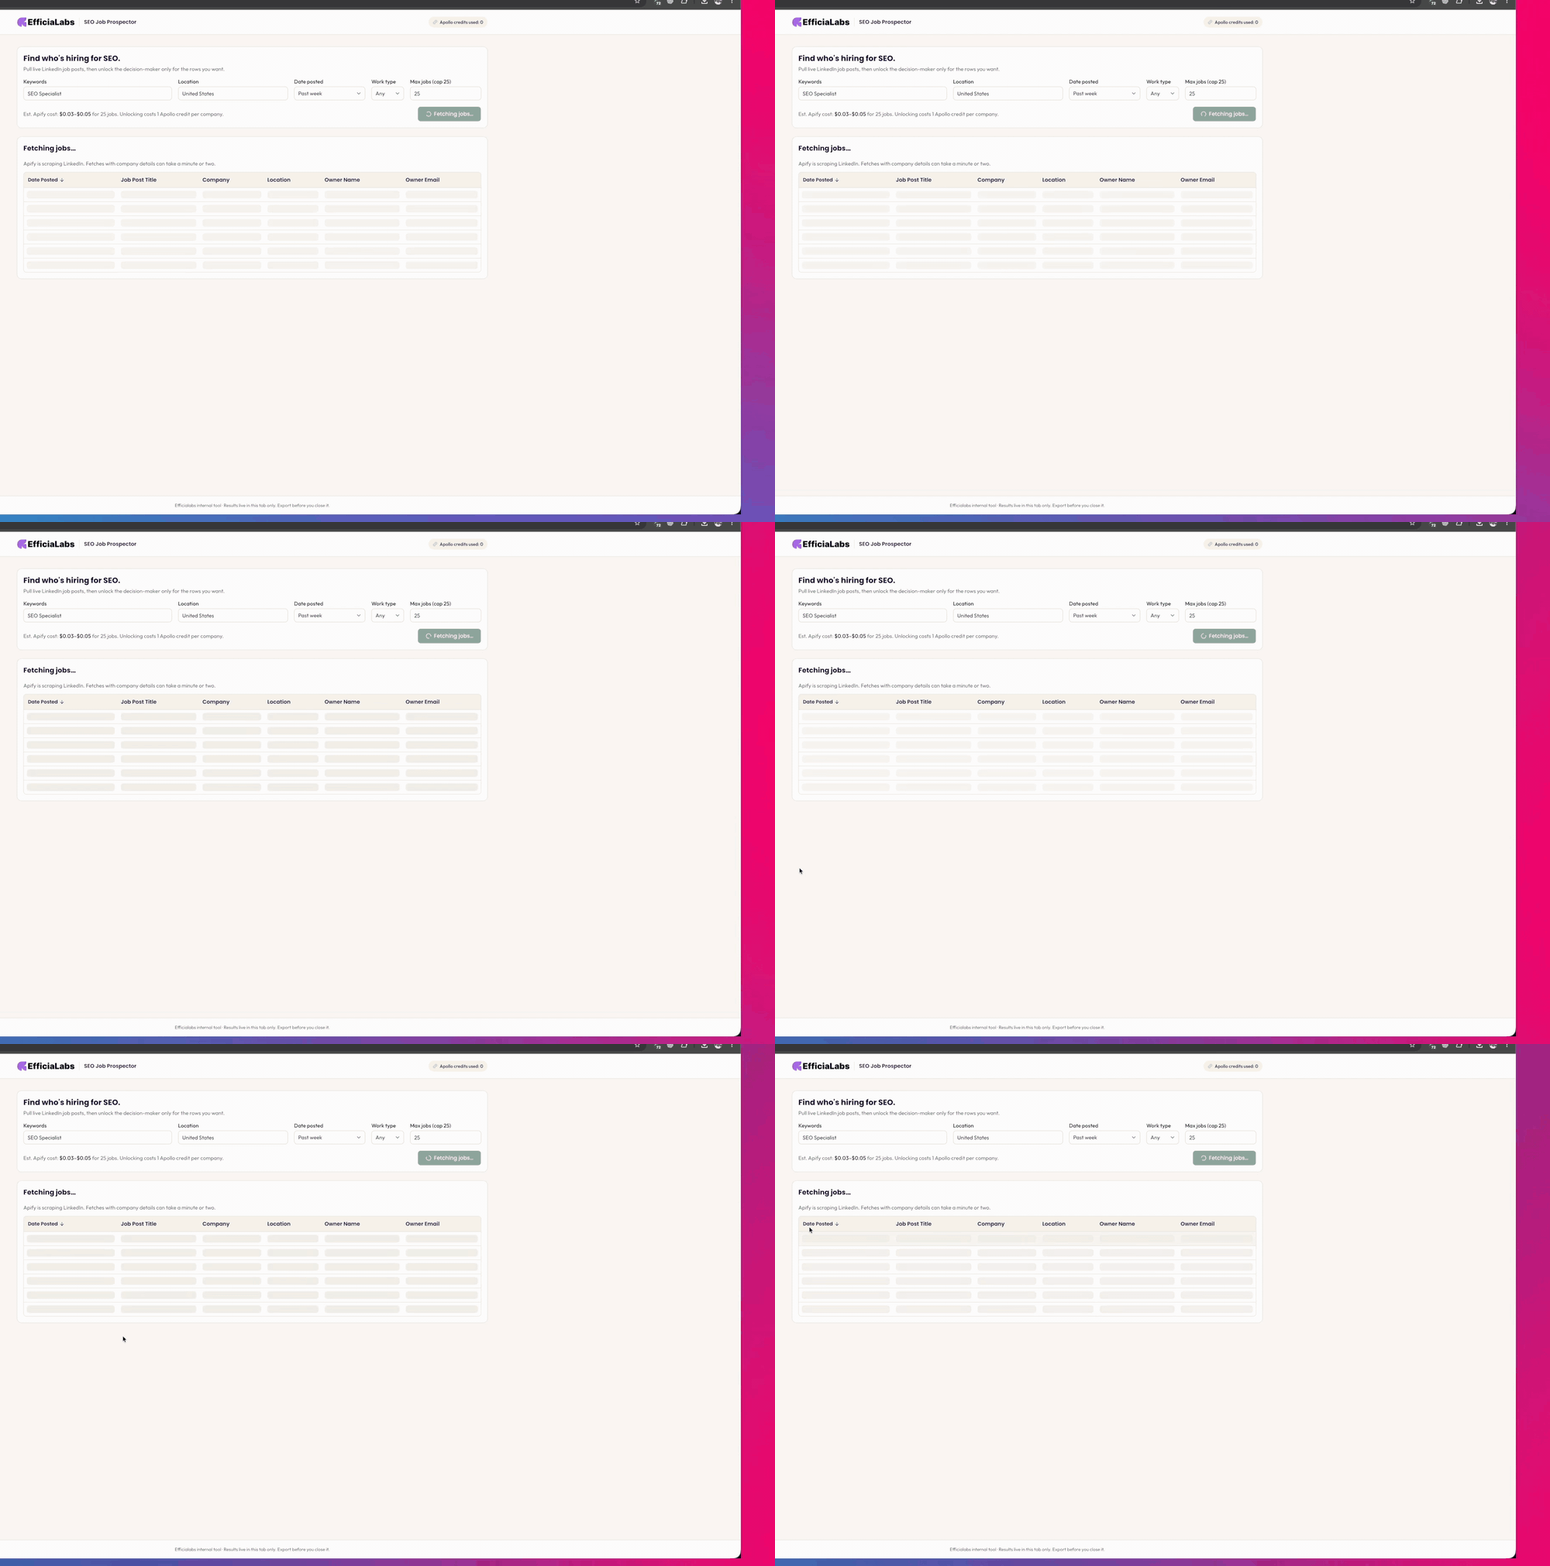
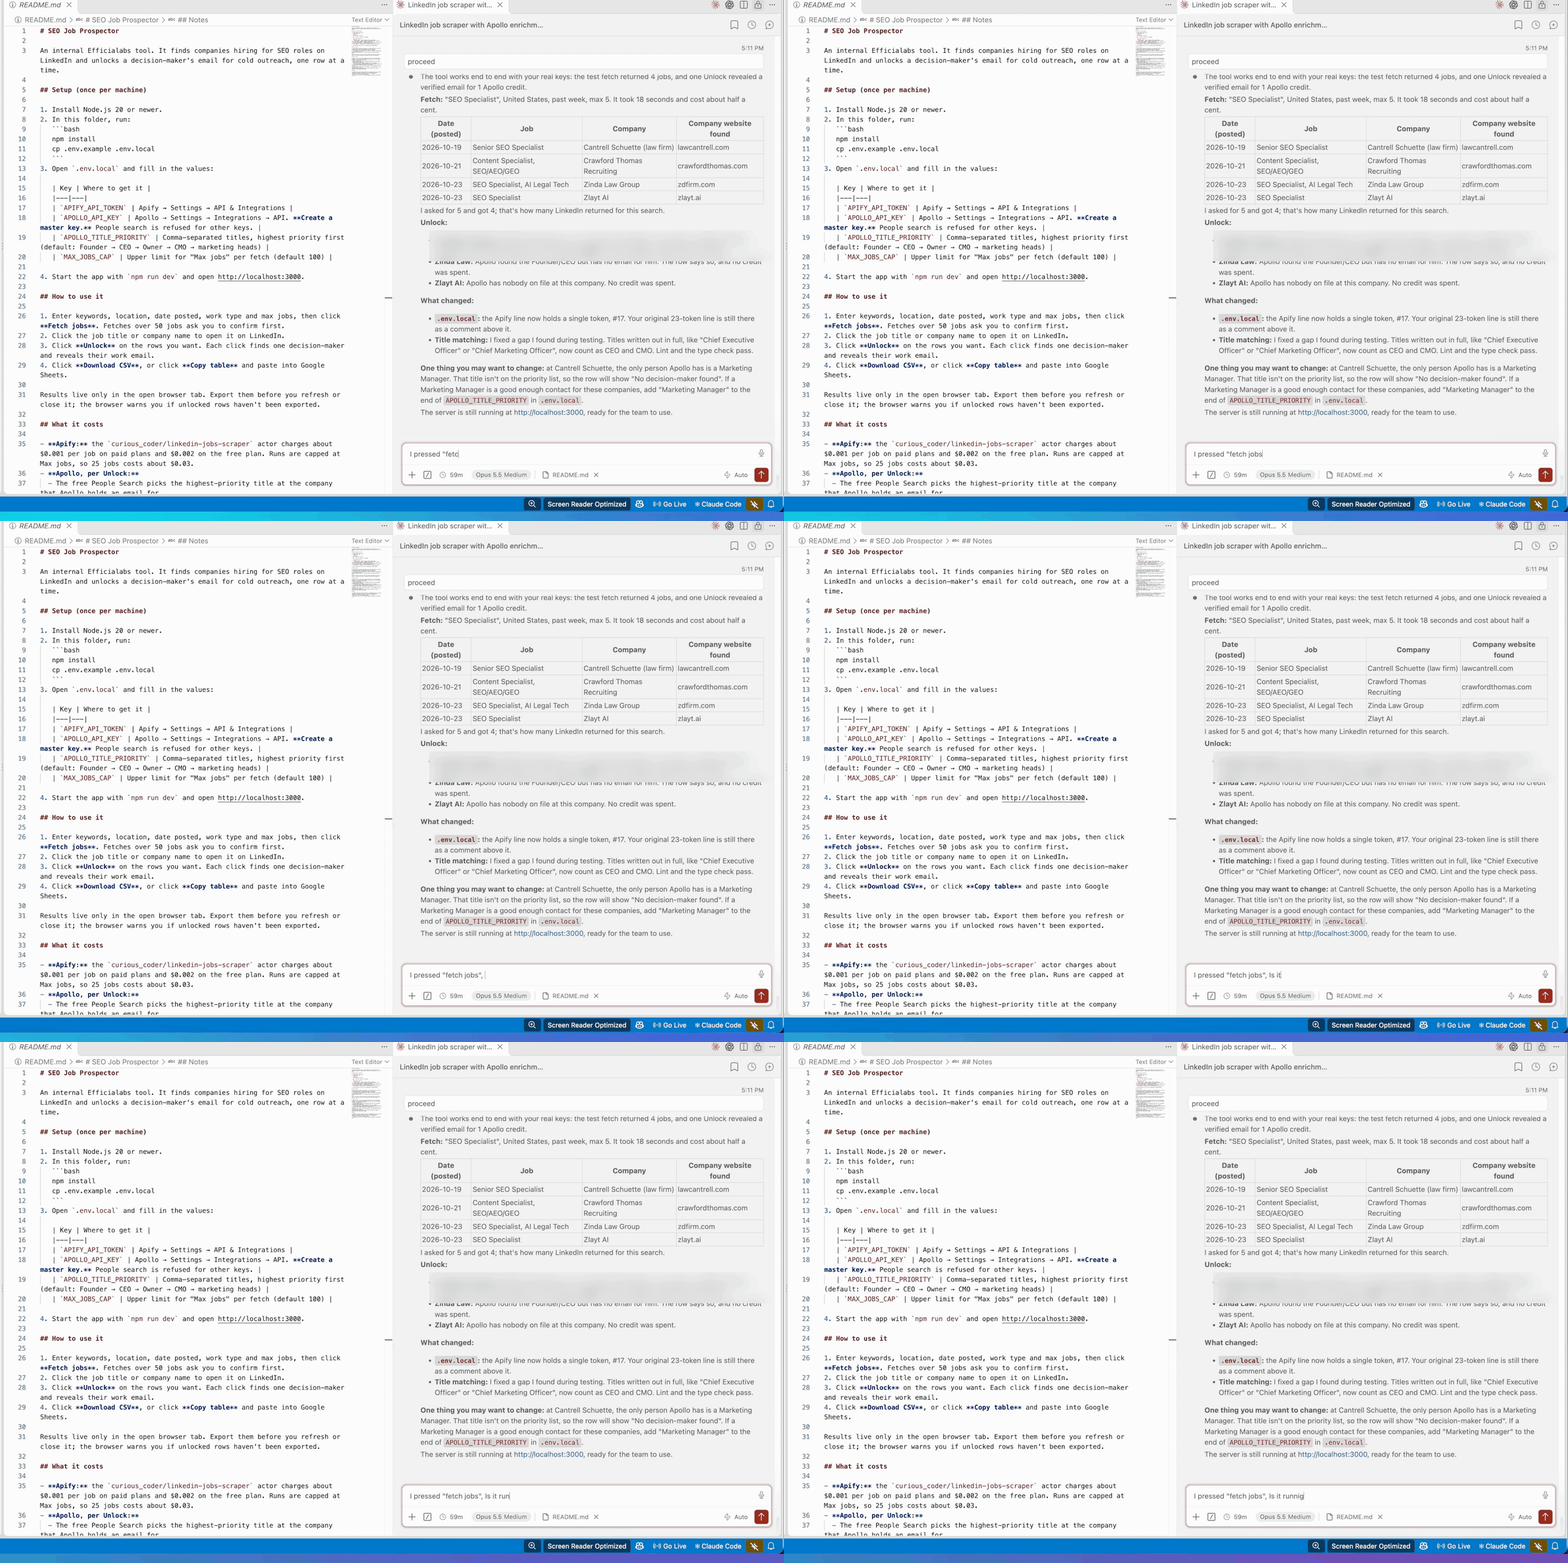
Give it some time. It was taking more time than I anticipated, so I asked Claude. It ran a test fetch itself and showed me what came back.
I kind of like the UI, by the way. Everything is so clean, and it matches our website.
Step 9: Find your ICP and unlock the owner
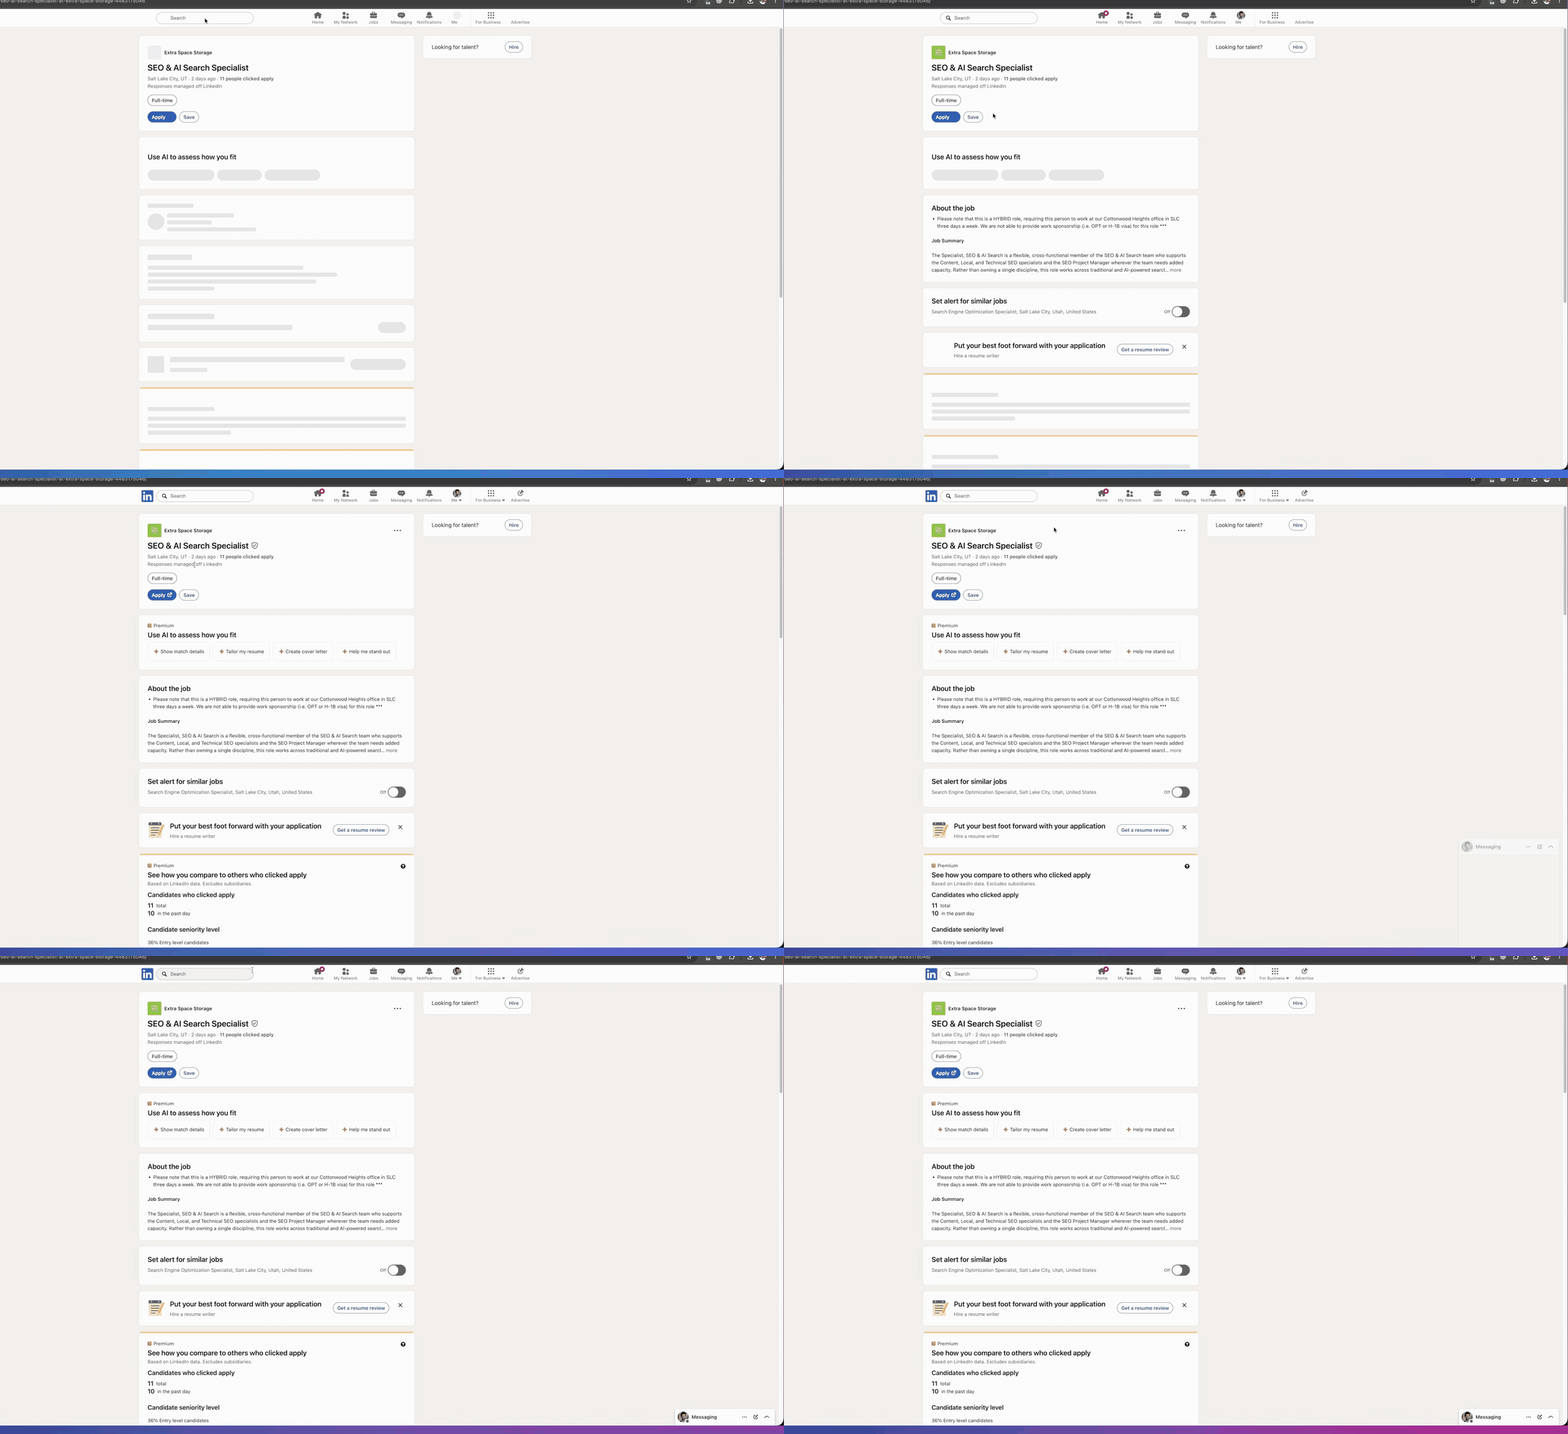
It worked. Click on any job title and you can see the full job post on LinkedIn.
Now, don’t unlock every row. If the company falls under your ICP, then unlock it. Let me find a company that’s small enough.
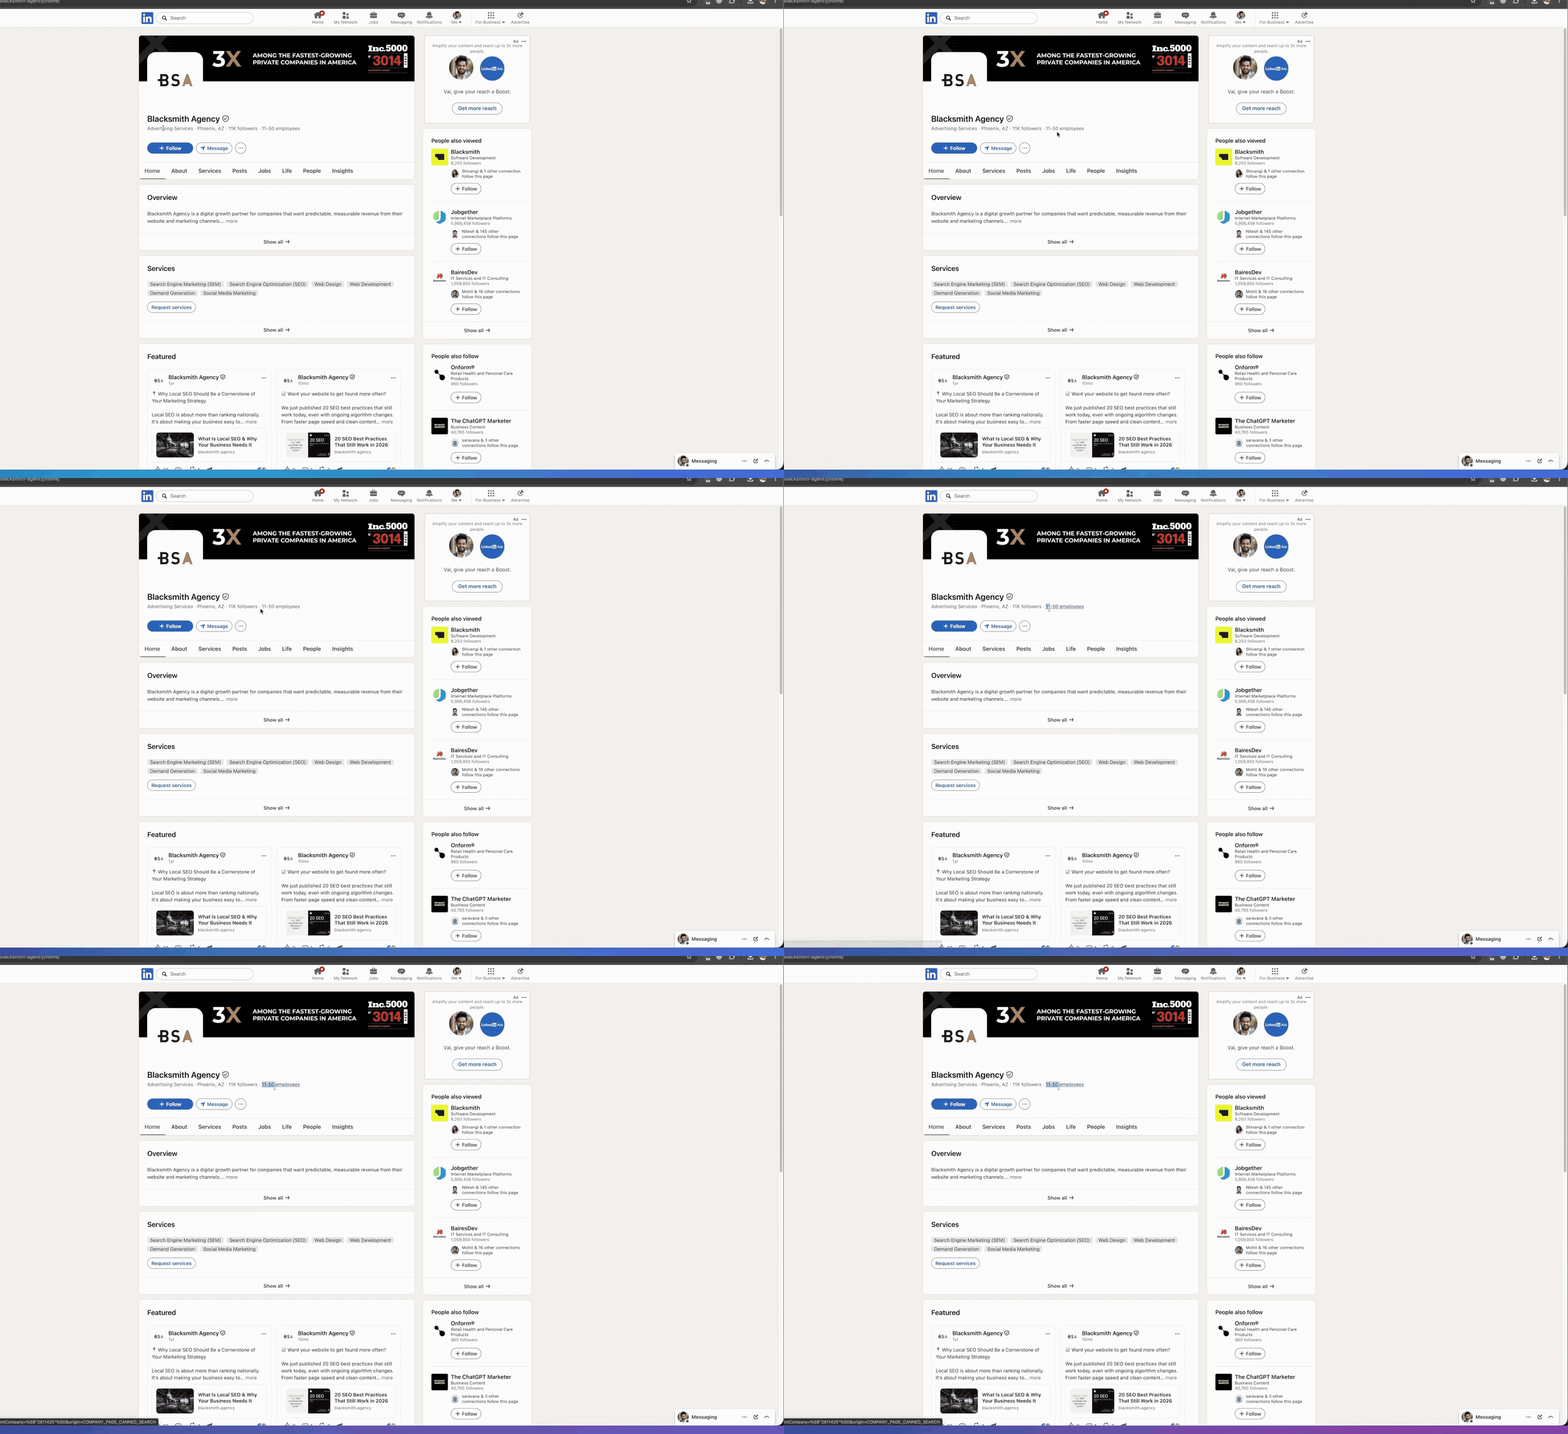
Blacksmith Agency. I know this won’t fall under your ICP, but it falls under mine, because we serve advertising agencies. This is what we look for: an agency with 11 to 50 employees.
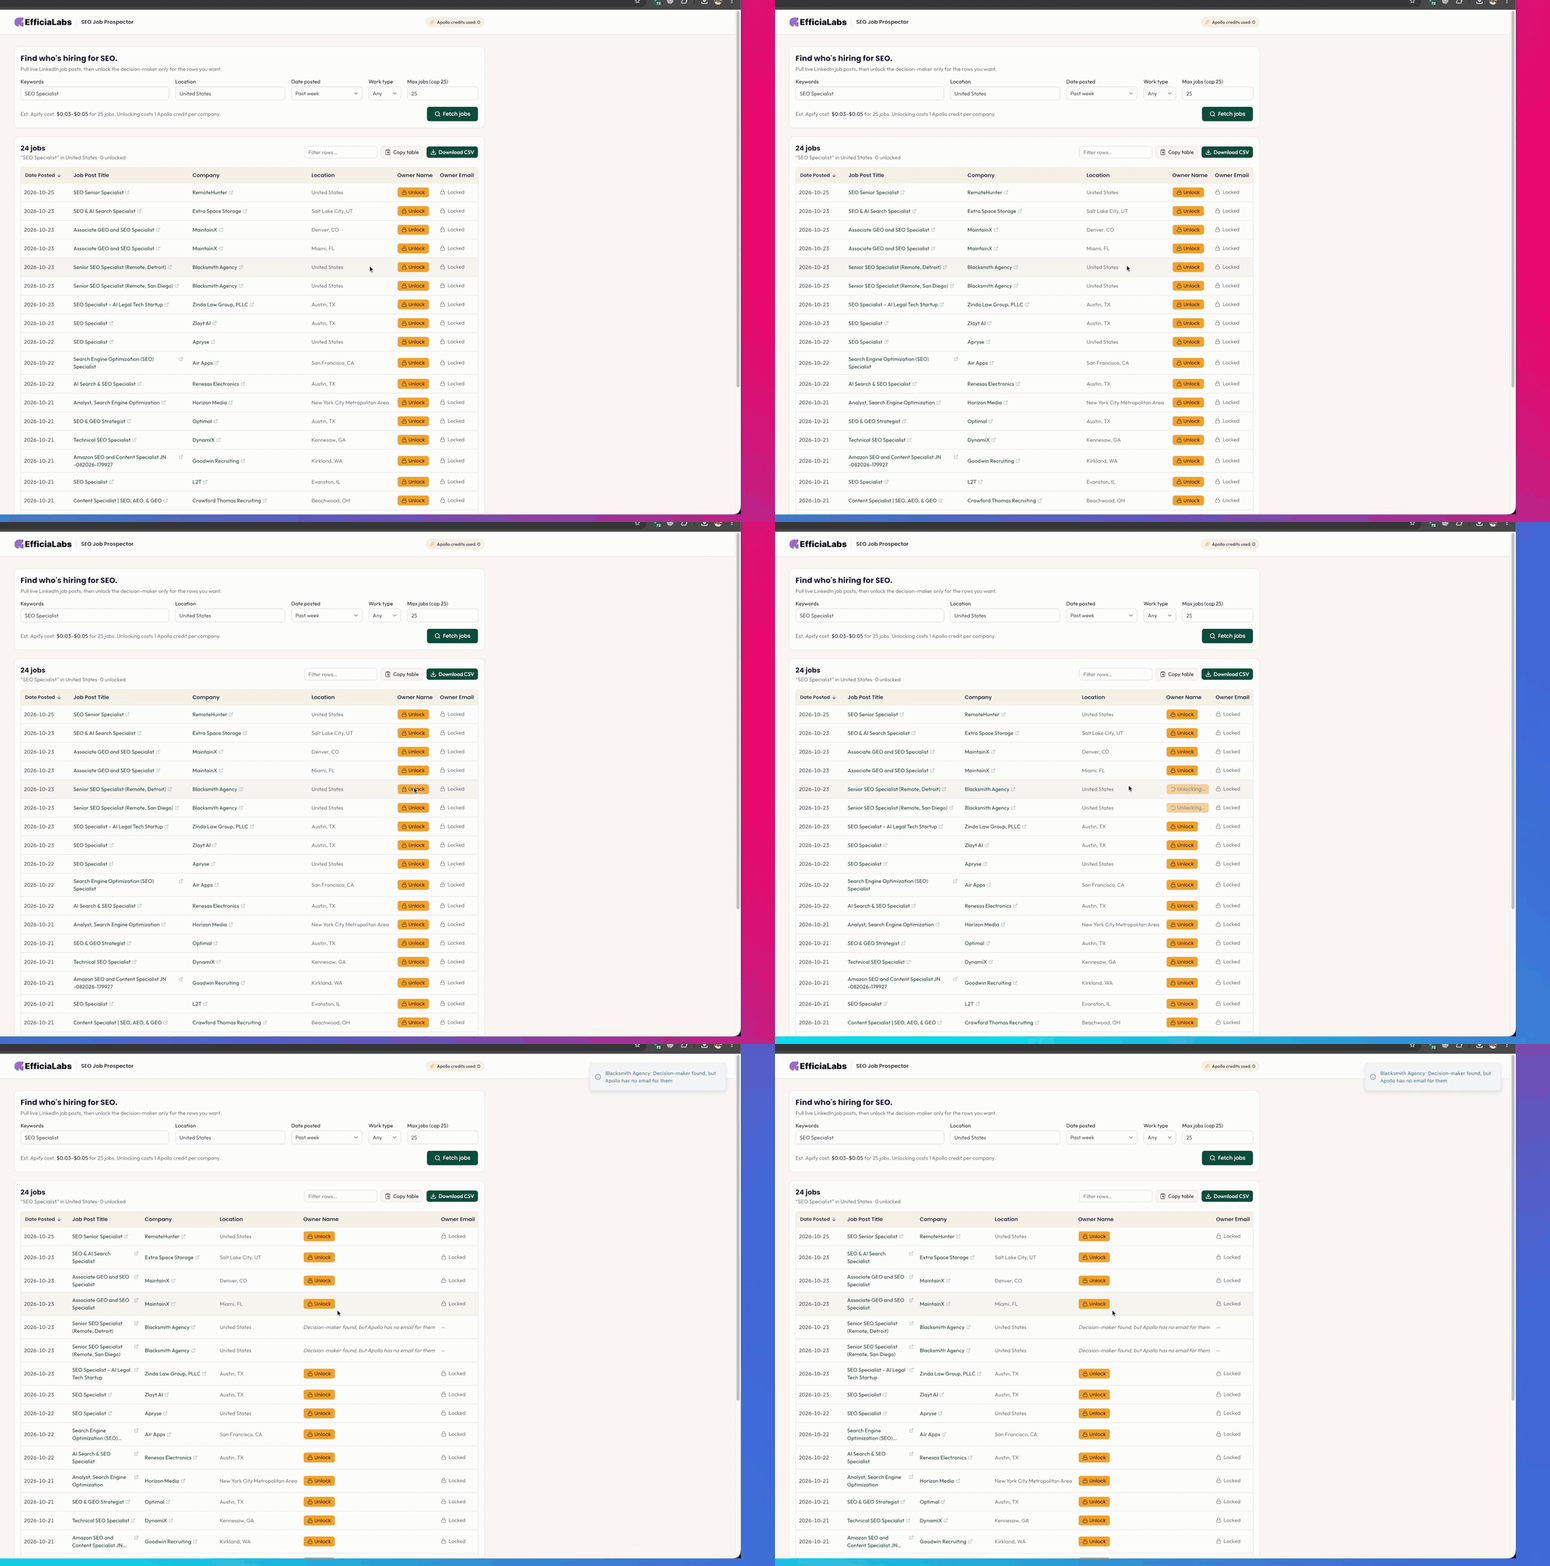
Click on Unlock. Decision-maker found, but no email ID for them. Interesting.
Apollo couldn’t find the decision-maker’s email for a few of these companies. But for one company it found the CEO, with his name and email ID. So this is how it works.
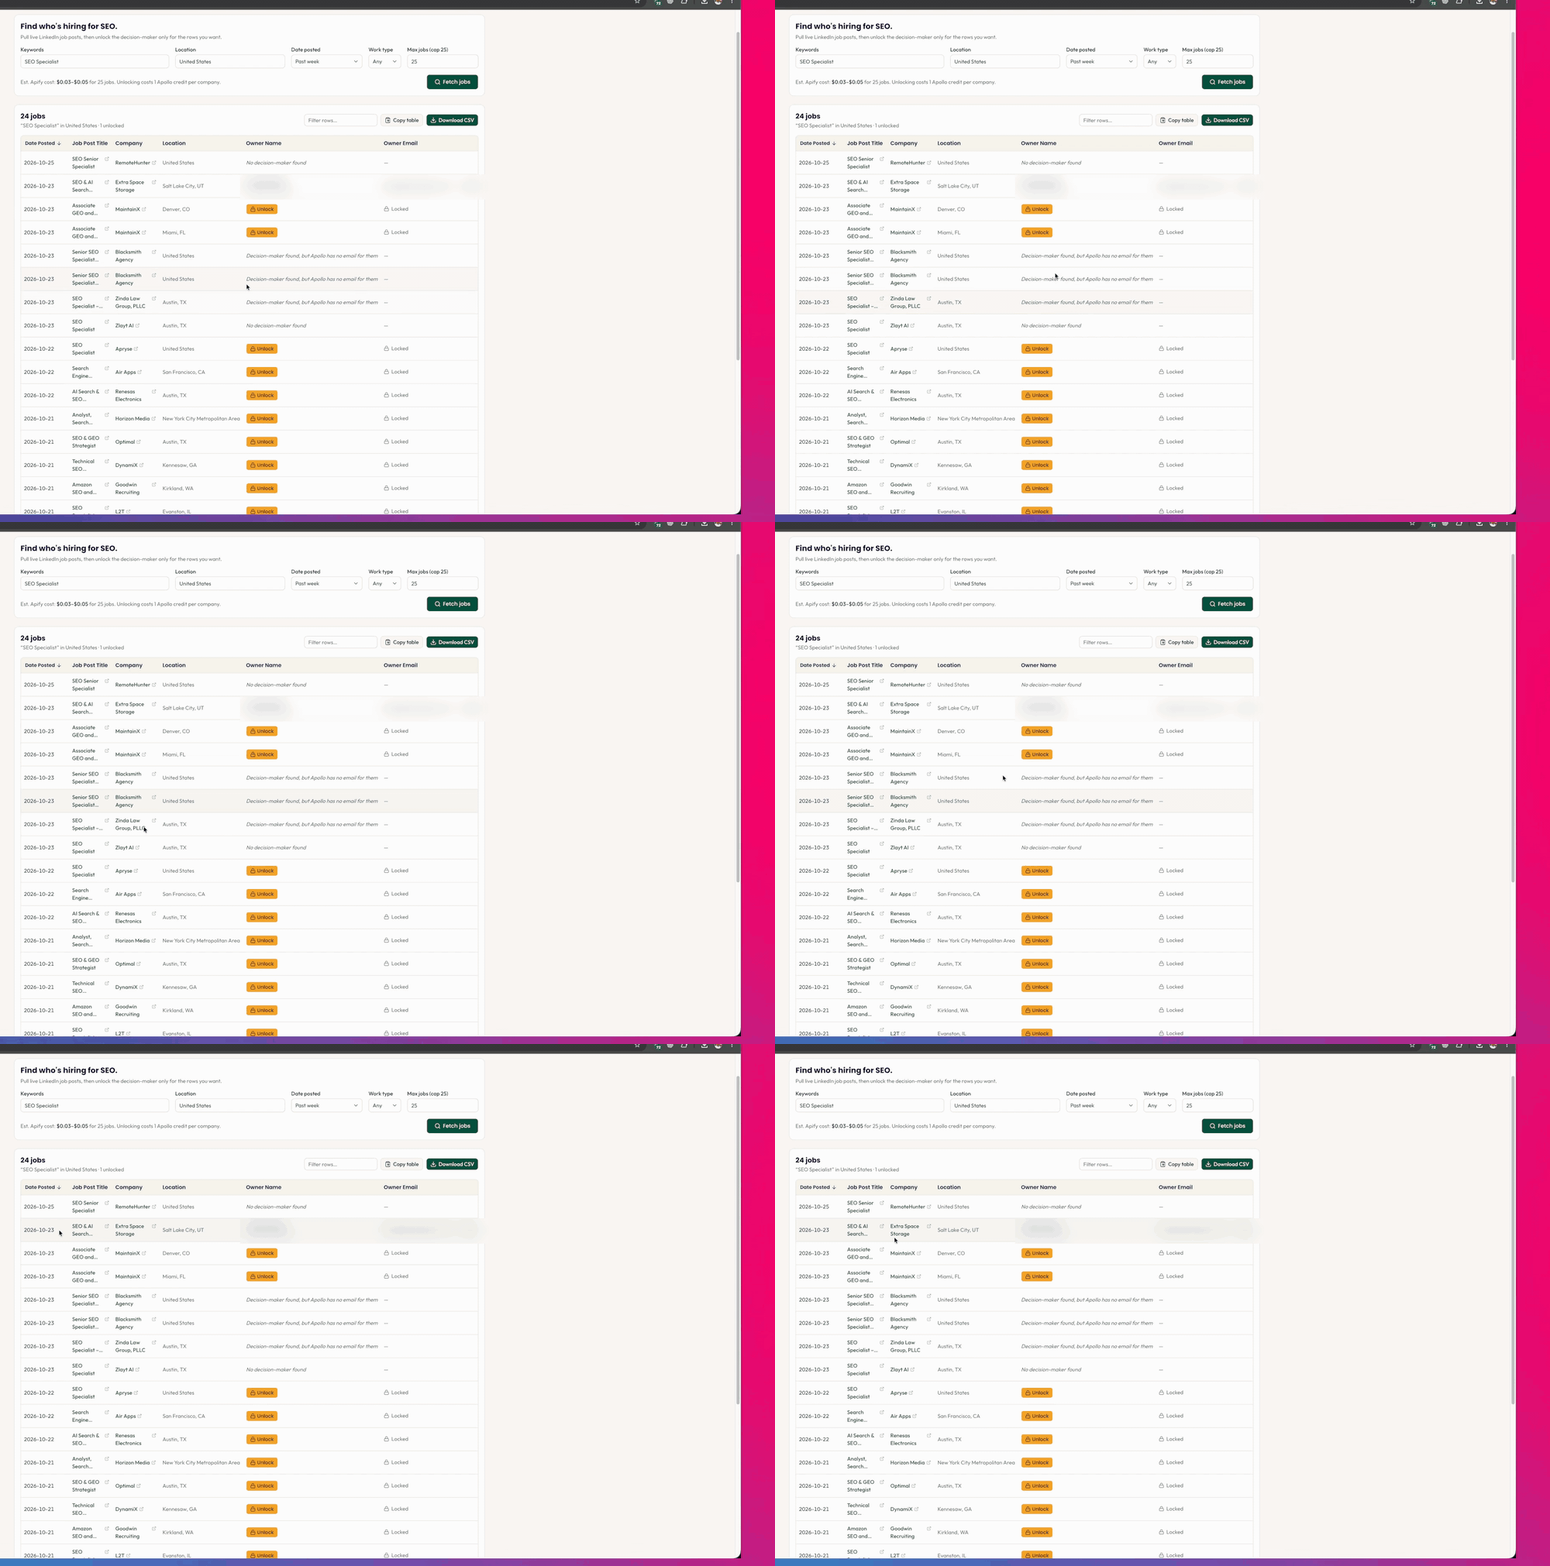
One honest note: this is a problem with Apollo’s data, not with the tool. Some companies just don’t have an email on file. The good part is that no credit is spent when there’s no email.
Step 10: Fix the bugs
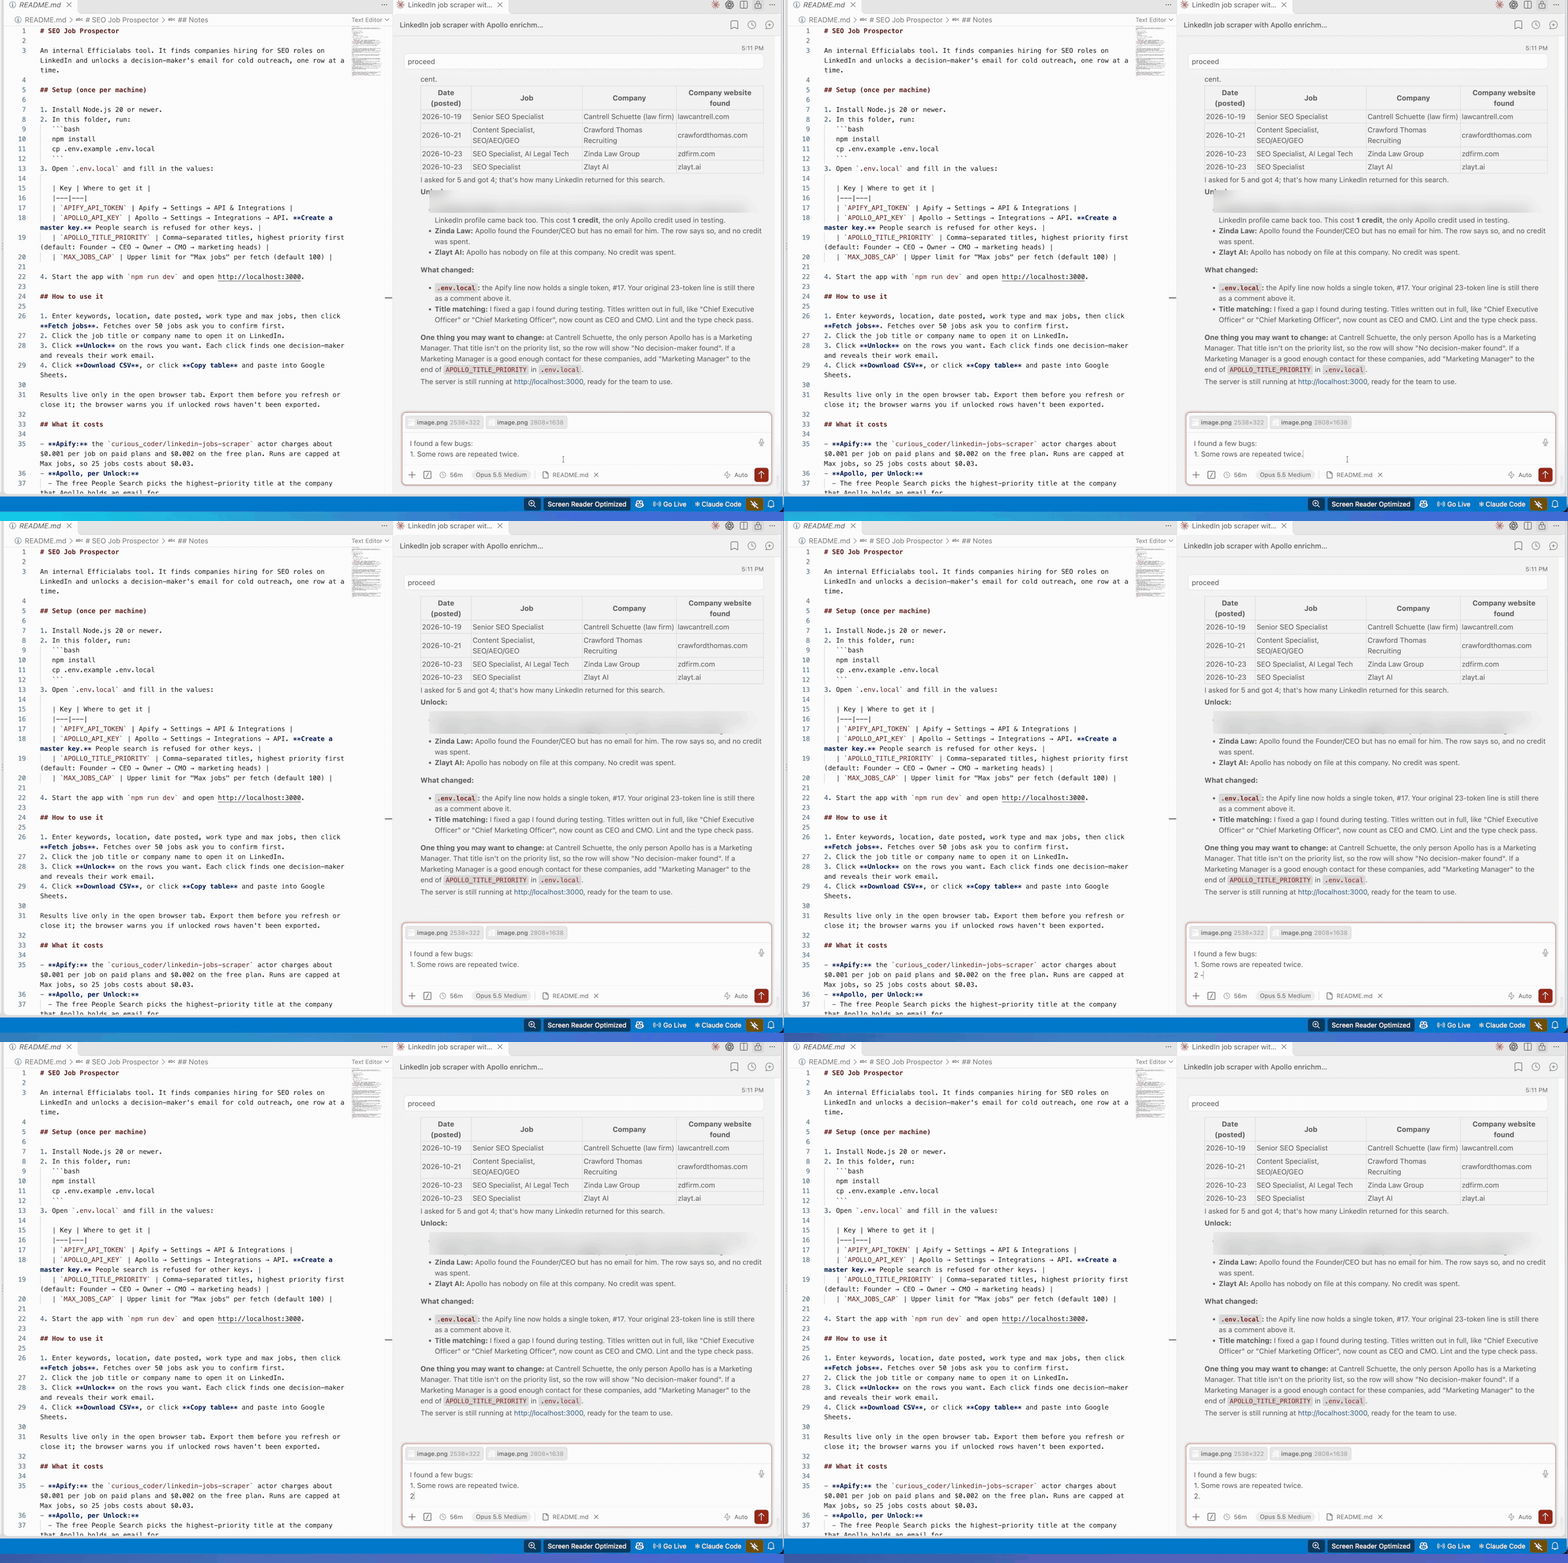
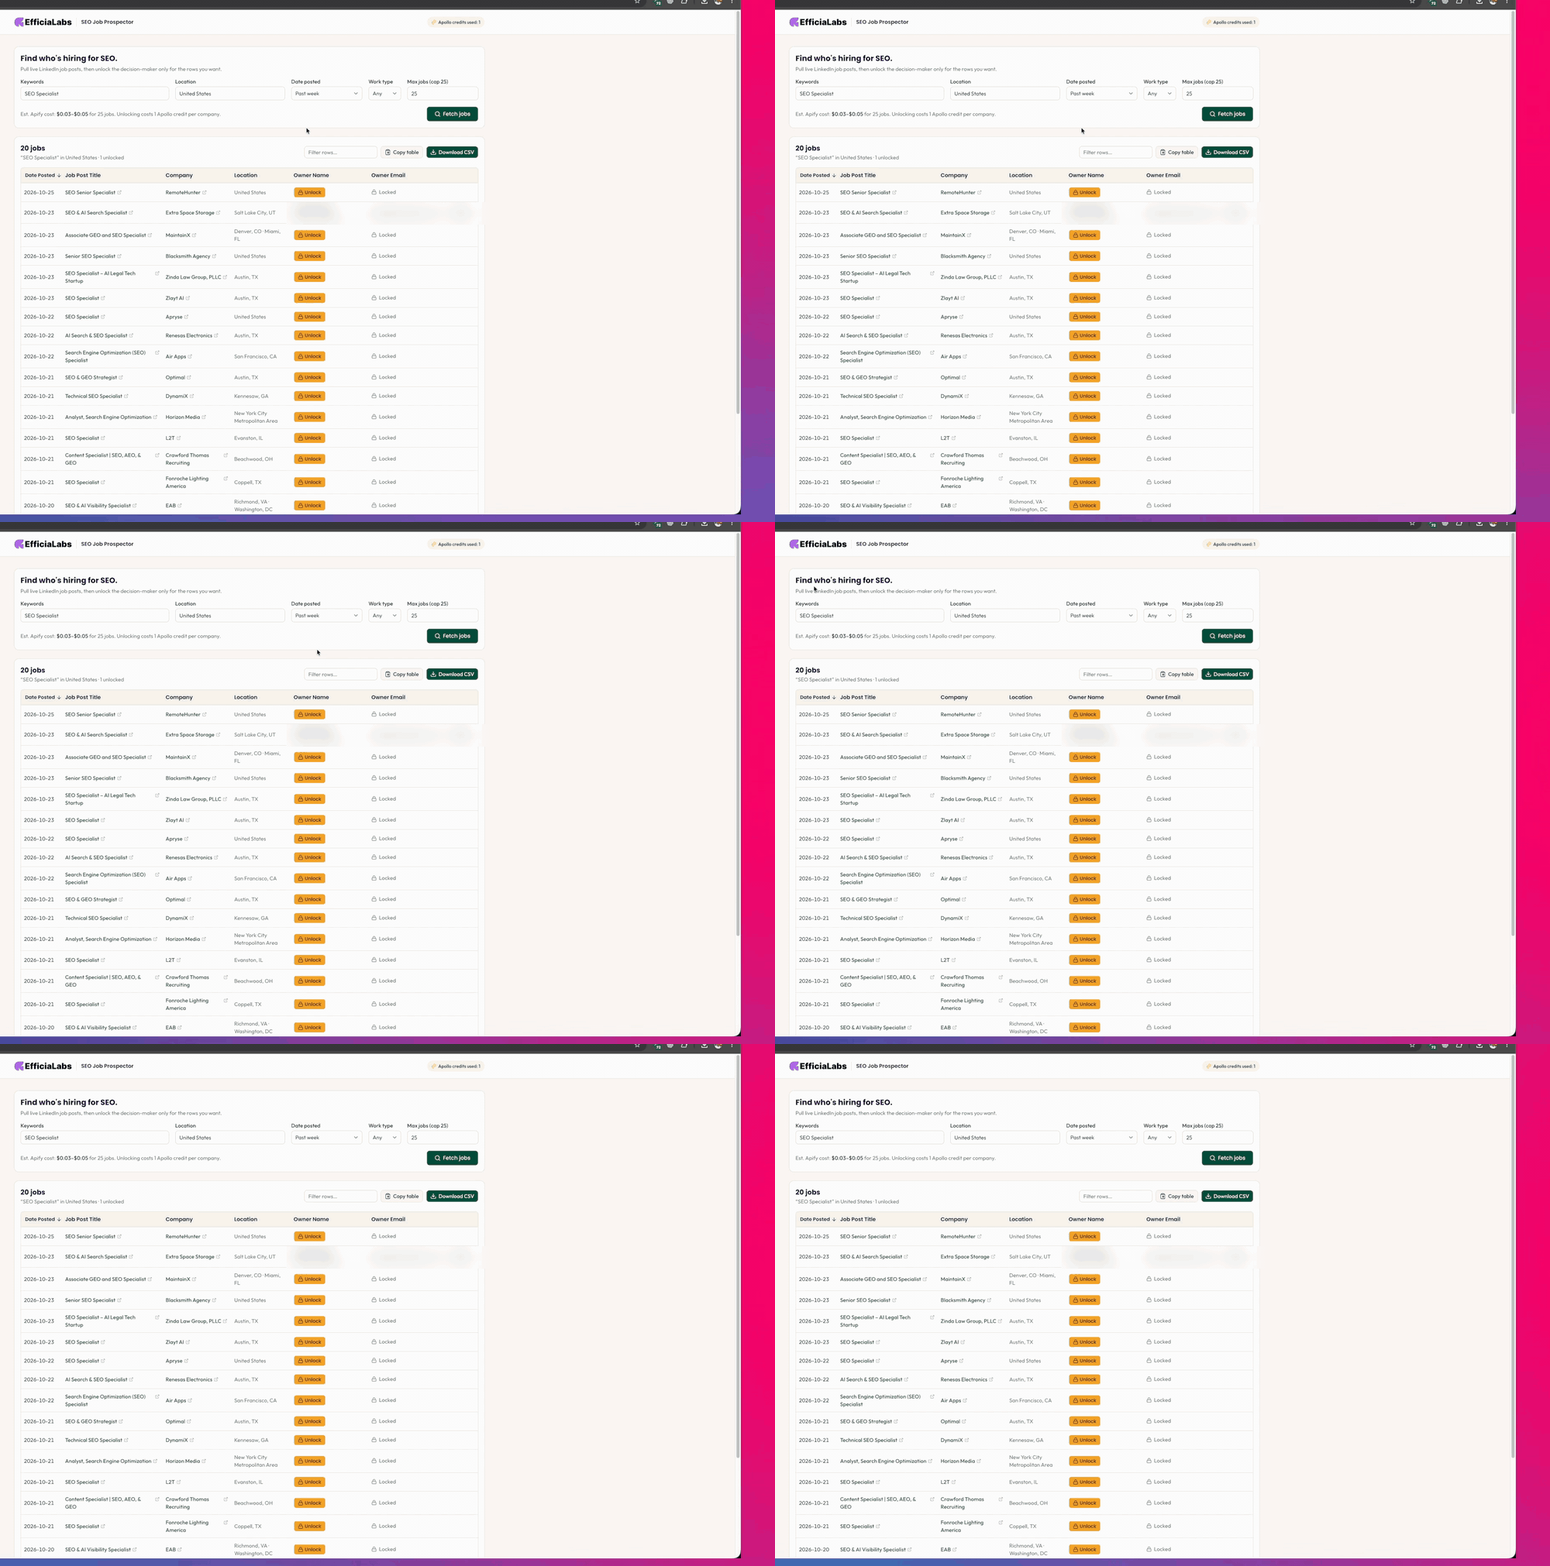
I found a few bugs:
- Some rows were repeated twice.
- The column width changed when I unlocked a decision-maker. It looked so cluttered.
I took screenshots, pasted them into Claude and asked: “I found a few bugs. Can you please fix it?”
Let Claude cook for some time. Reload, fetch jobs again, unlock. See, now it’s not moving.
Step 11: Add a new feature, daily auto-run
Remember I told you we’d be adding new features? While it was unlocking, I thought of one: make it auto-run every day at 9 AM, so I don’t have to open this internal tool and run it manually.
I told Claude: “I want to add one more feature: scheduling an auto-run at 9 AM for now, but keep the time flexible so I can change it later in the user interface.”
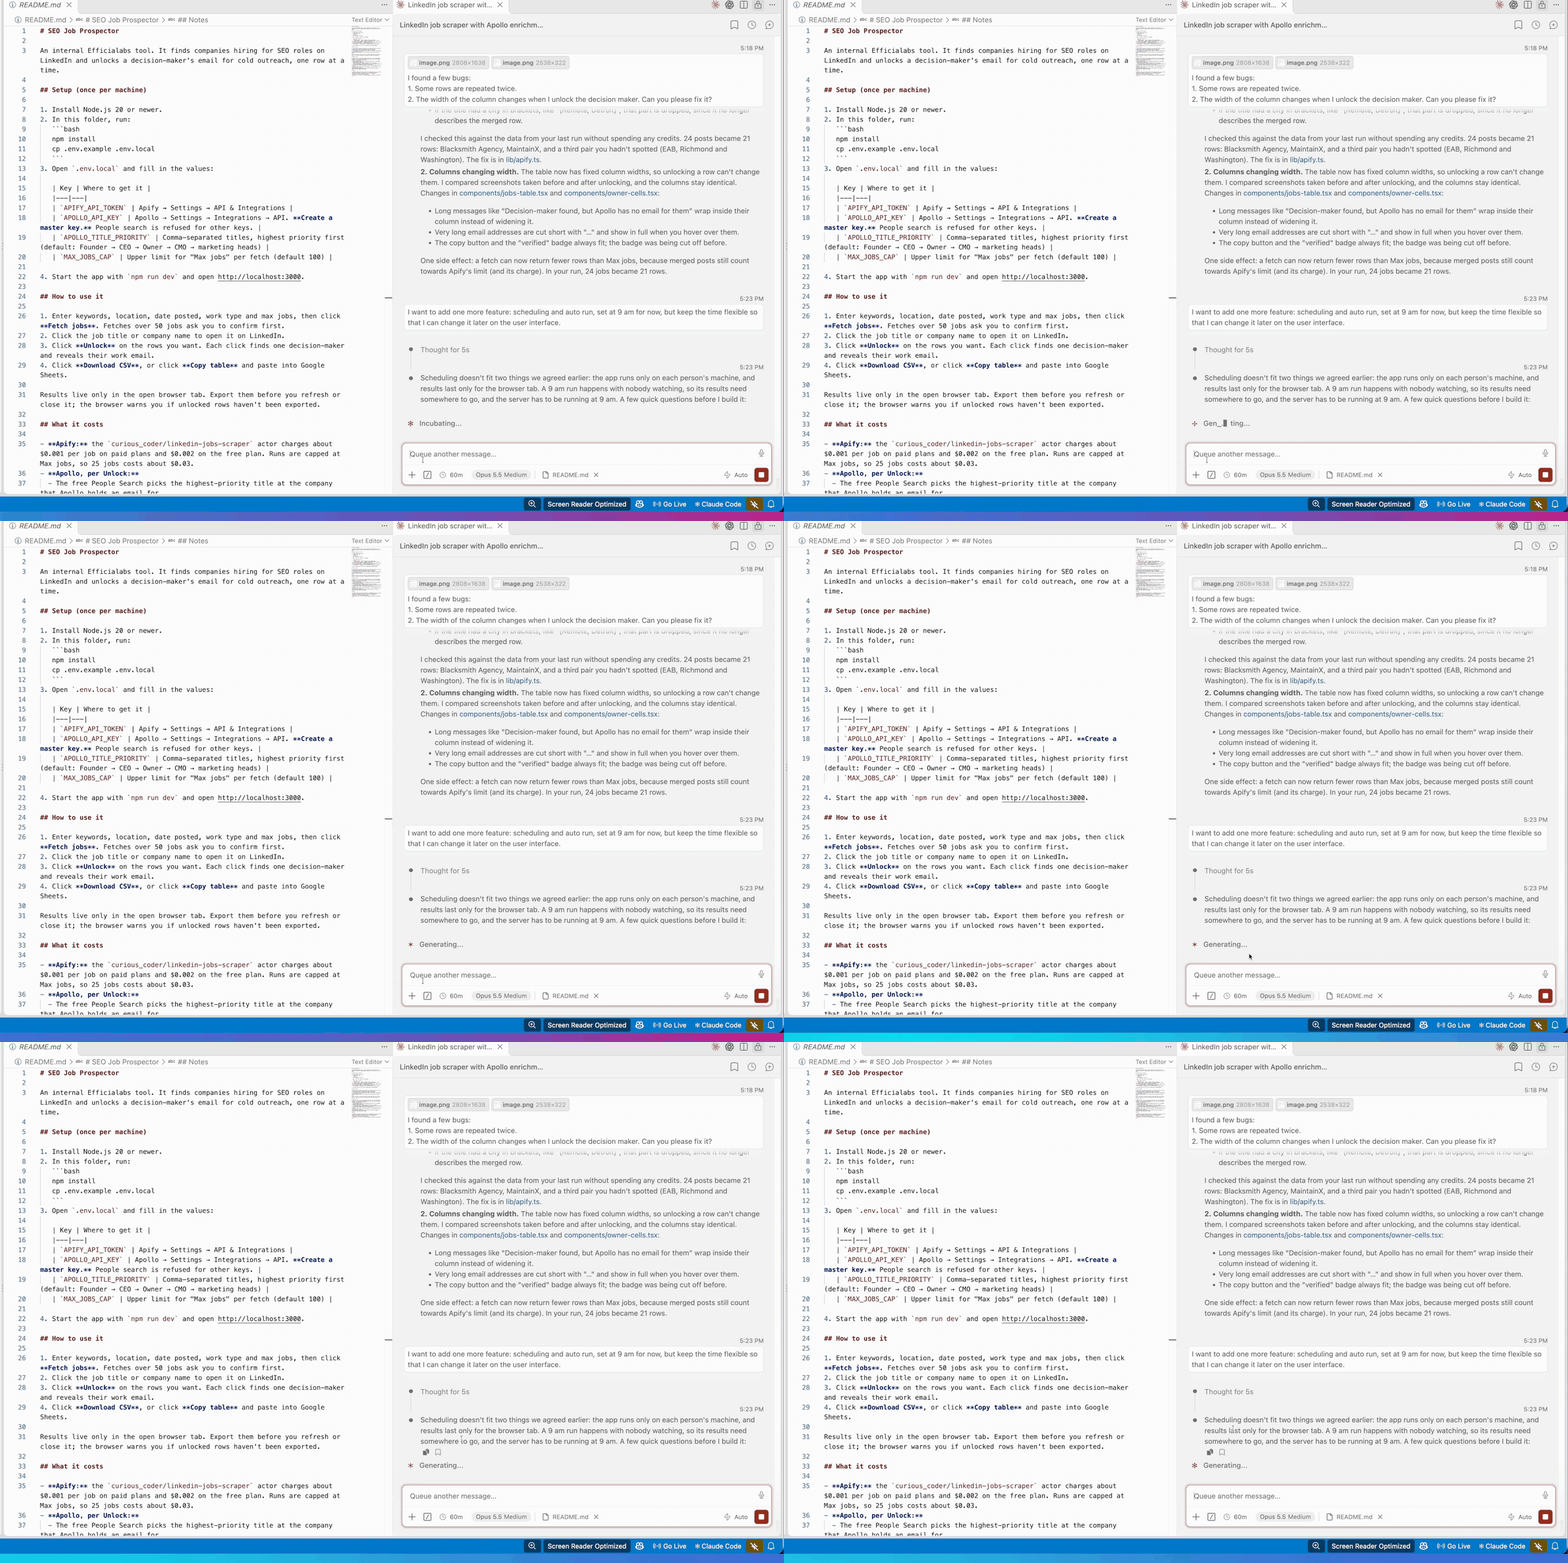
By the way, I use Wispr Flow for speech-to-text. It’s much easier and faster than typing.
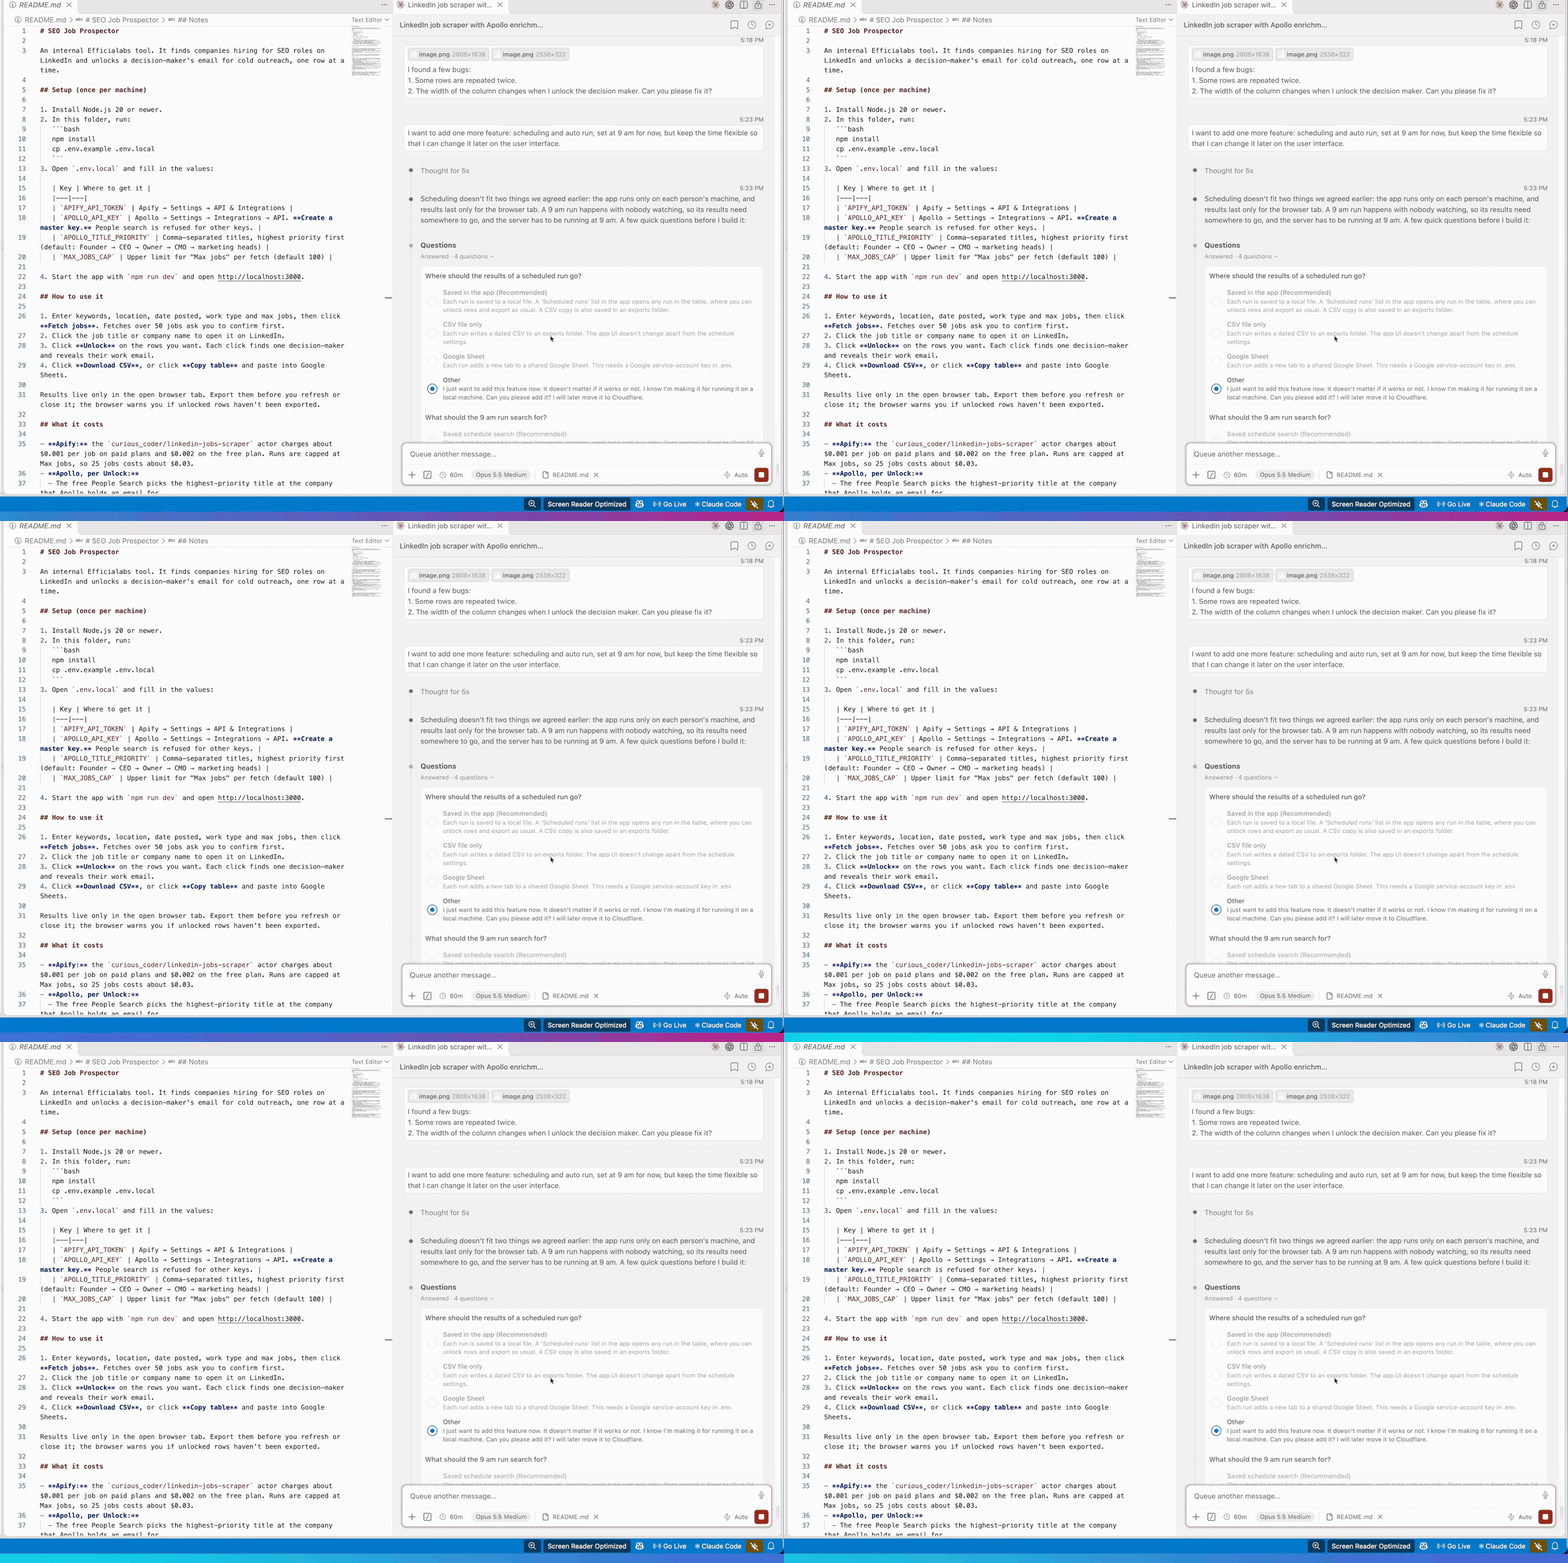
Claude pushed back a bit. It said scheduling doesn’t fit because the app runs locally. Fair point. I told it: just add the feature now. It doesn’t matter if it works right now. I’ll move it to Cloudflare later.
Then it asked a few more questions. Auto-unlock? No. Keep unlocking manual. Otherwise it would burn my Apollo credits in a single day.
Cool. Now we have a daily auto-run. It runs at 9 AM every day with the keyword SEO Specialist, US, past week, 25 jobs.
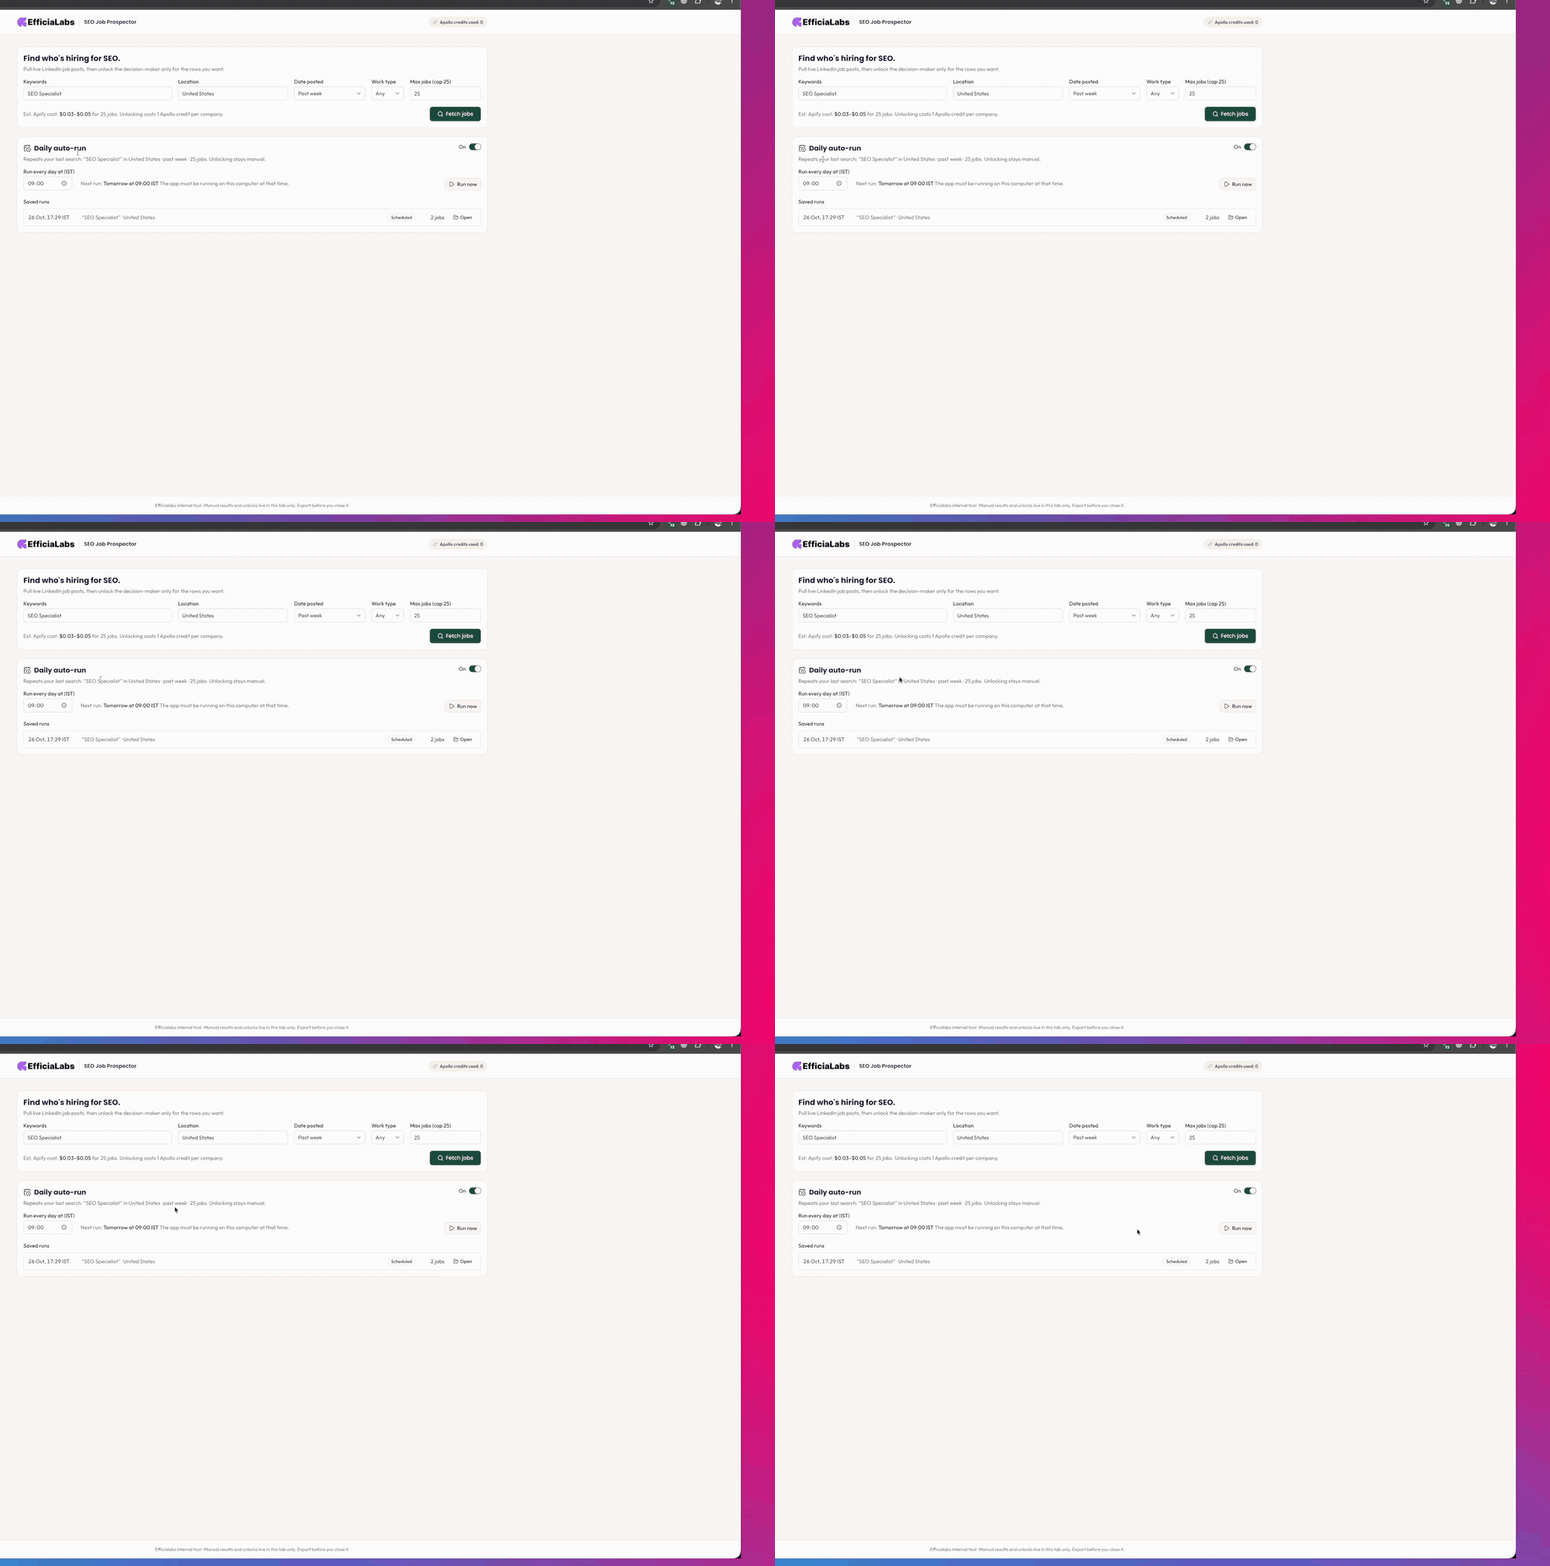
One thing to know: because I’m running this on my local machine, the auto-run won’t fire when I turn off the server. It only works once it’s hosted somewhere, like Cloudflare or any server. Once it’s deployed, you never need to run it manually again. It just runs daily.
Quick recap
- Install VS Code and the Claude Code extension.
- Get the prompt, paste it in plan mode and answer Claude’s questions.
- Review the plan, then let Claude build it.
- Add your Apify and Apollo keys to
.env.local. - Fetch jobs, check the company against your ICP, then unlock the owner.
- Report bugs with screenshots and add features the same way.
You're confirmed. The prompt is on its way to your inbox. Give it a minute, and check Promotions if you don't see it.
Your turn
Ready to build yours? Grab the prompt
One prompt, about 15 minutes of Claude cooking, and your team gets hot leads every morning.
- The full prompt, ready to paste
- The setup steps from this post, in one email
Check your inbox.
Click the confirmation link in the email I just sent, and the full prompt lands in your inbox.
Want this built for your agency?
I build agents like this with my co-founder, for agencies. This LinkedIn job scraper is one of the tools we custom-build for our clients. For example, we built an agent that cut weekly client reporting from one hour per client to three minutes per client.
Our theory is simple: when you deliver faster, your clients are happier. They ignore the cold pitches from other agencies, they stay with you for years, and you make more money over time.
If you’re not sure where to start with AI but you want it in your agency, talk to me. Show me the workflow your team spends the most time on, and I’ll tell you honestly whether an AI delivery system is right for your agency. If it isn’t, you’ll hear that too.
And if you’d rather build it yourself, subscribe to my newsletter. I share at least one agent like this every week, for free.